Club House – Basement
 Rotation
 Reinforcement
 Headhole
 Foothole
 High Hole
 Bomb A
 Bomb B
hover a marker to preview · click to enlarge
overview
Club House rewards simple fundamentals: a basement bunker built on three reinforced hatches, and 2F sites held by extending toward Cash and Master.
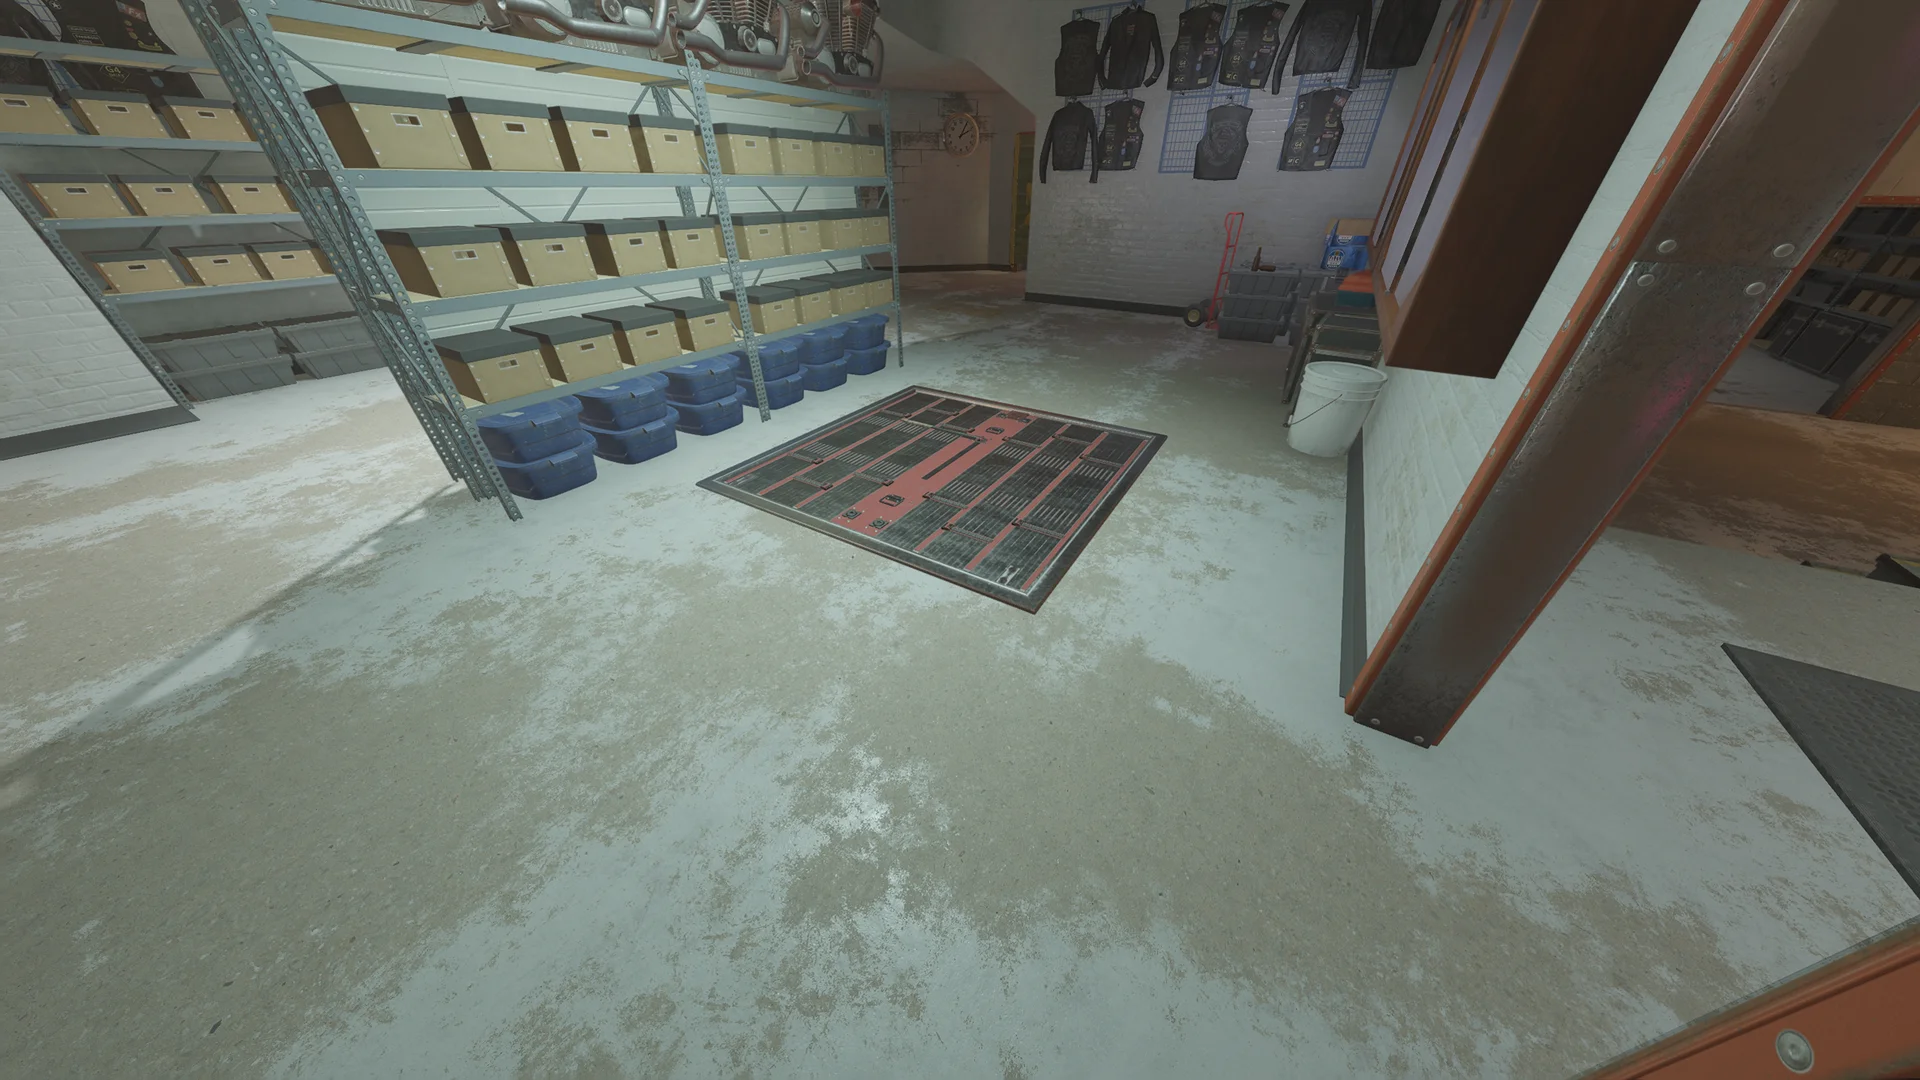
The bombsites sit in the basement and on 2F. The Red stairs and the Garage side lead up to Cash and Rafters, while Master and the Bathroom face the windows on the other side of 2F. In the basement, the Kitchen, Stock and Moto hatches open straight above the Church side, and the Blue and Oil Pit stairs are the other ways down.
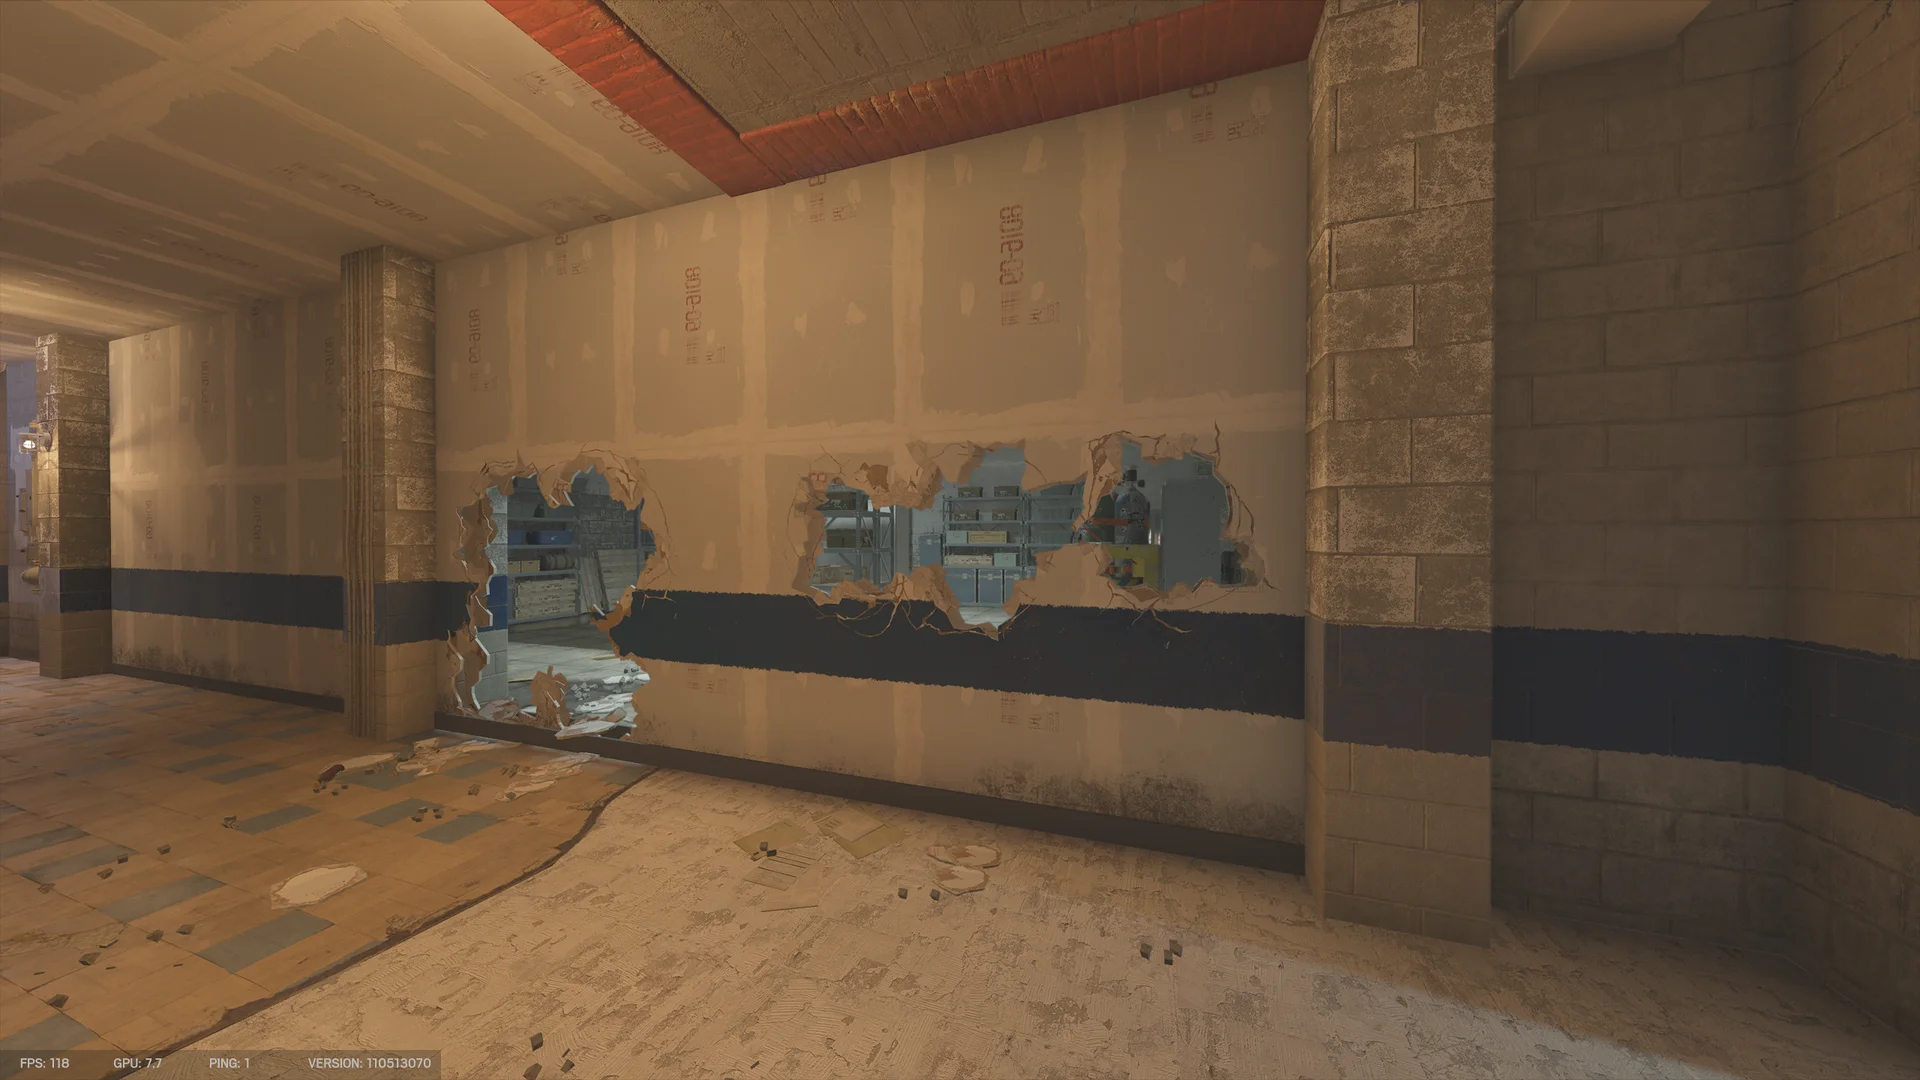
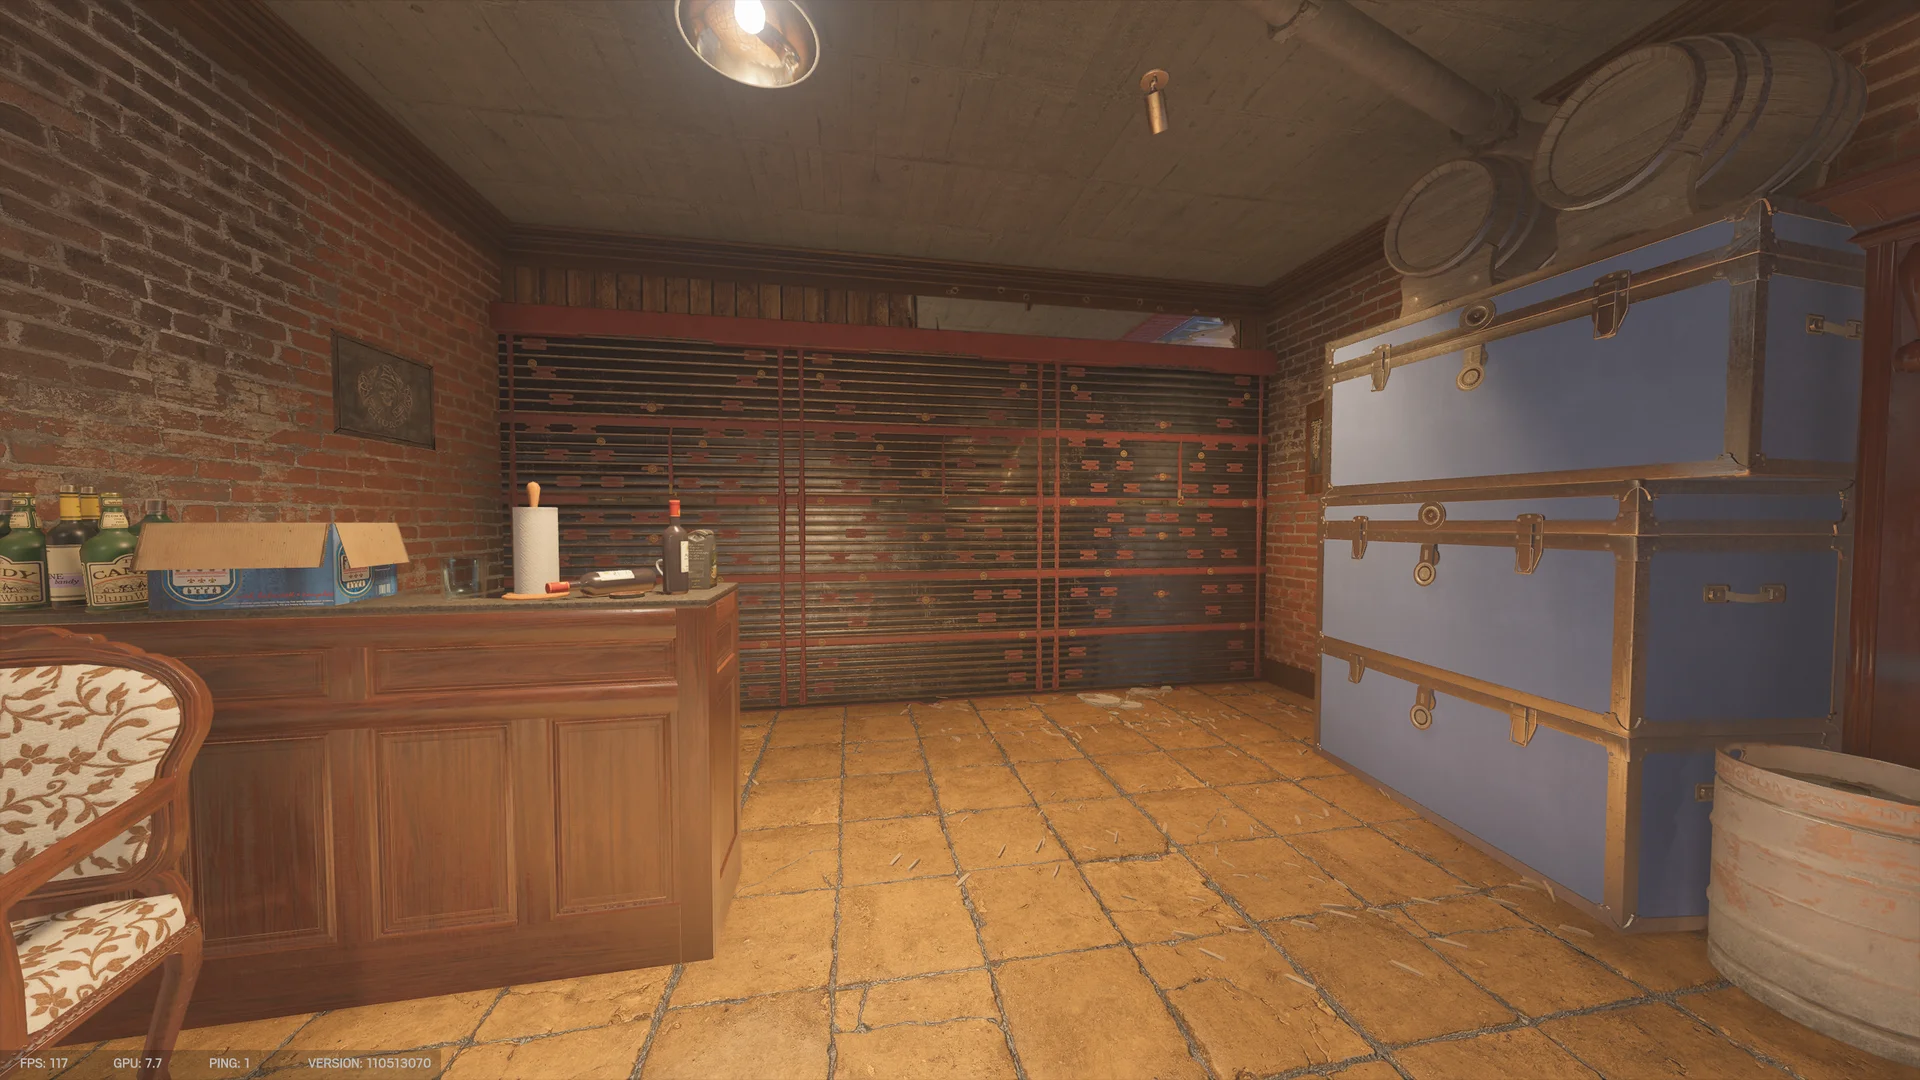
A plain bunker. All three Church walls are reinforced, along with the middle wall, the Blue wall, the two Dirt walls and the Kitchen, Stock and Moto hatches. Standing rotations by the pillar and a wide opening under the hatch let defenders move fast and fight anyone dropping in. Box 3 is the anchor position, watching the Kitchen hatch and supporting Blue, and Dirt has to be held while it is still five on five.
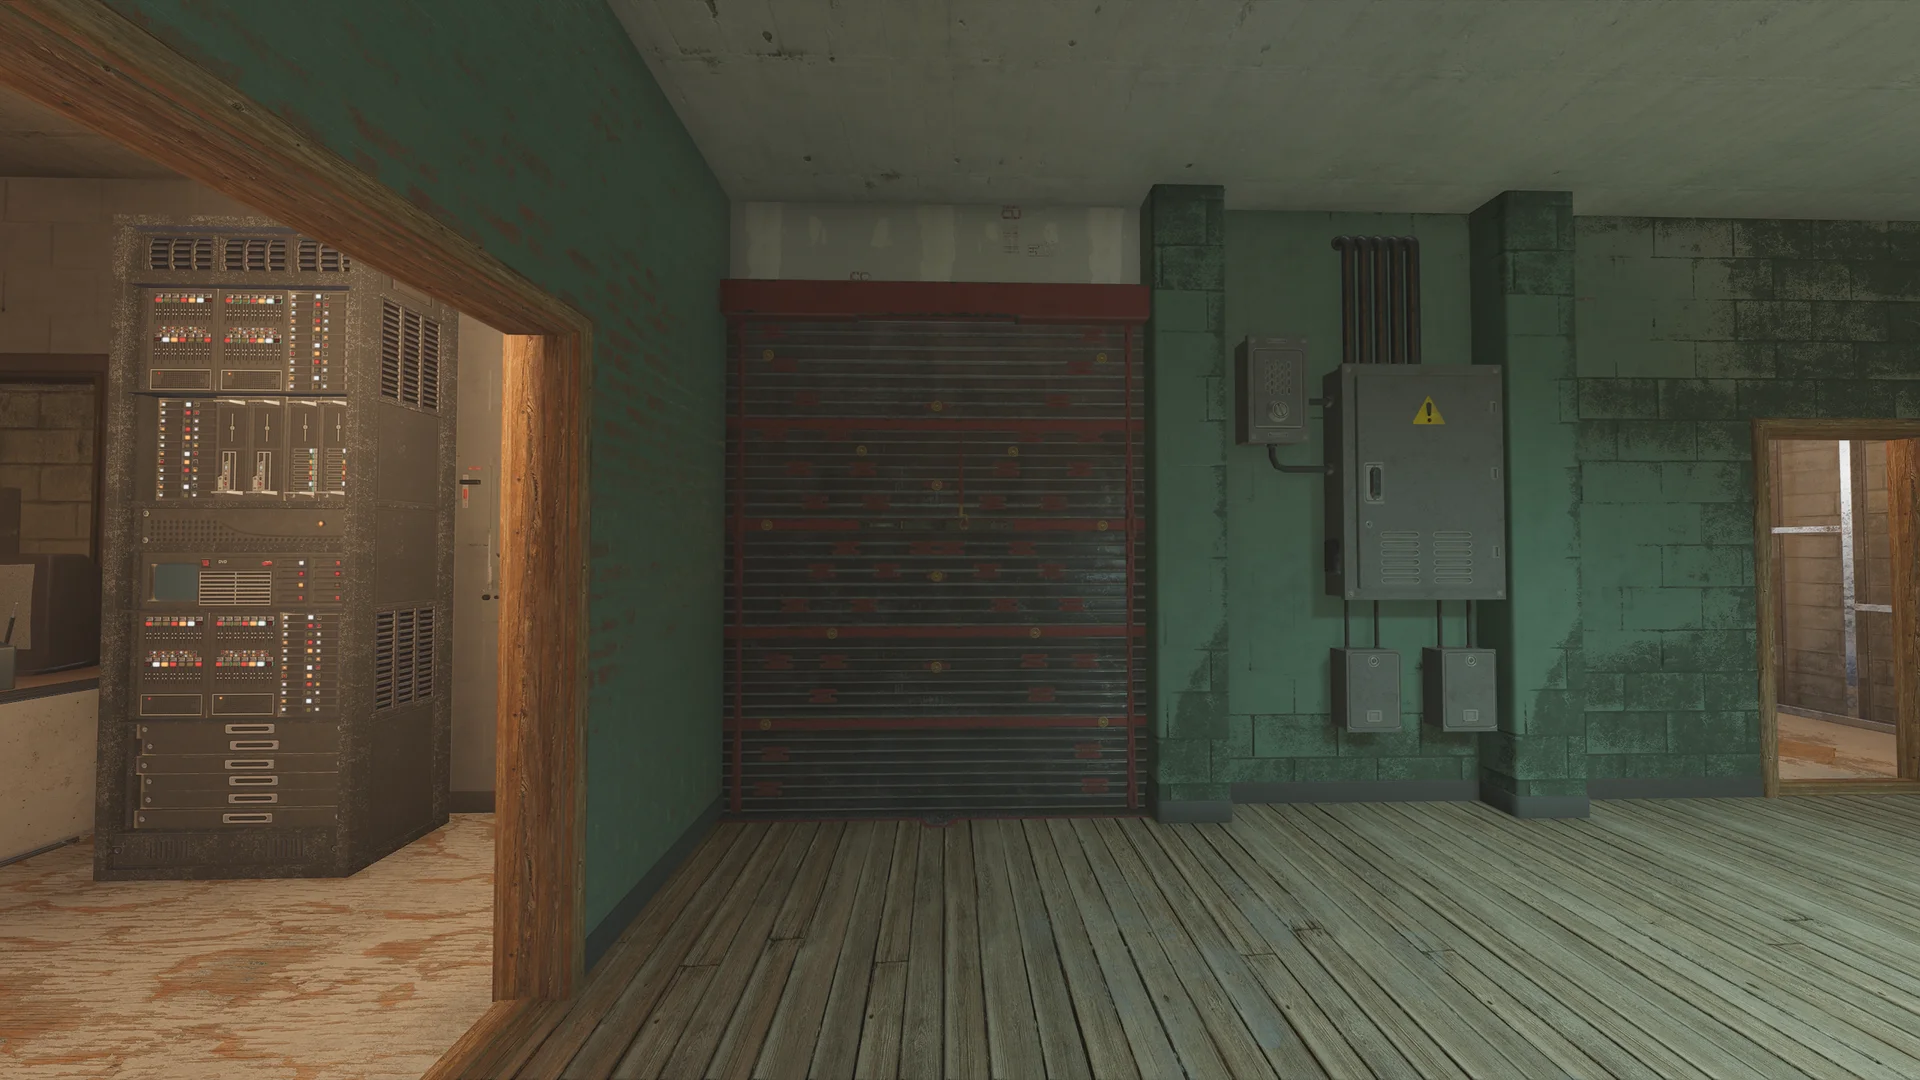
A rotation sits against the windows, the Gym wall is reinforced with footholes beside it, and the Bathroom wall is reinforced with a rotation for the wall-denial player. The rotation into Gold goes in the middle of the wall, where neither the Gym nor the Master window can see through it. Defenders extend into a Cash bunker and onto the Red stairs, with a reinforced Rafters wall covering the player on the Garage side.
The middle wall under Red is reinforced so defenders can keep playing Red after losing the Master side, with a rotation on its right and headholes on its left. Rafters gets headholes rather than a rotation, so attackers who take it still have to breach or jump the window. One defender wastes time in Rafters, one holds the floor underneath, and one extends into Master to shoot drones.
Club is a map of fundamentals: reinforce the outside walls, connect every position with rotations, and hold each zone long enough to force a real execute.
reference
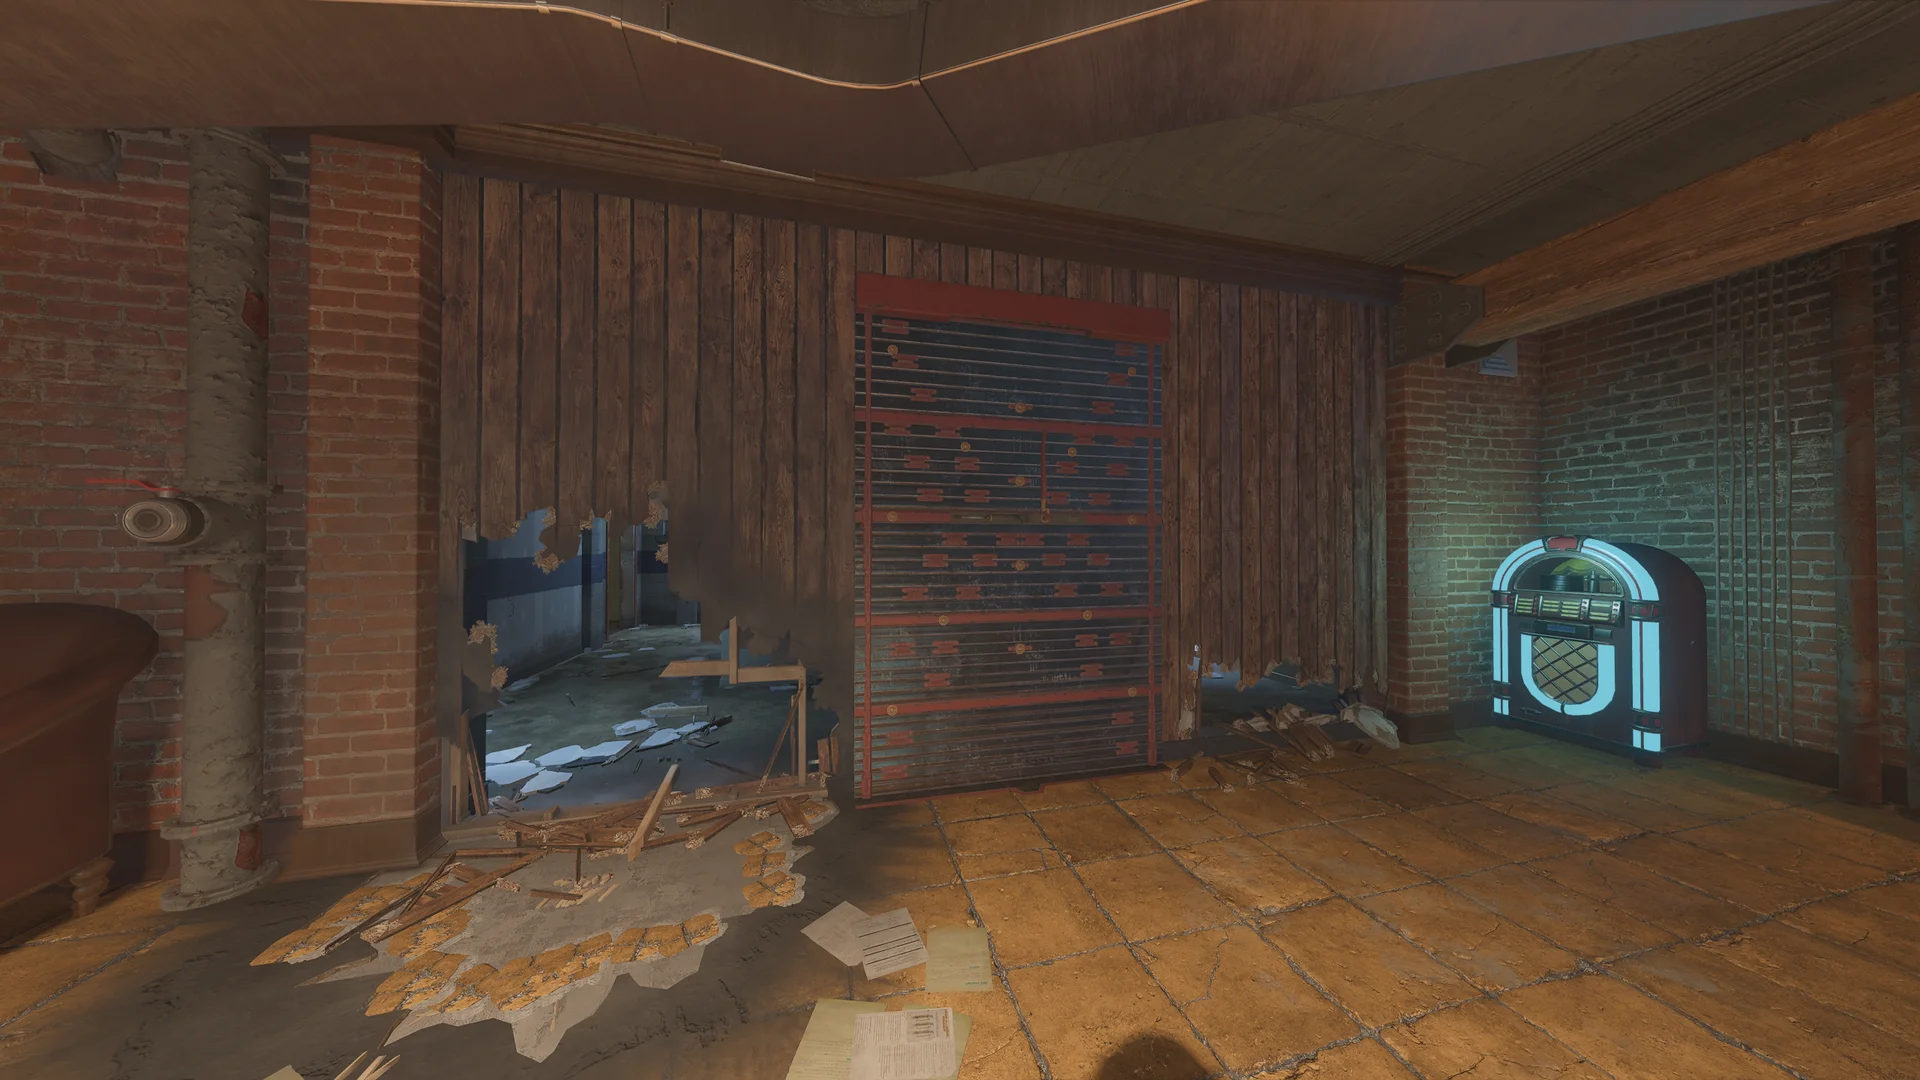
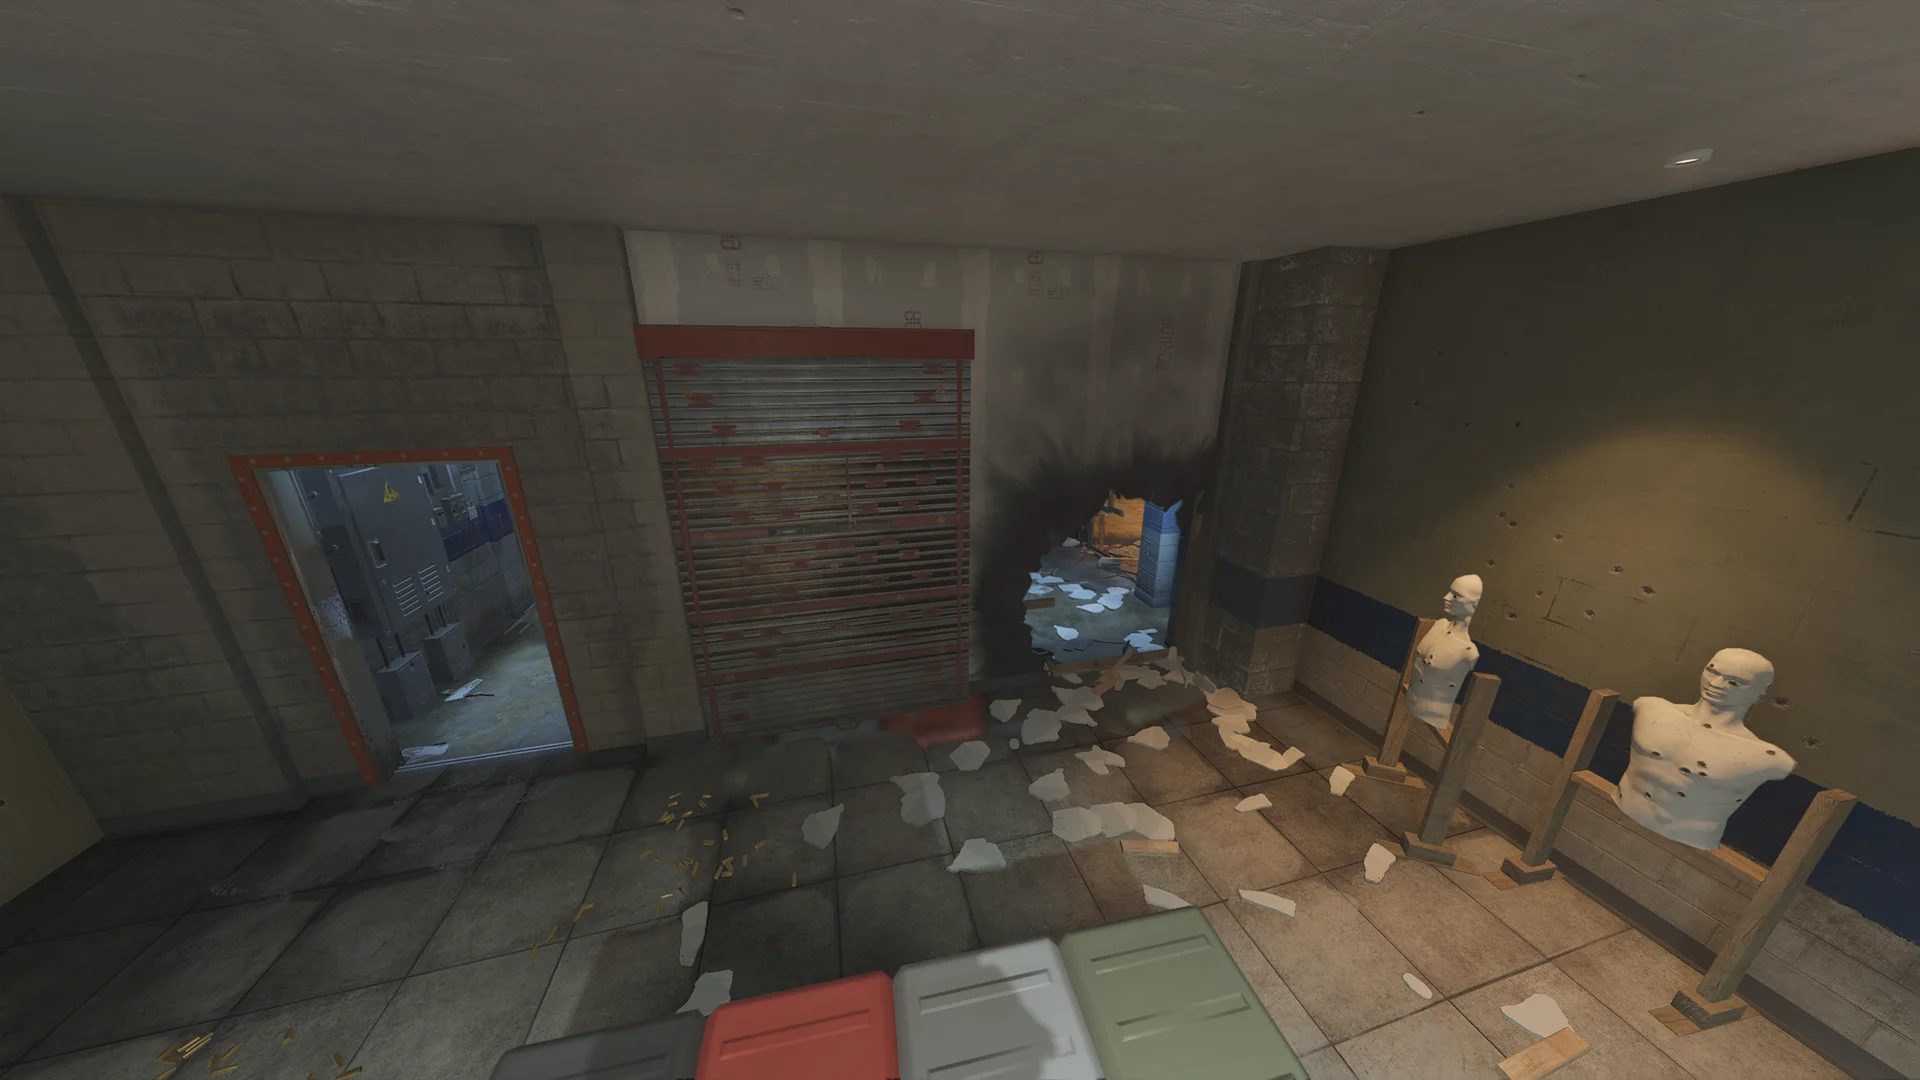
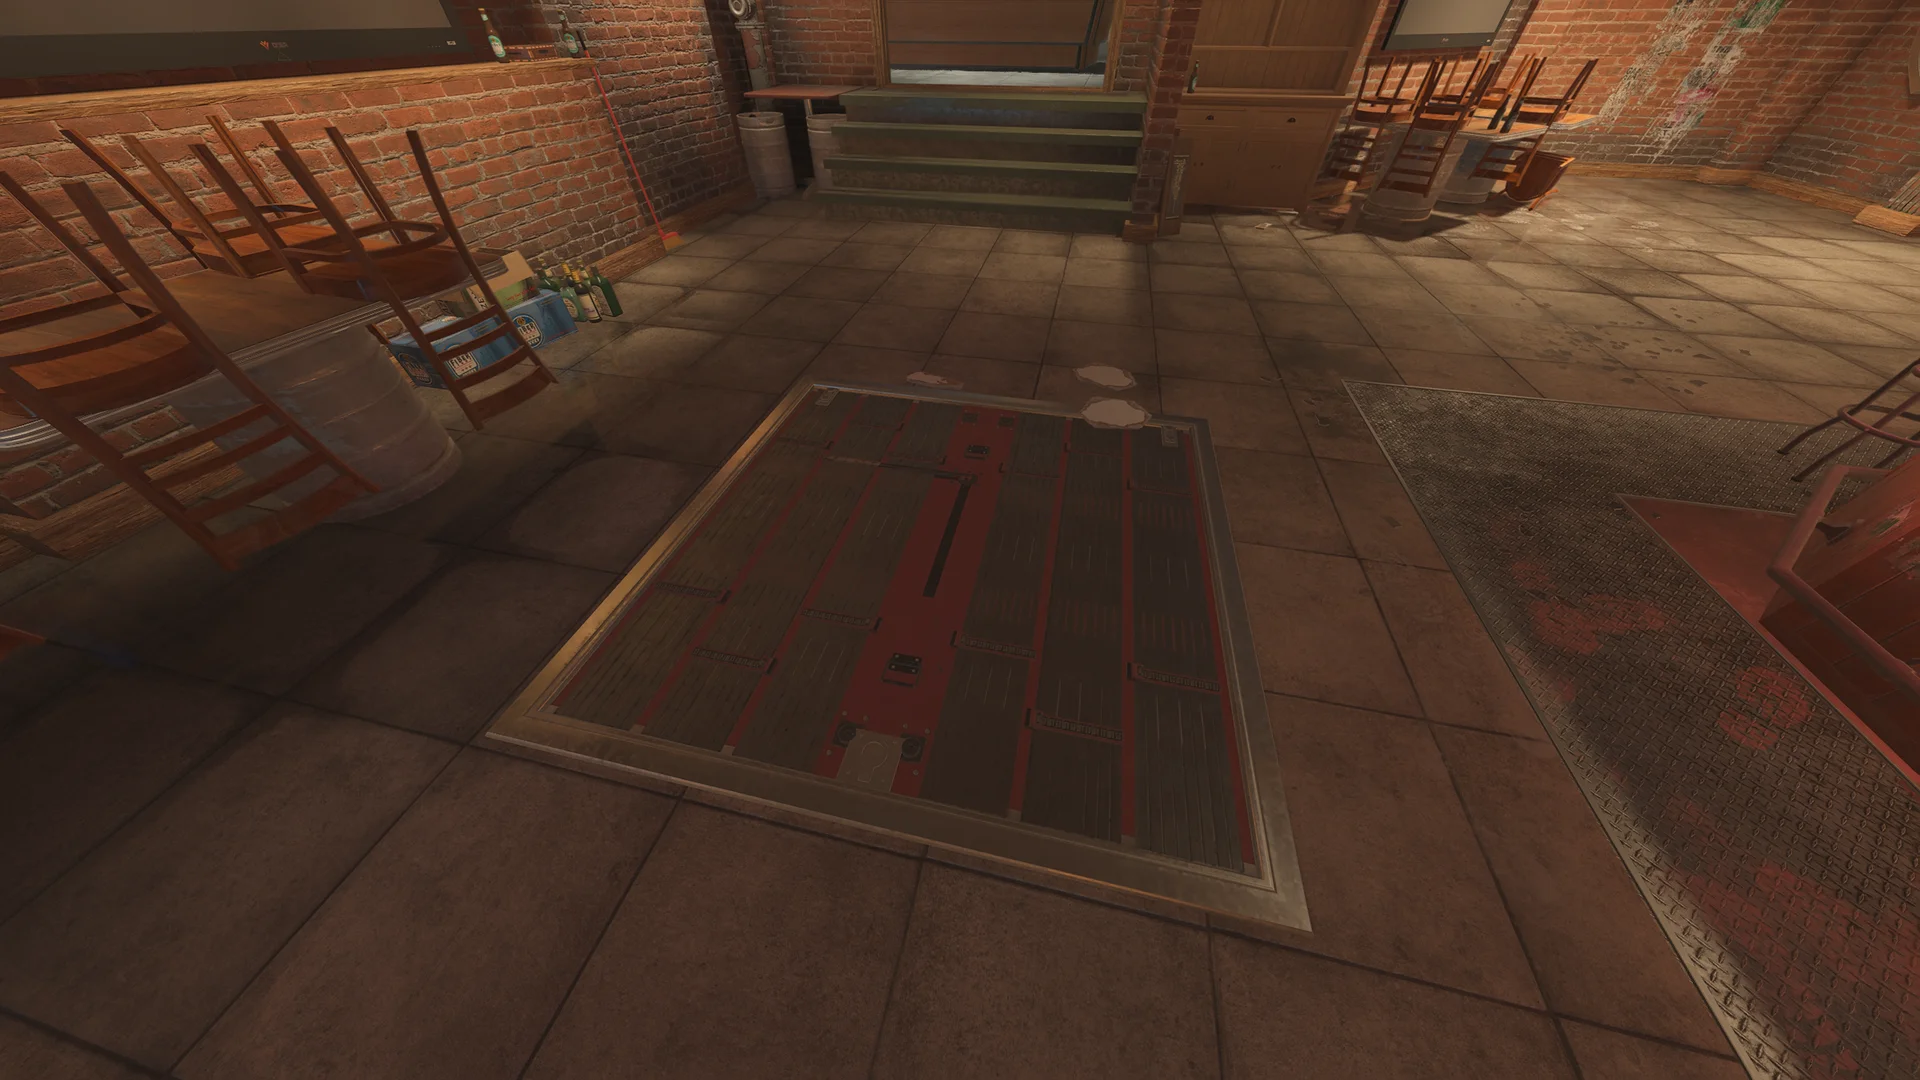
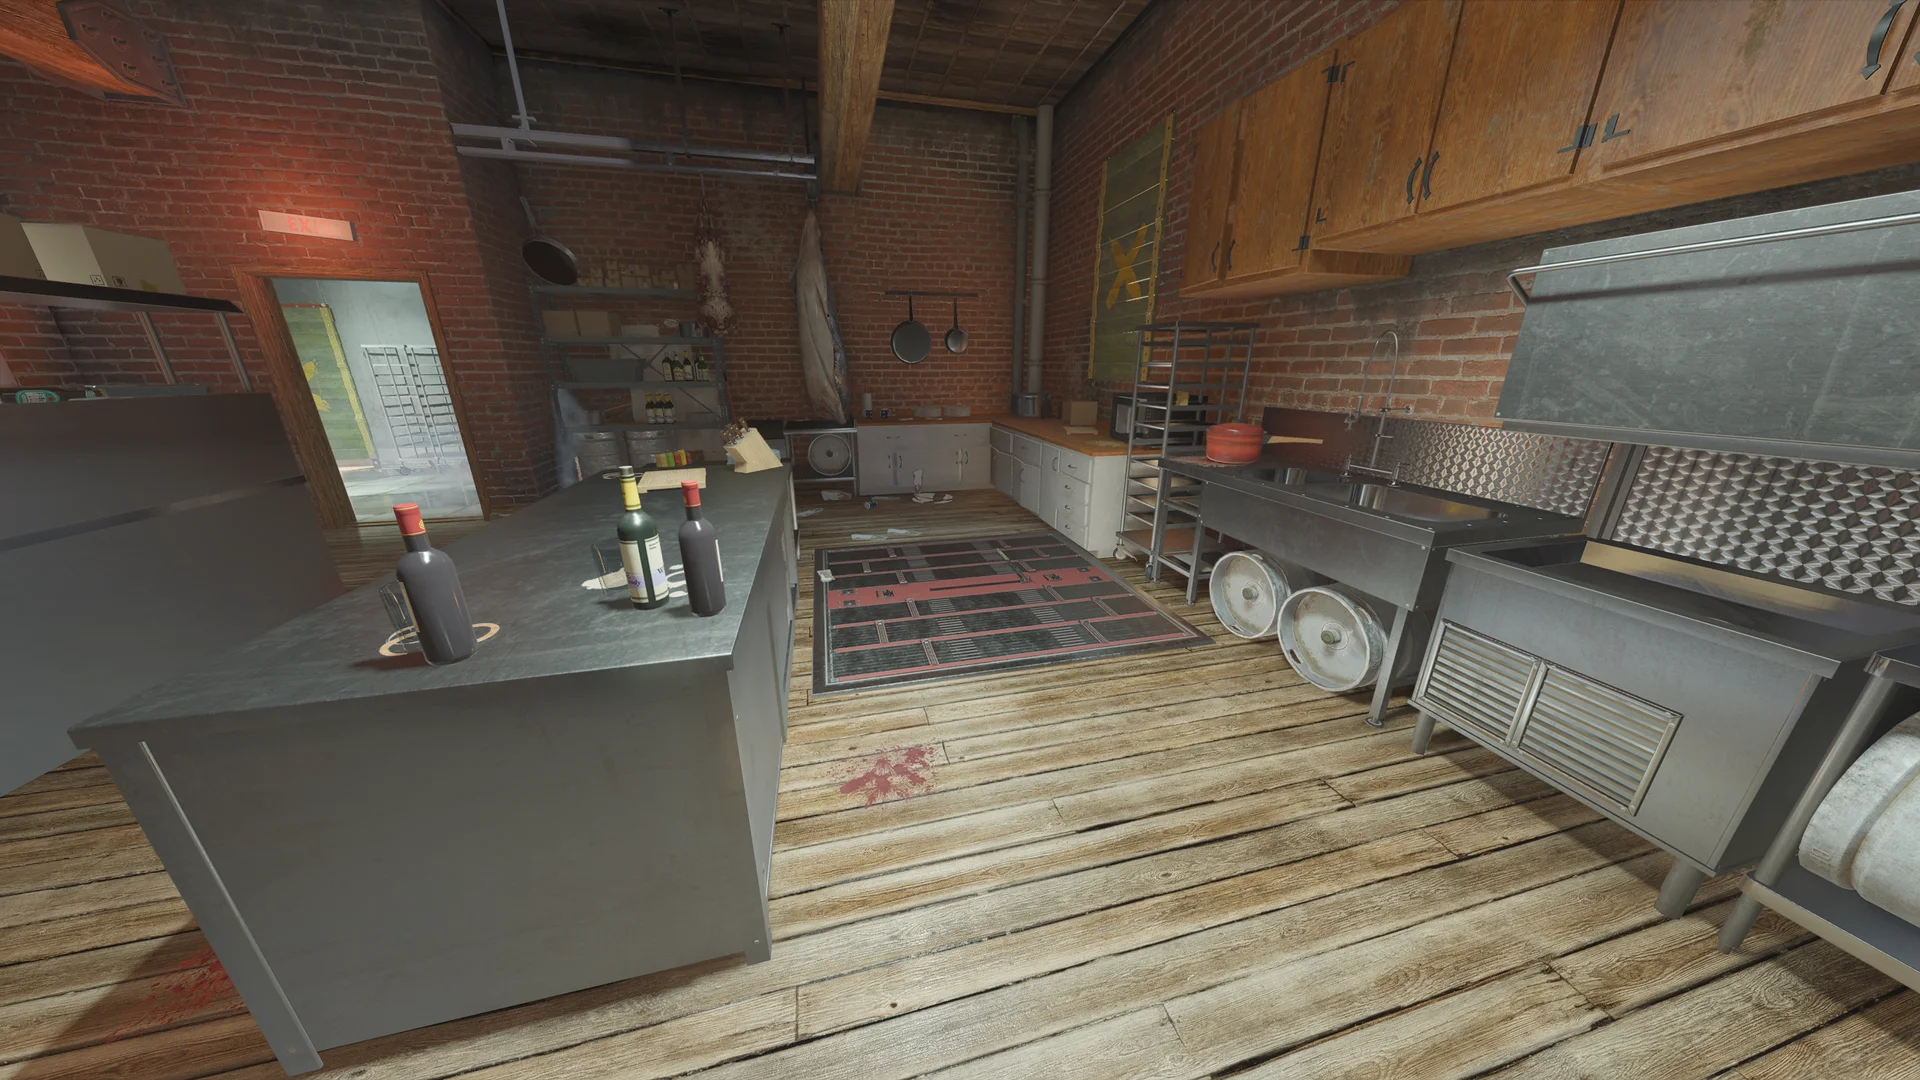
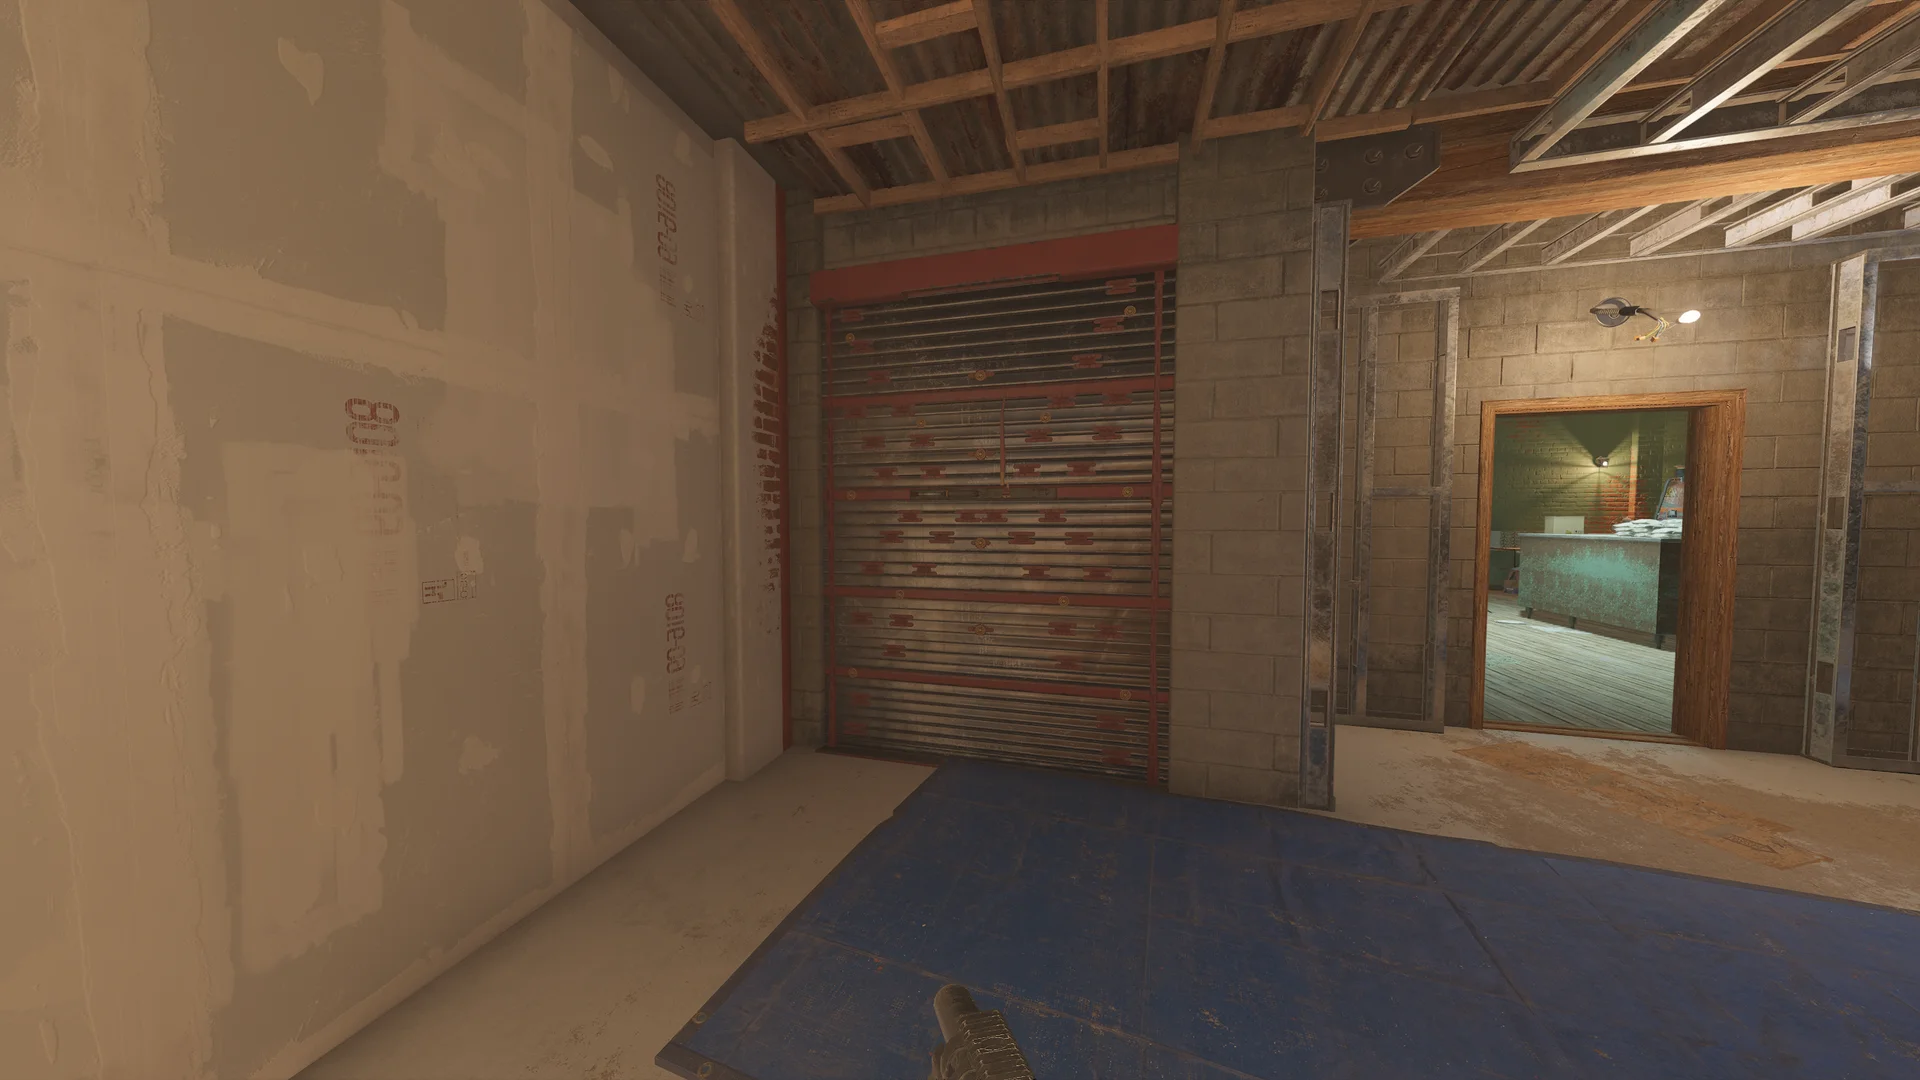
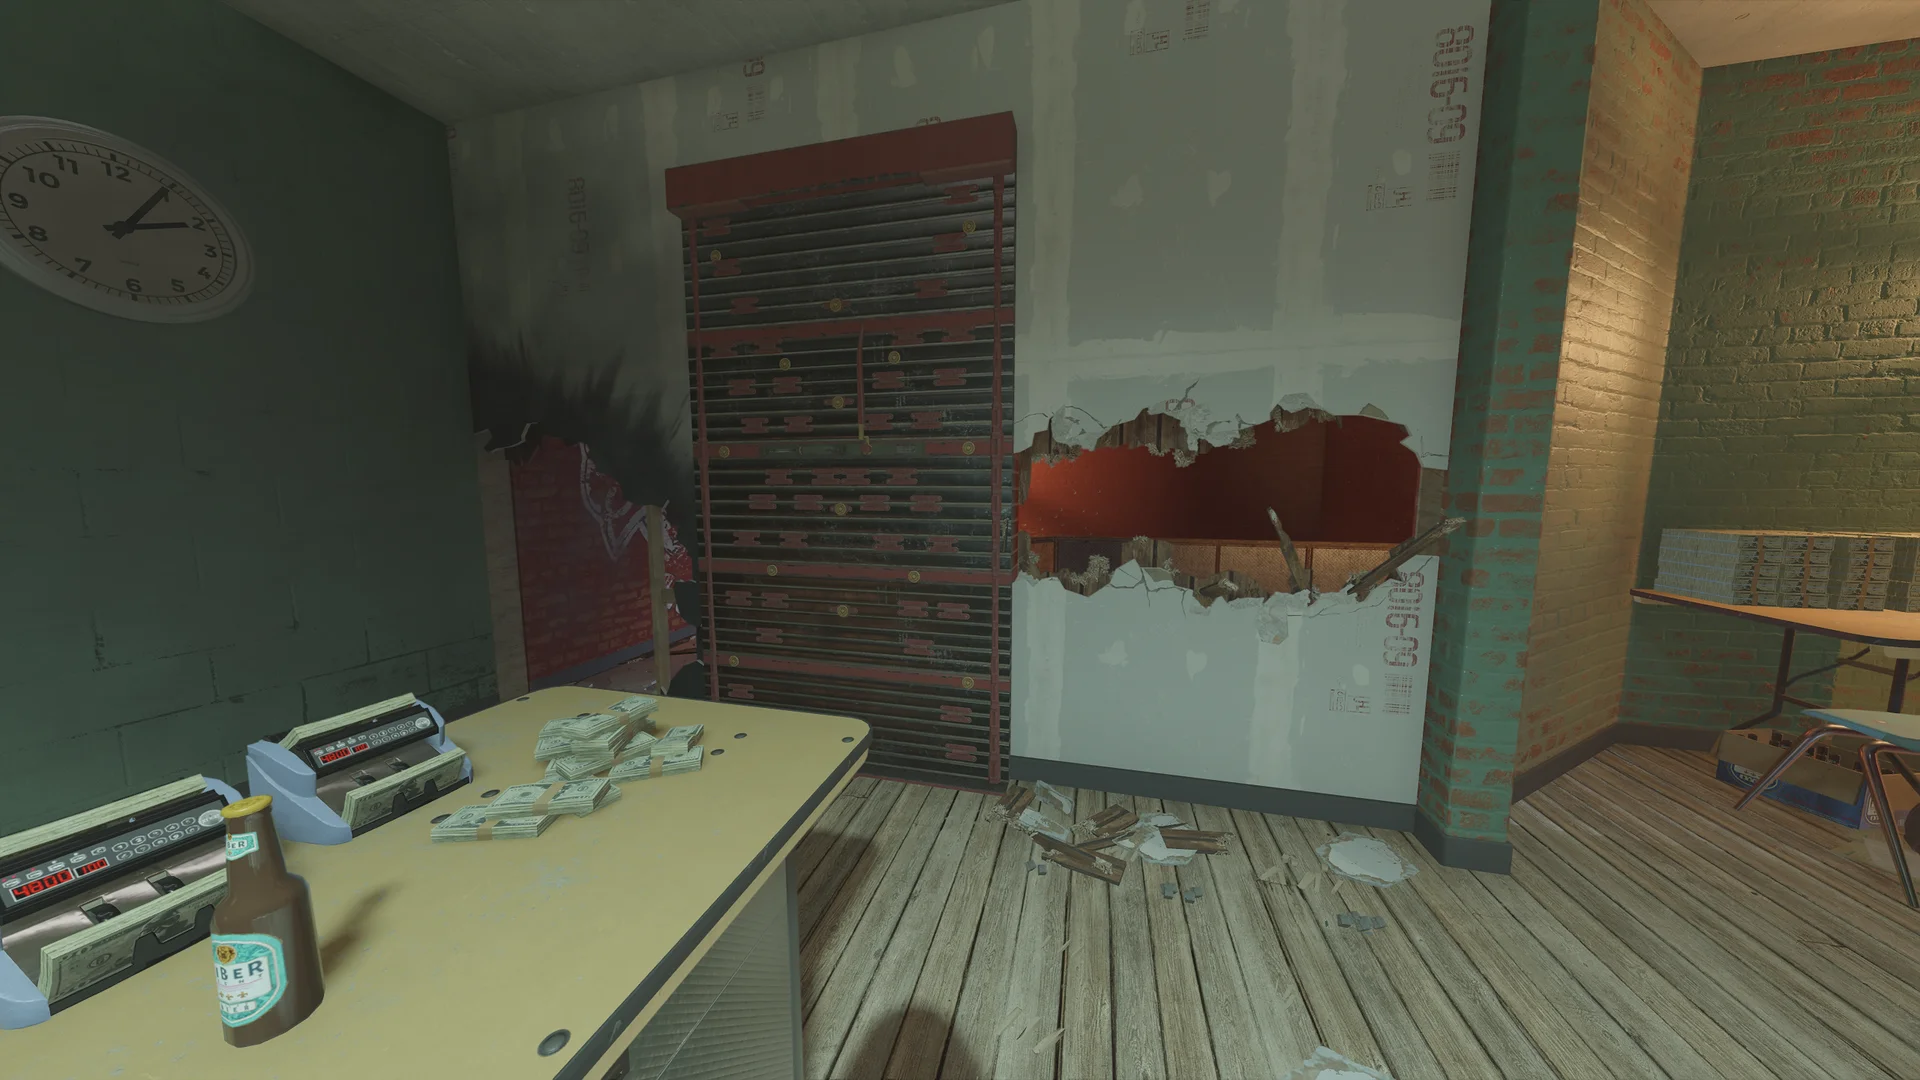
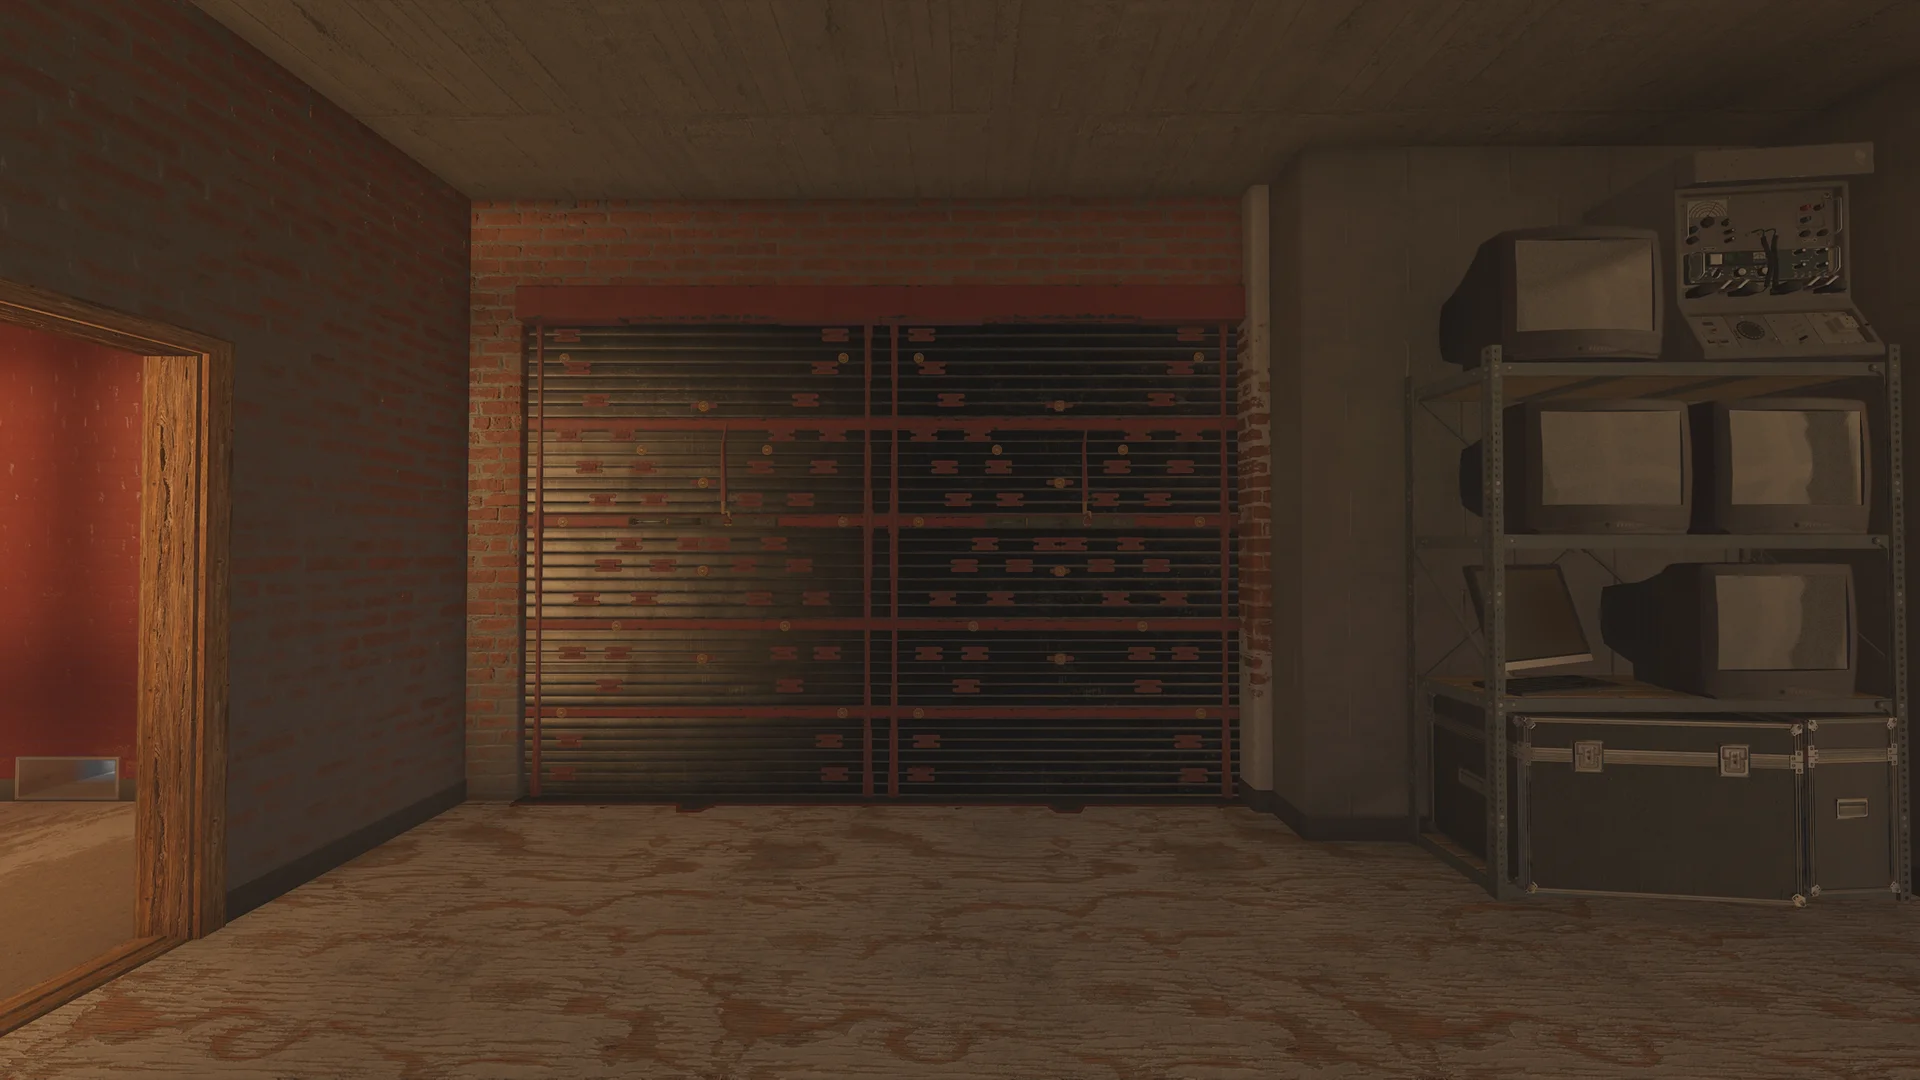
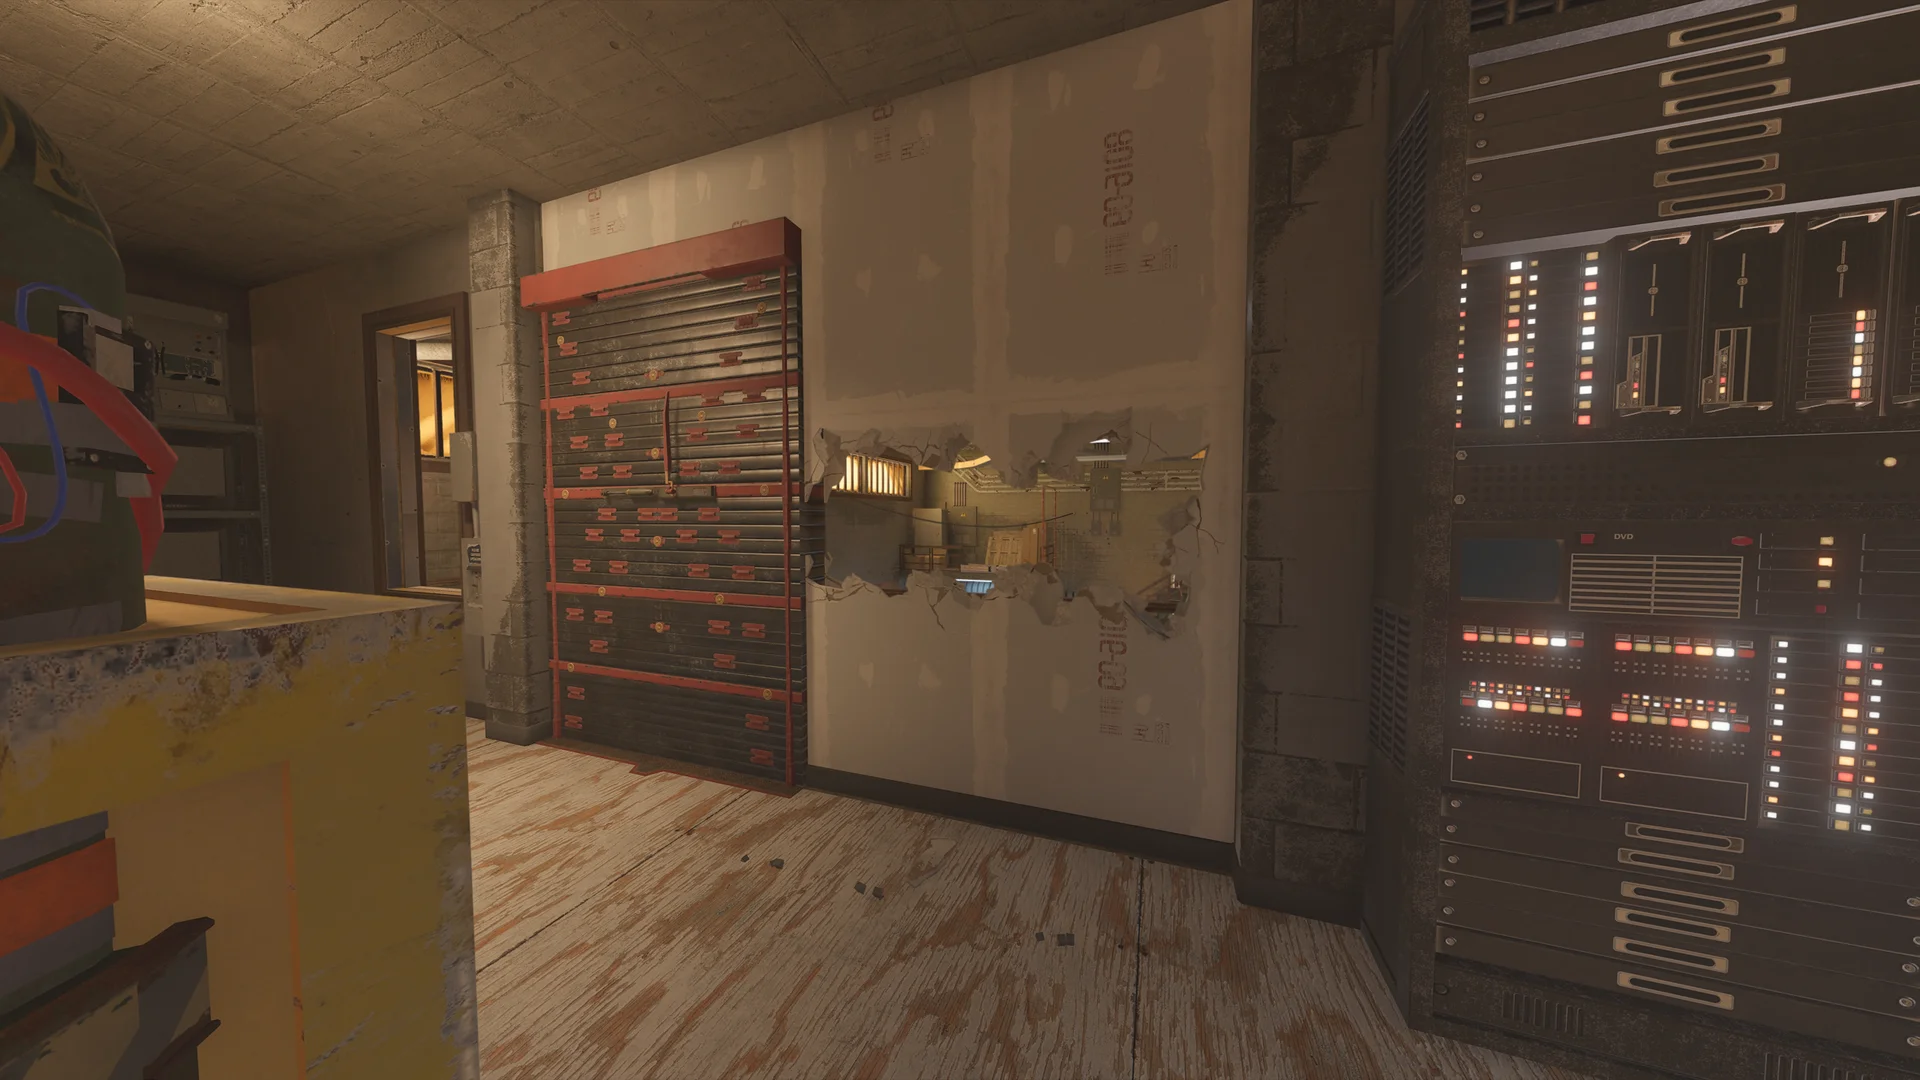
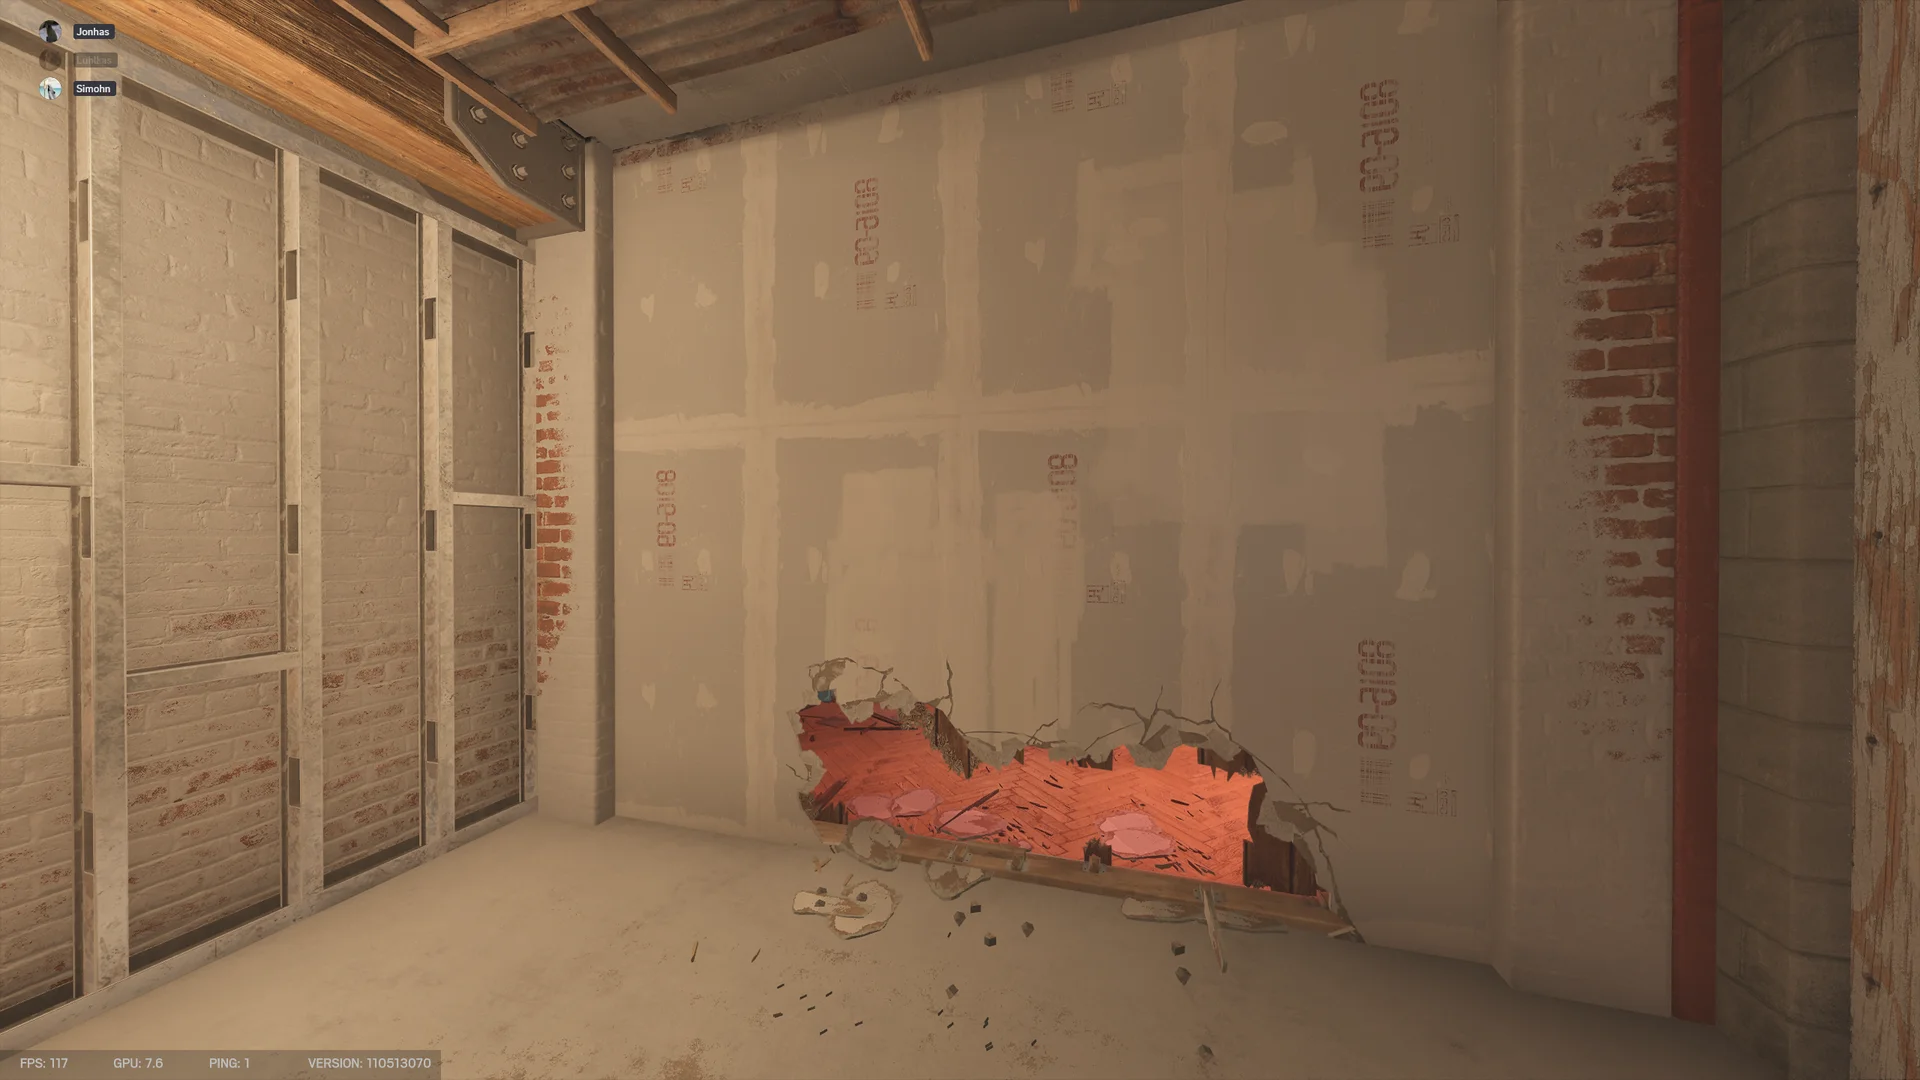
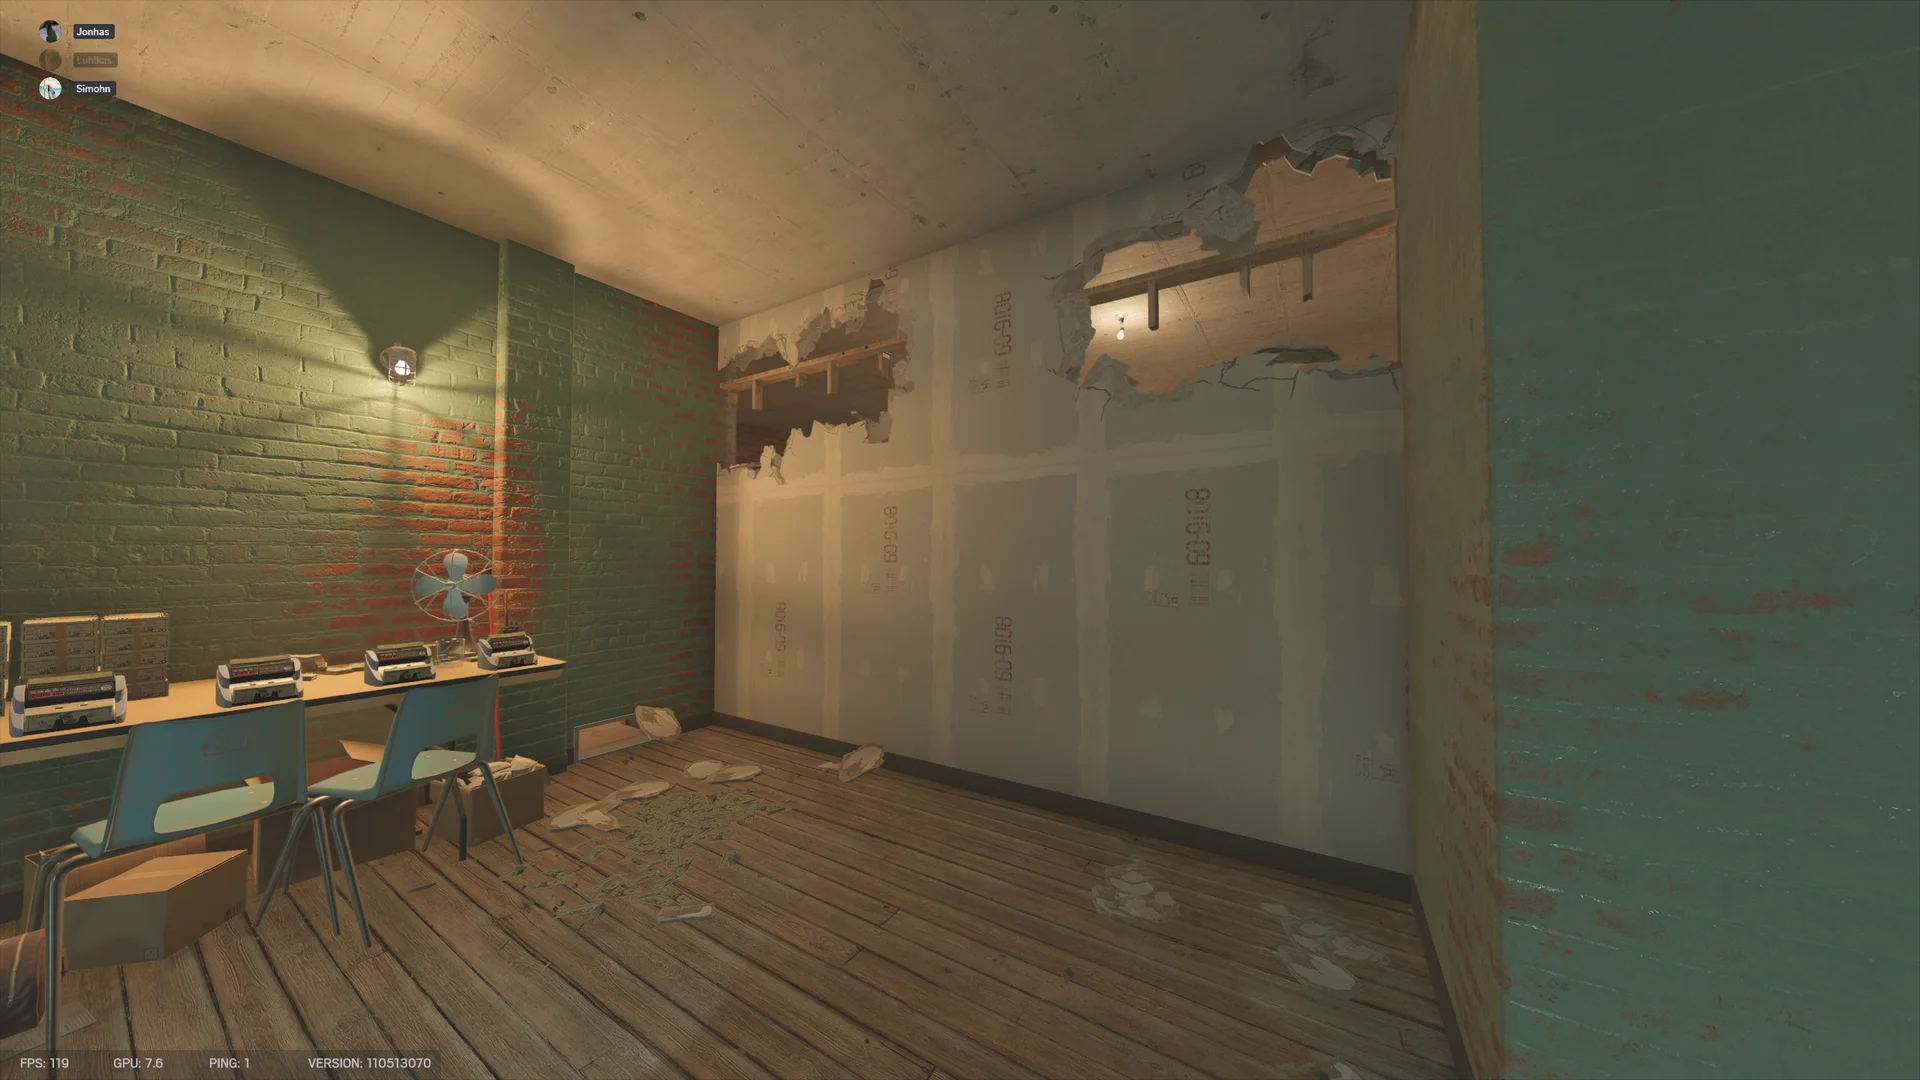
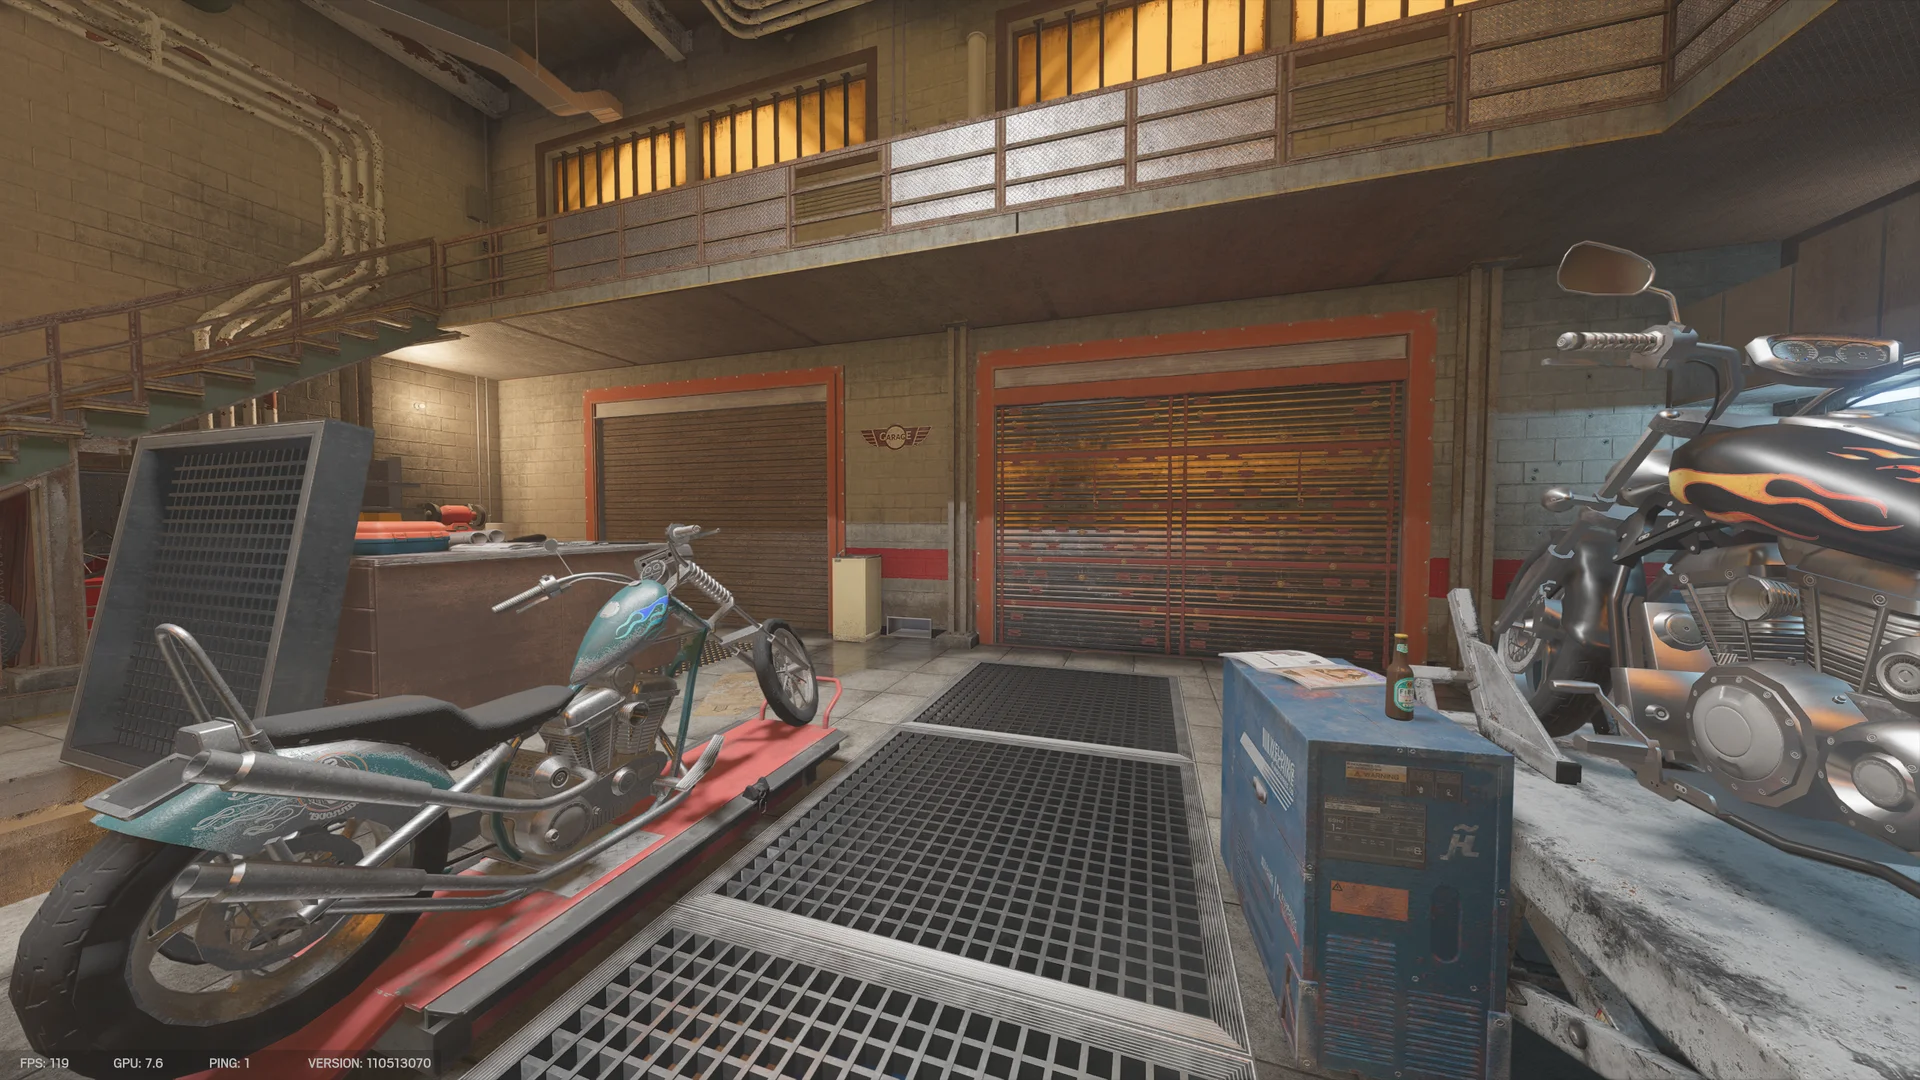
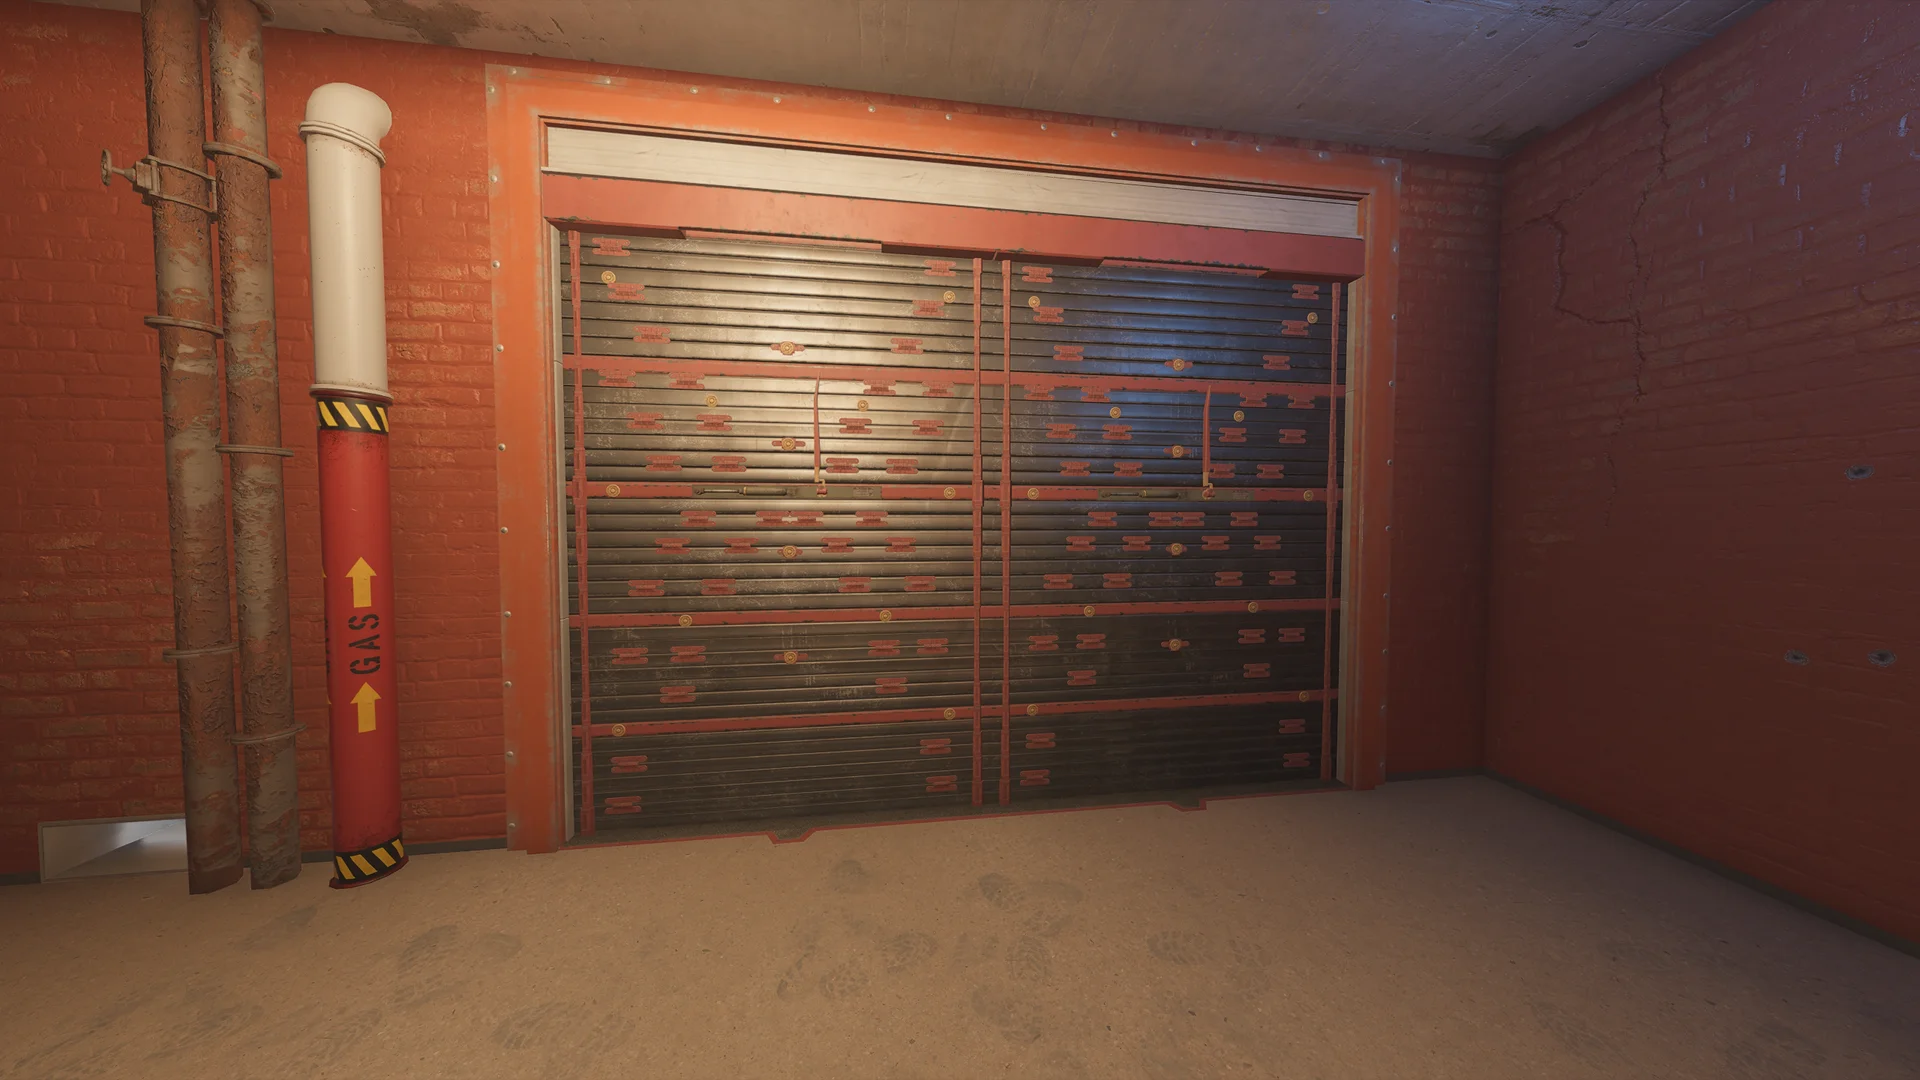
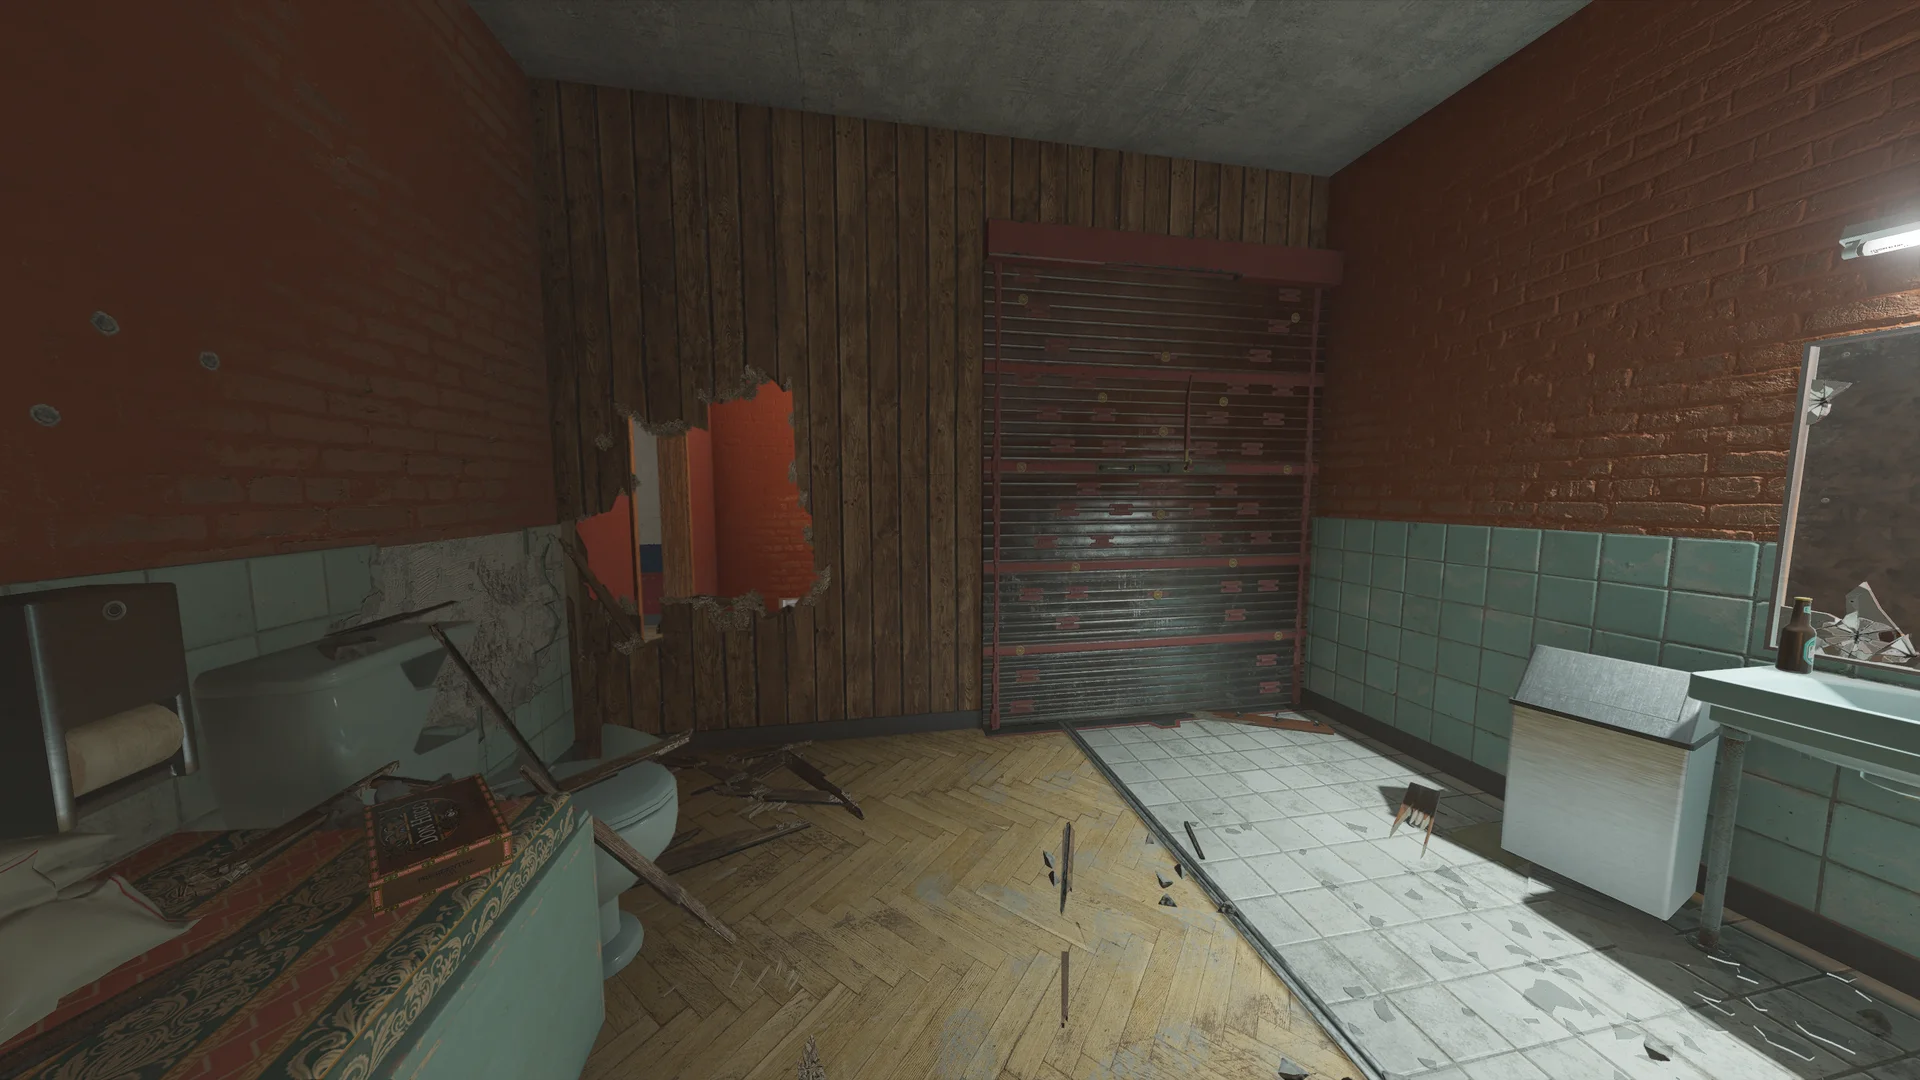
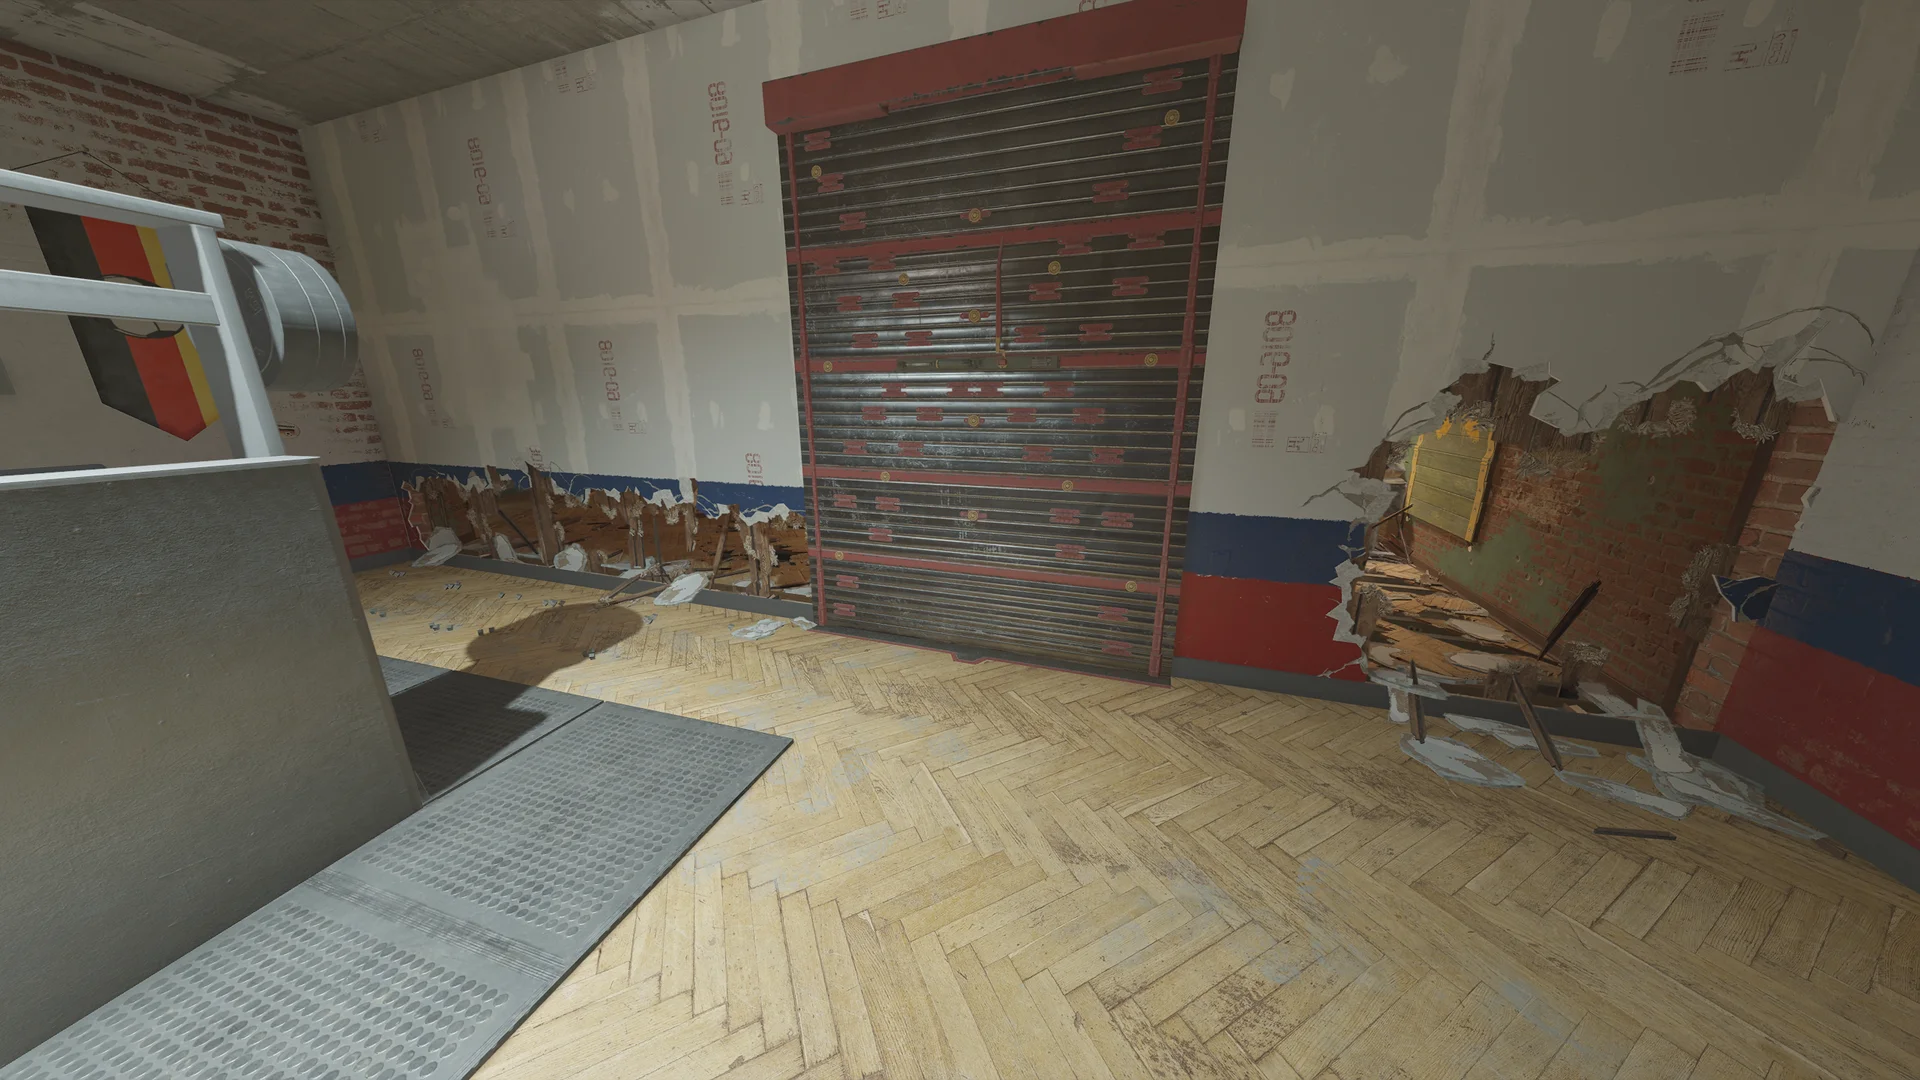
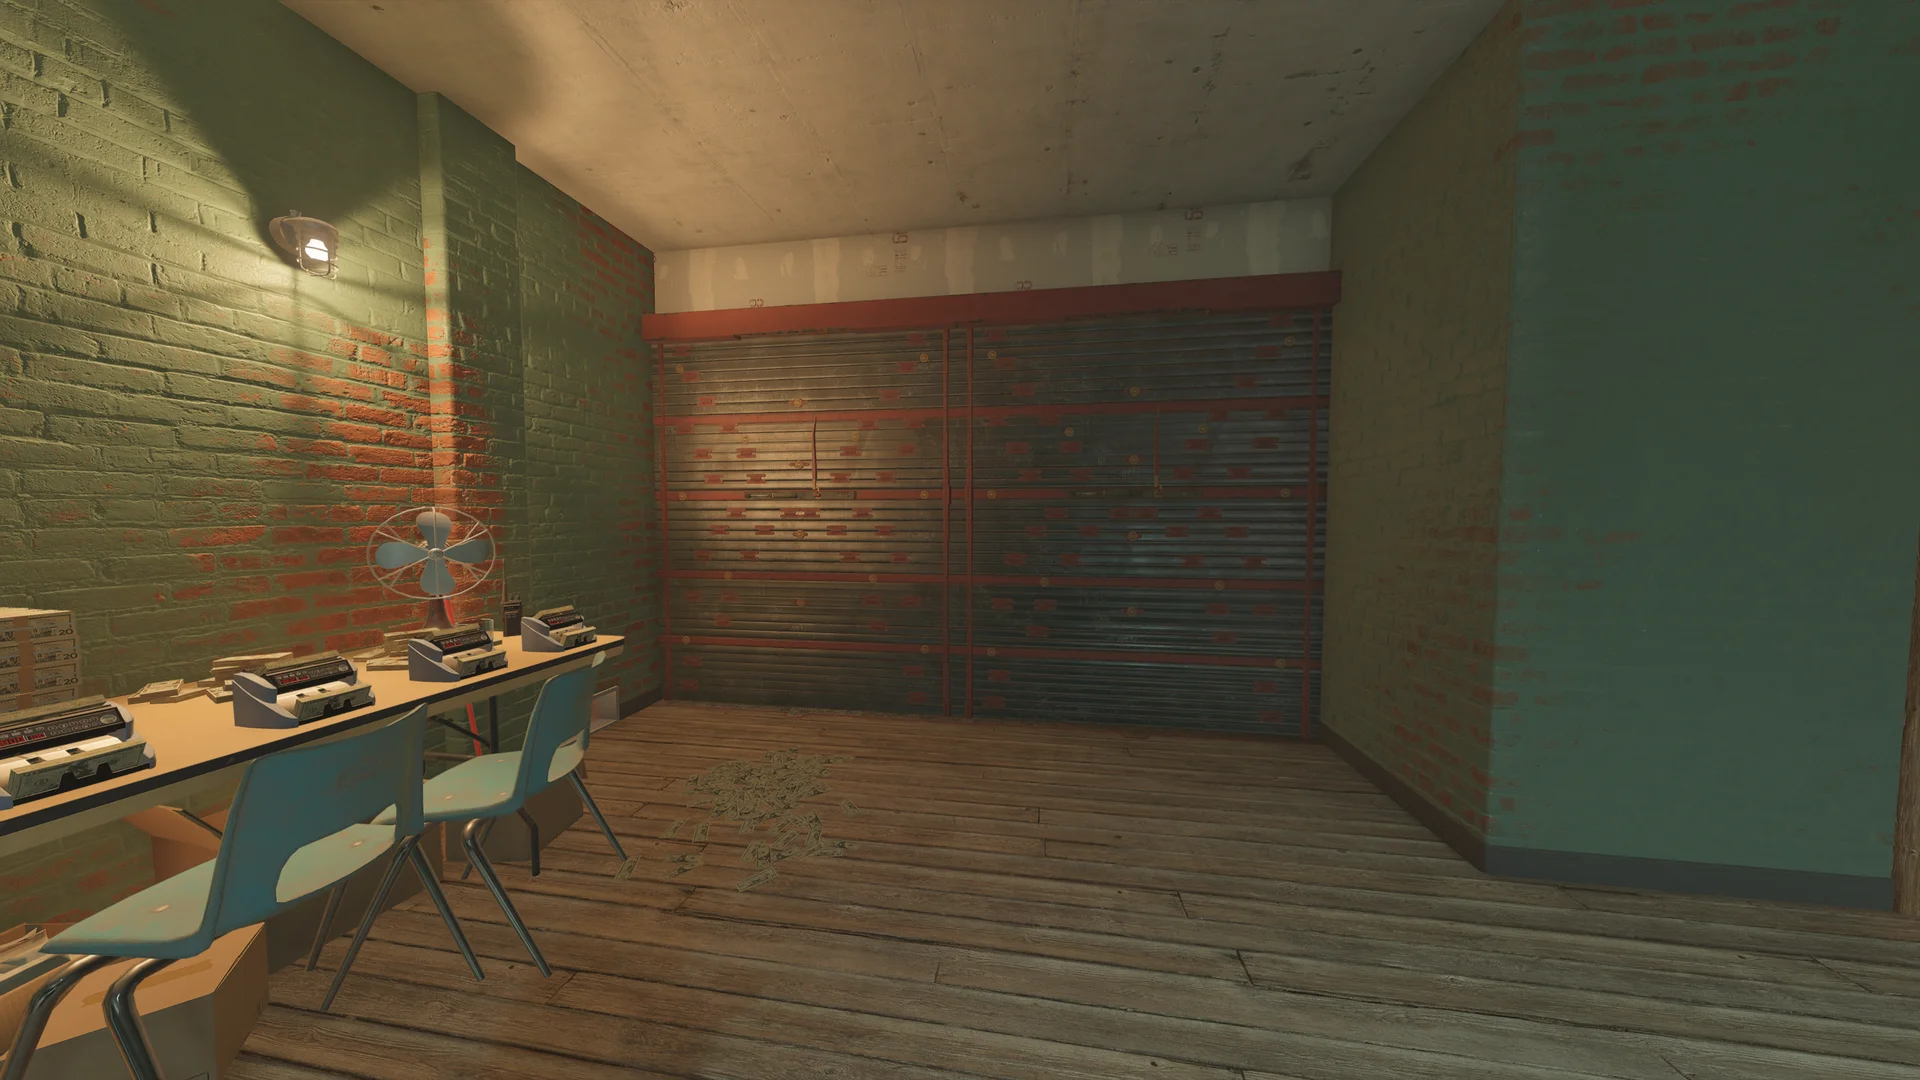
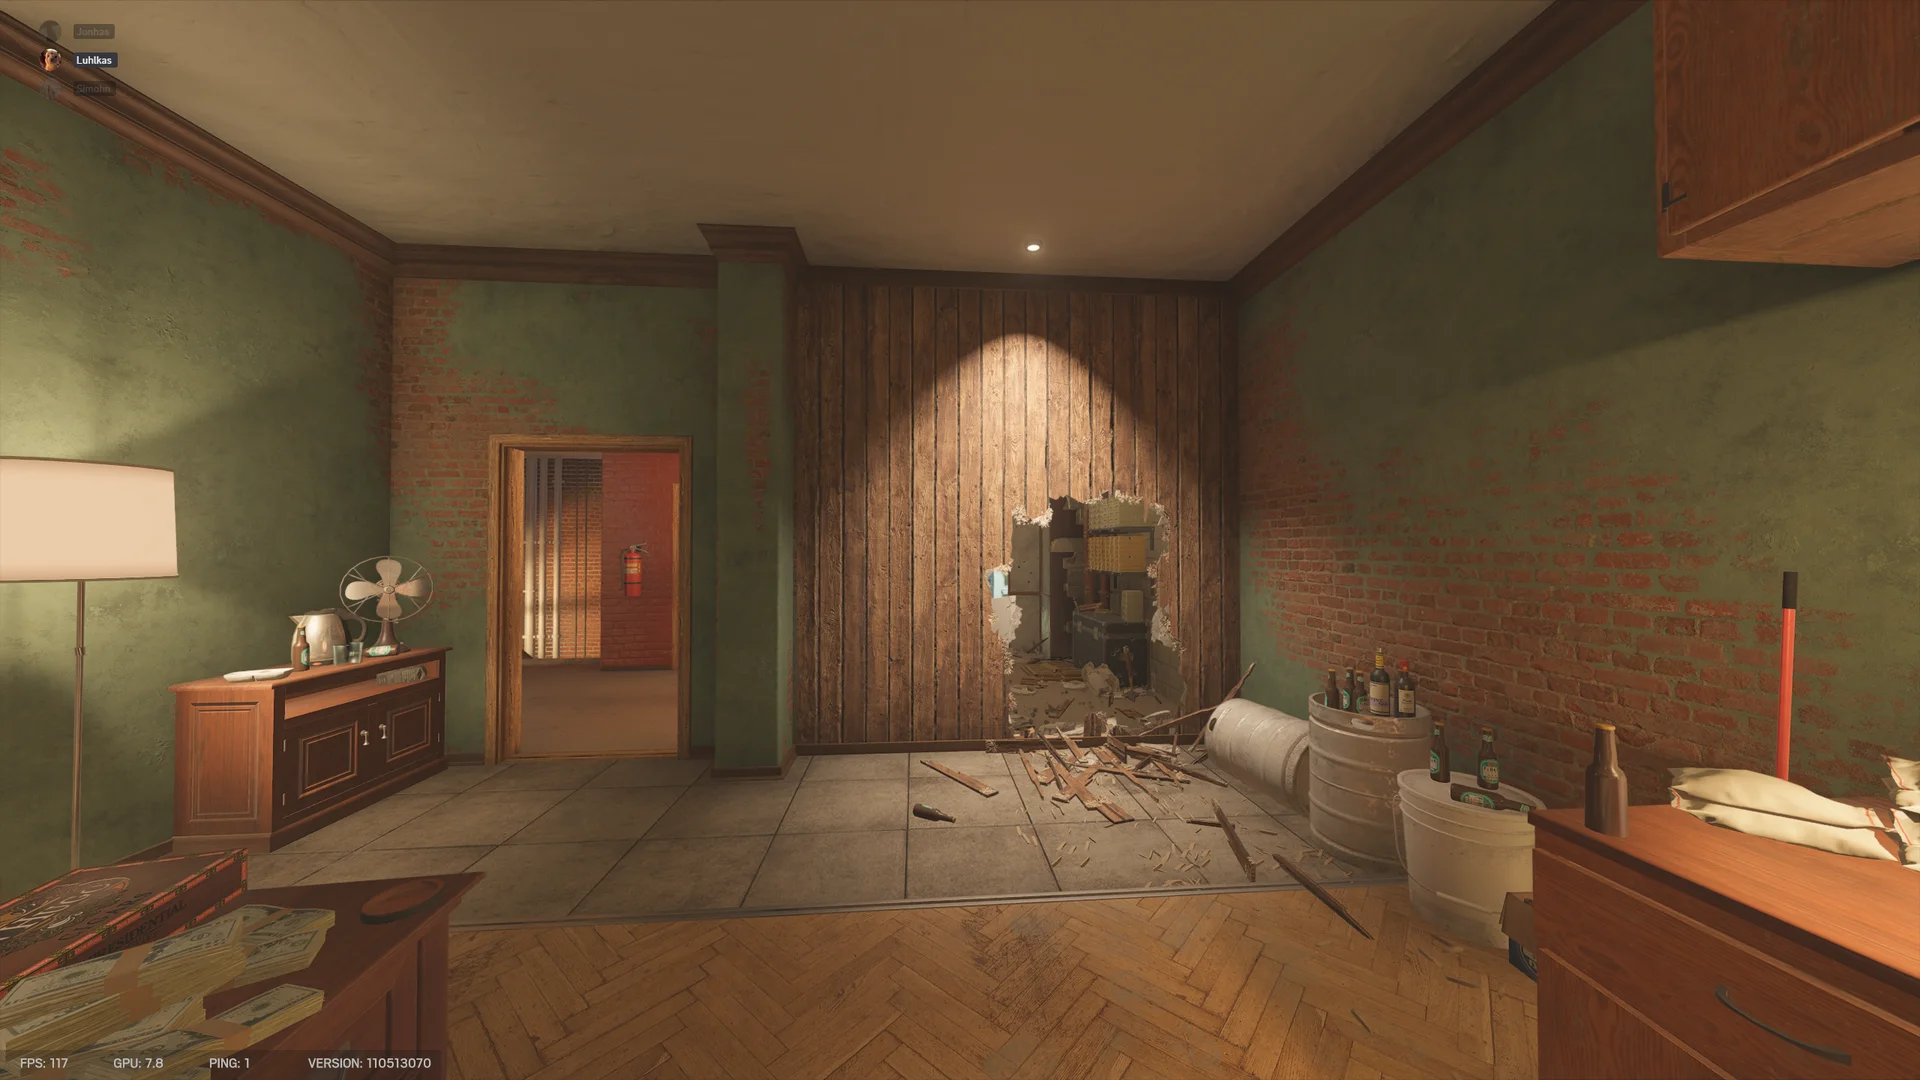
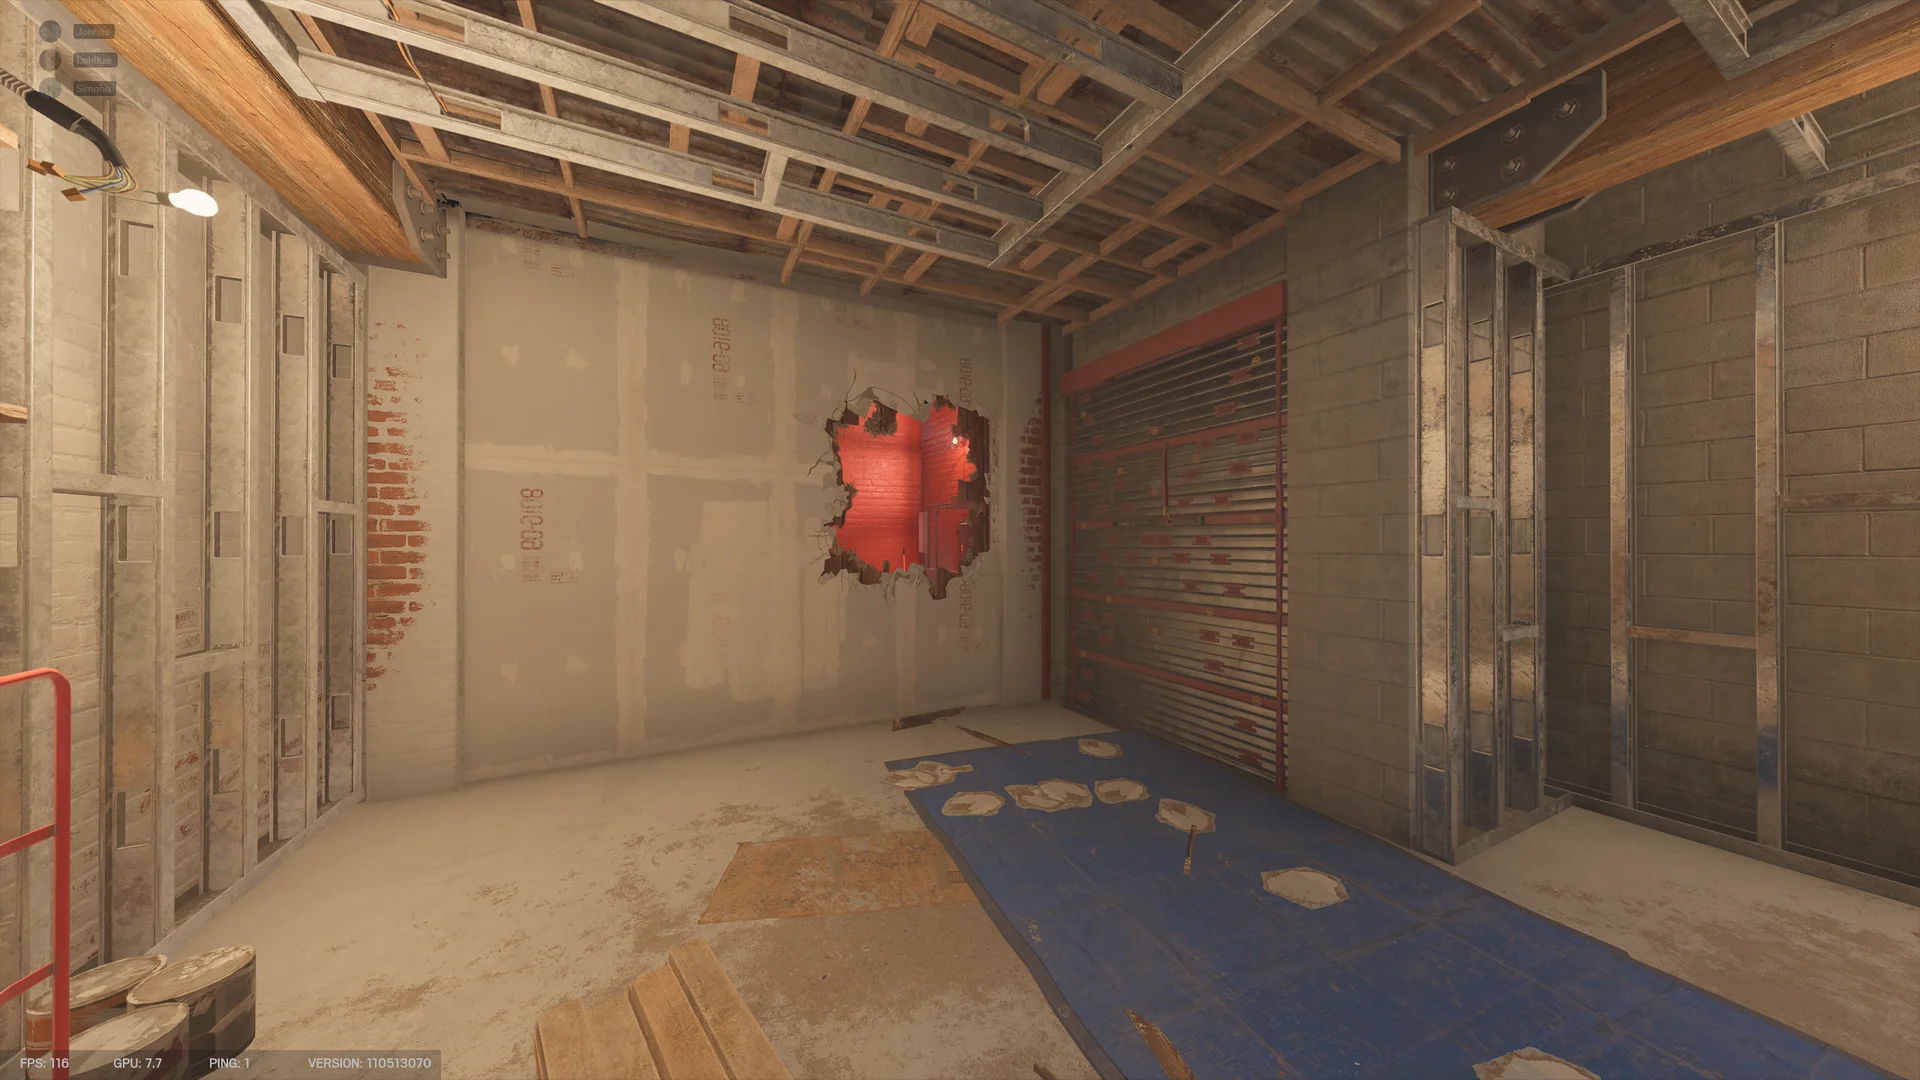
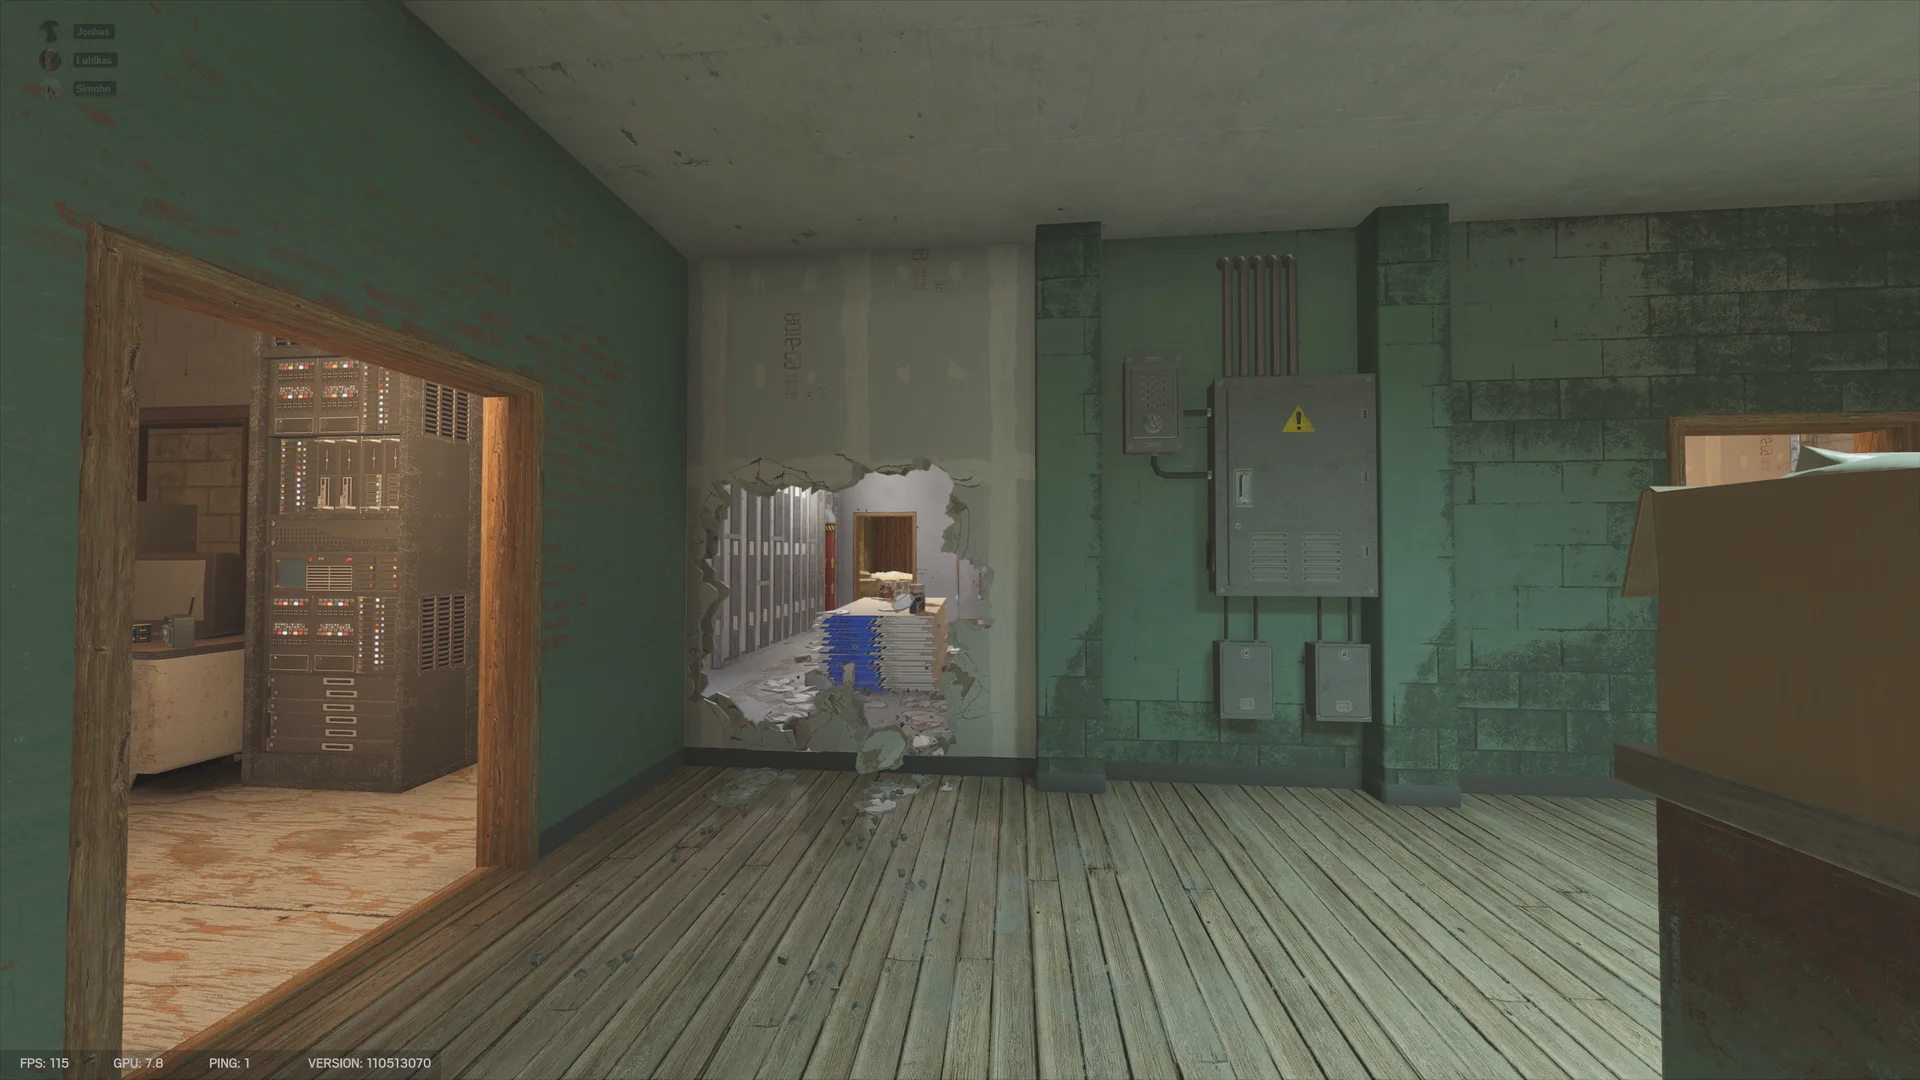
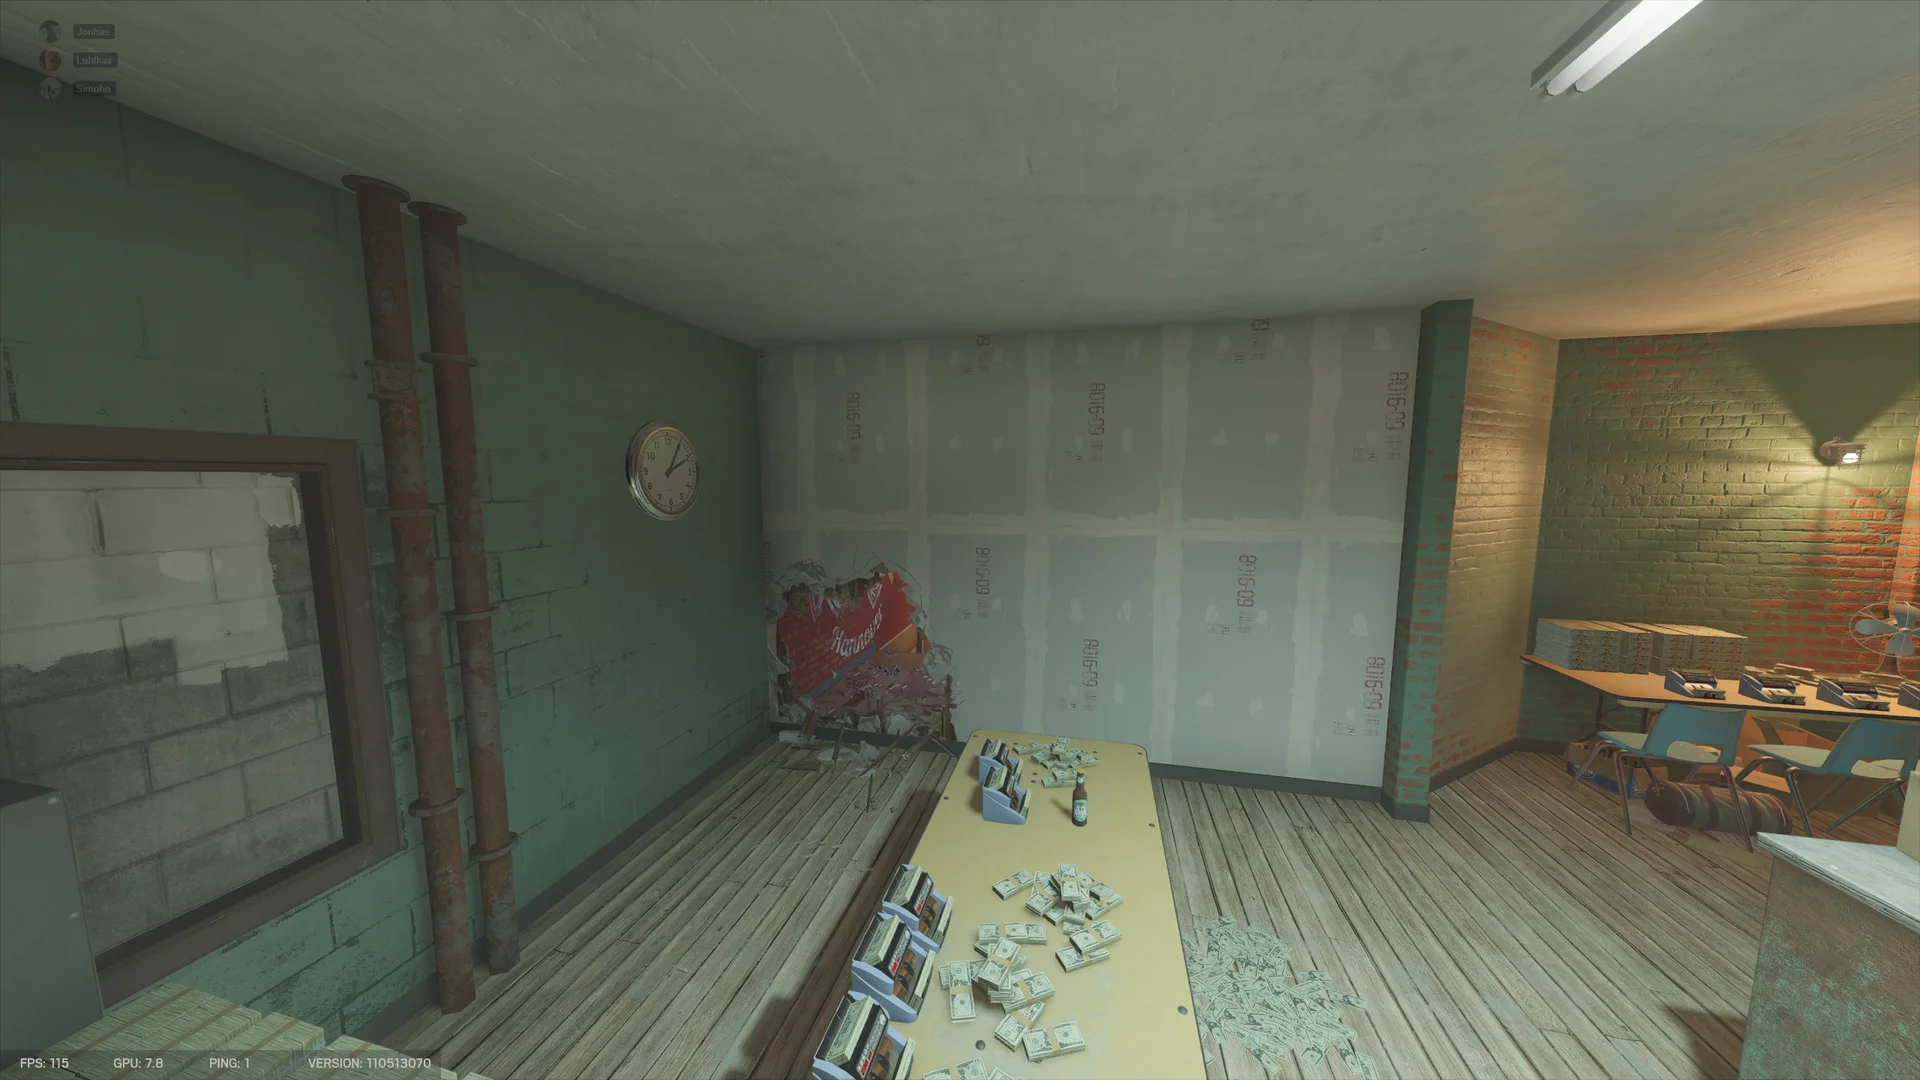
23 in-game reference screenshots from the Club House defender setups, covering B Church, B Arsenal Room; 2F CCTV Room, 2F Cash Room; 2F Gym, 2F Bedroom.
R6 Prep is built by three players in their free time. After each patch we walk every bombsite again in custom games so the setups still match the current build. If the site has saved you a round, a coffee keeps it going.
 Buy us a coffee


