Lair – Basement
 Rotation
 Reinforcement
 Headhole
 Foothole
 High Hole
 Bomb A
 Bomb B
hover a marker to preview · click to enlarge
overview
Lair is played from above: Operations anchors every 2F hold, and both lower sites are won by controlling the floor over them rather than bunkering.
Three floors. The Rocket stairs climb toward Operations and the Bathroom side of 2F, while the Bridge side runs past Storage into the Stone hall. In the basement, Warehouse and its Yellow stairs lead toward Lockers, and the Filter stairs link the Stock side up to Armory. The Missile room below and Armory above it are the only rooms that can't be attacked through the floor, which makes both of them strong places to hold.
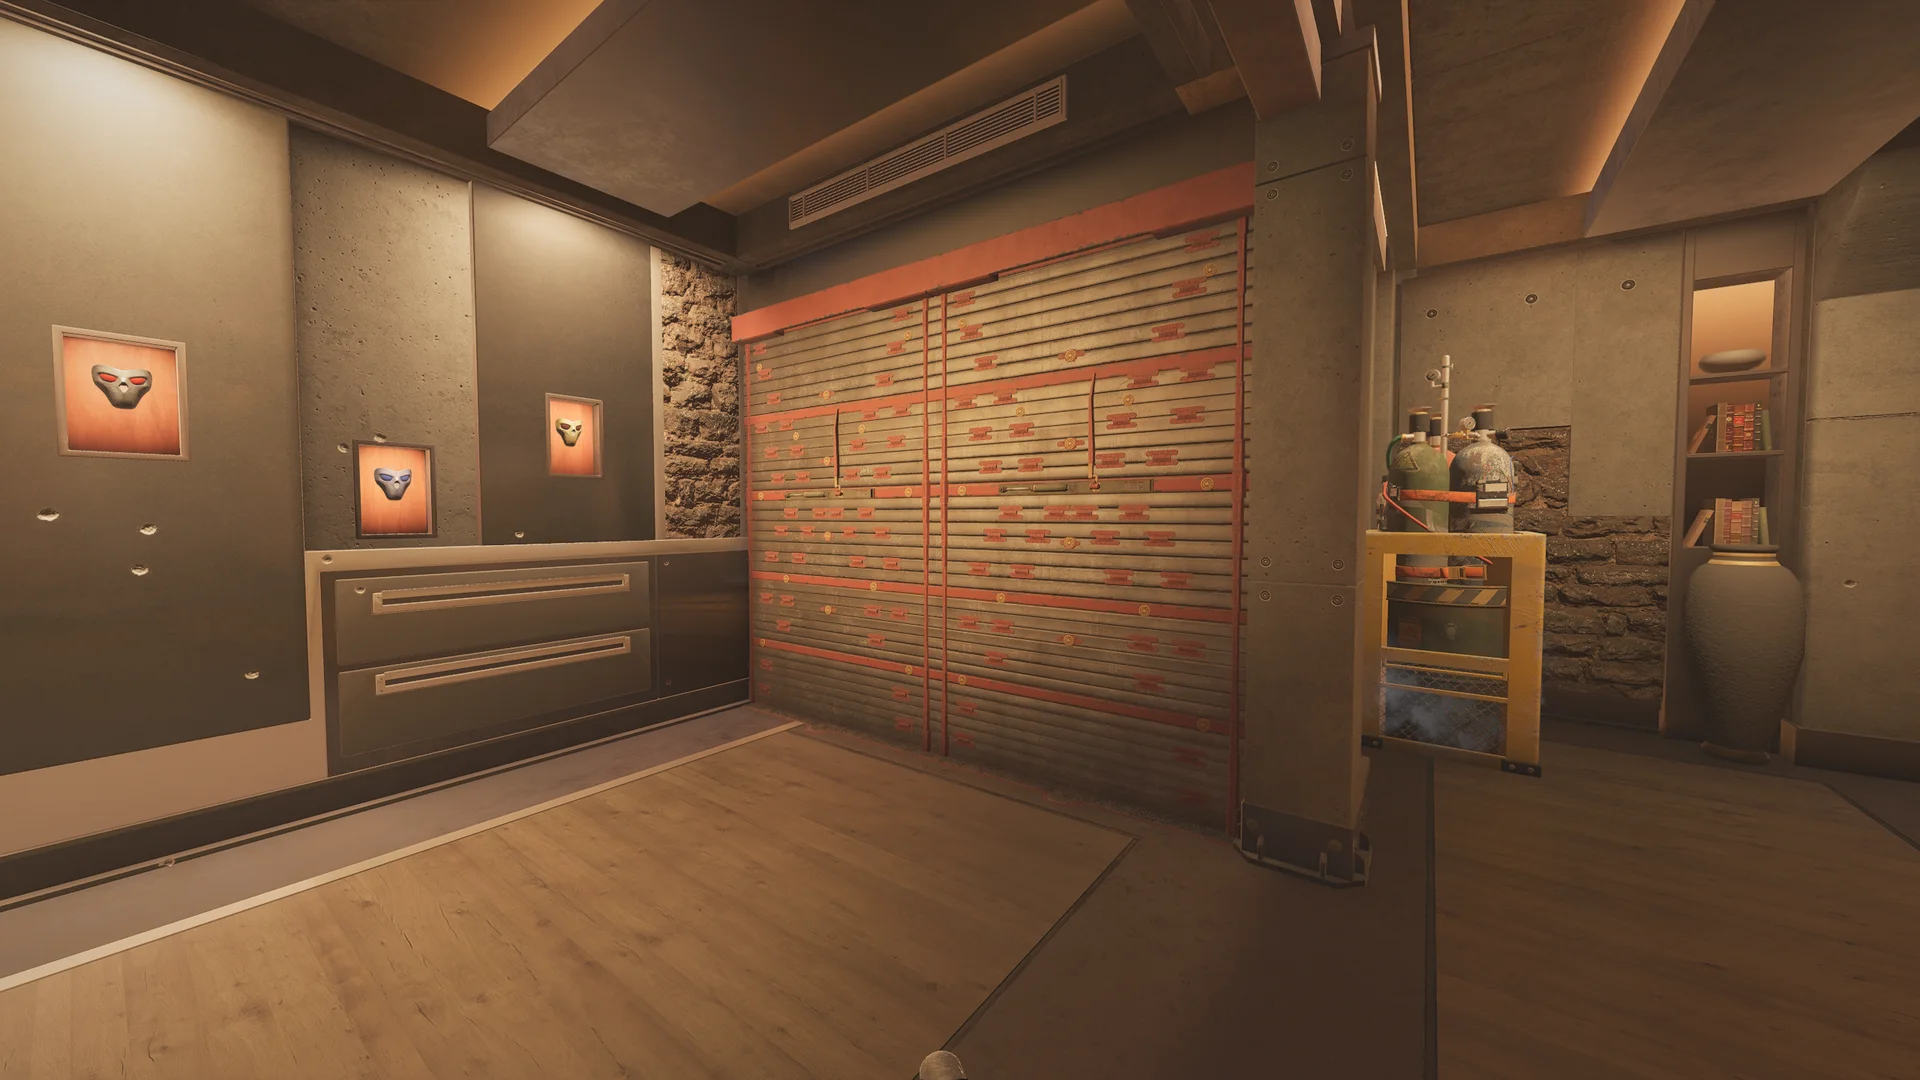
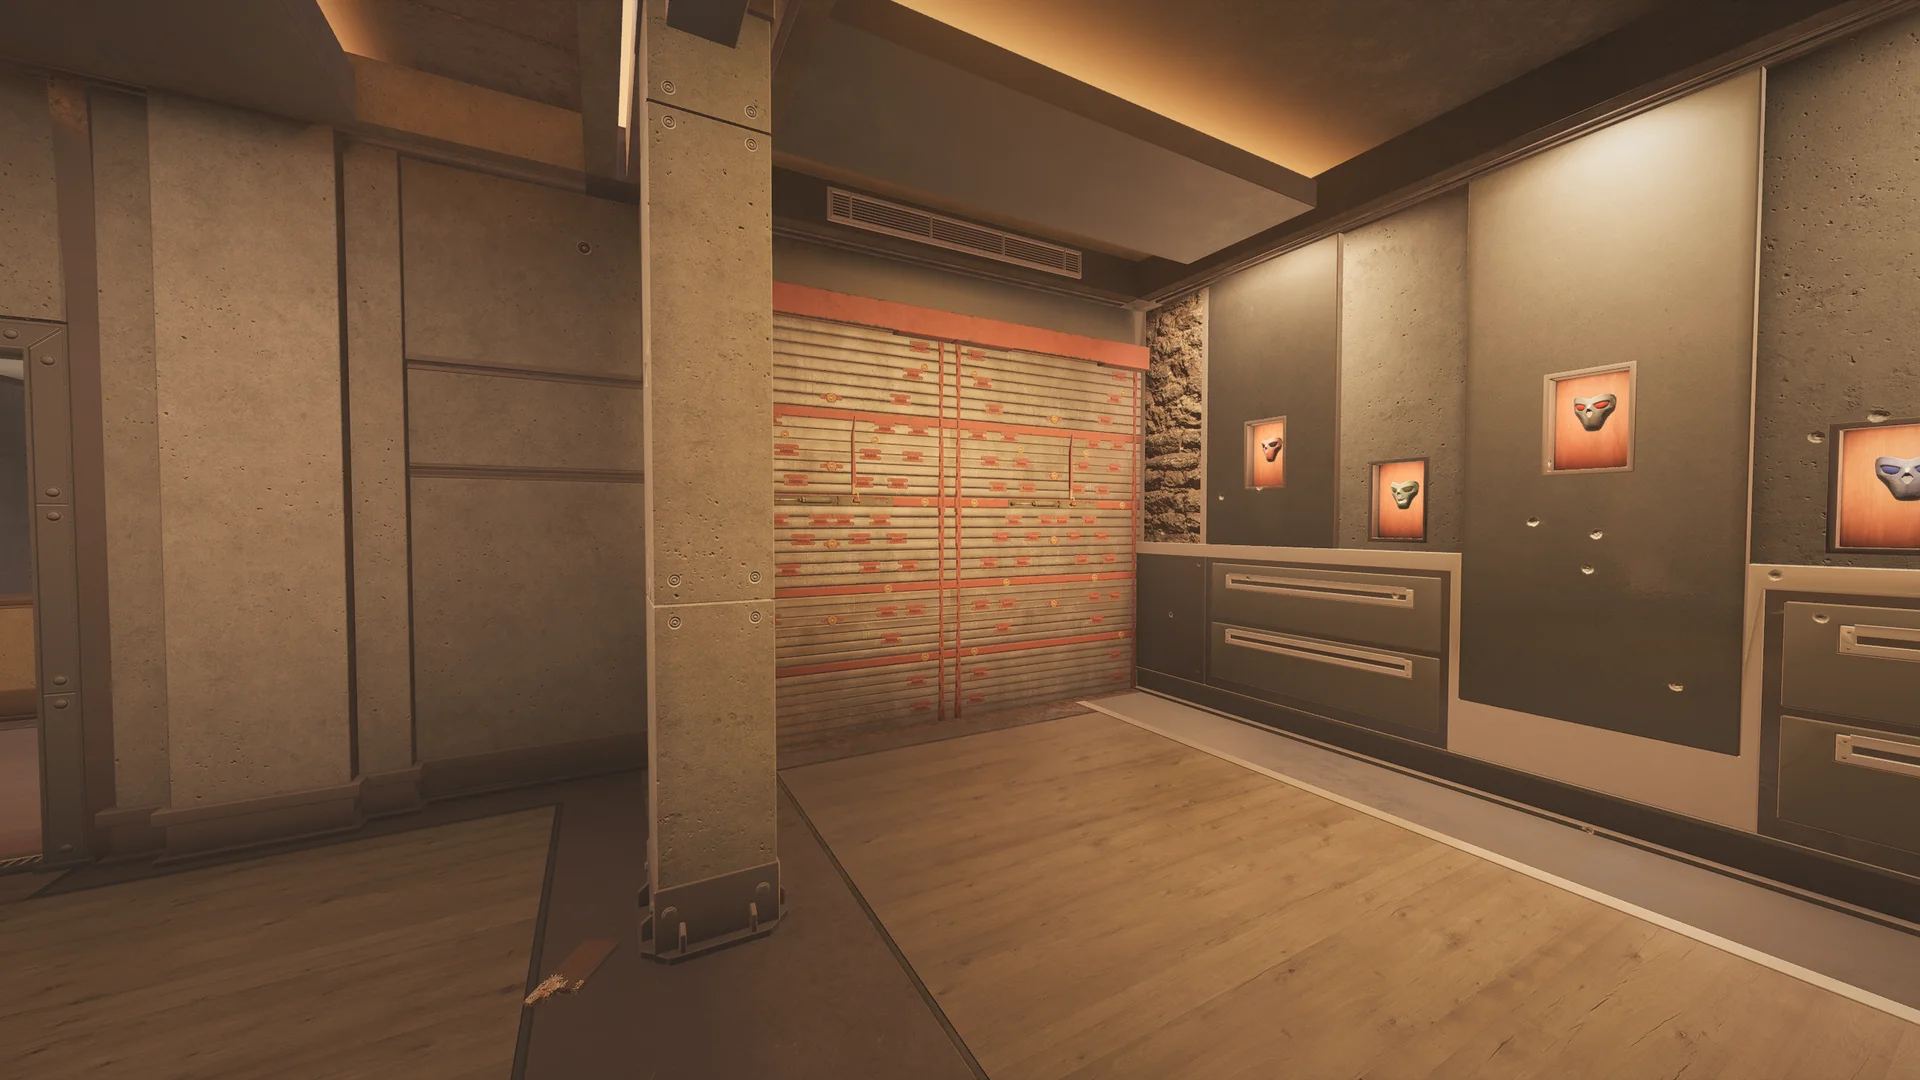
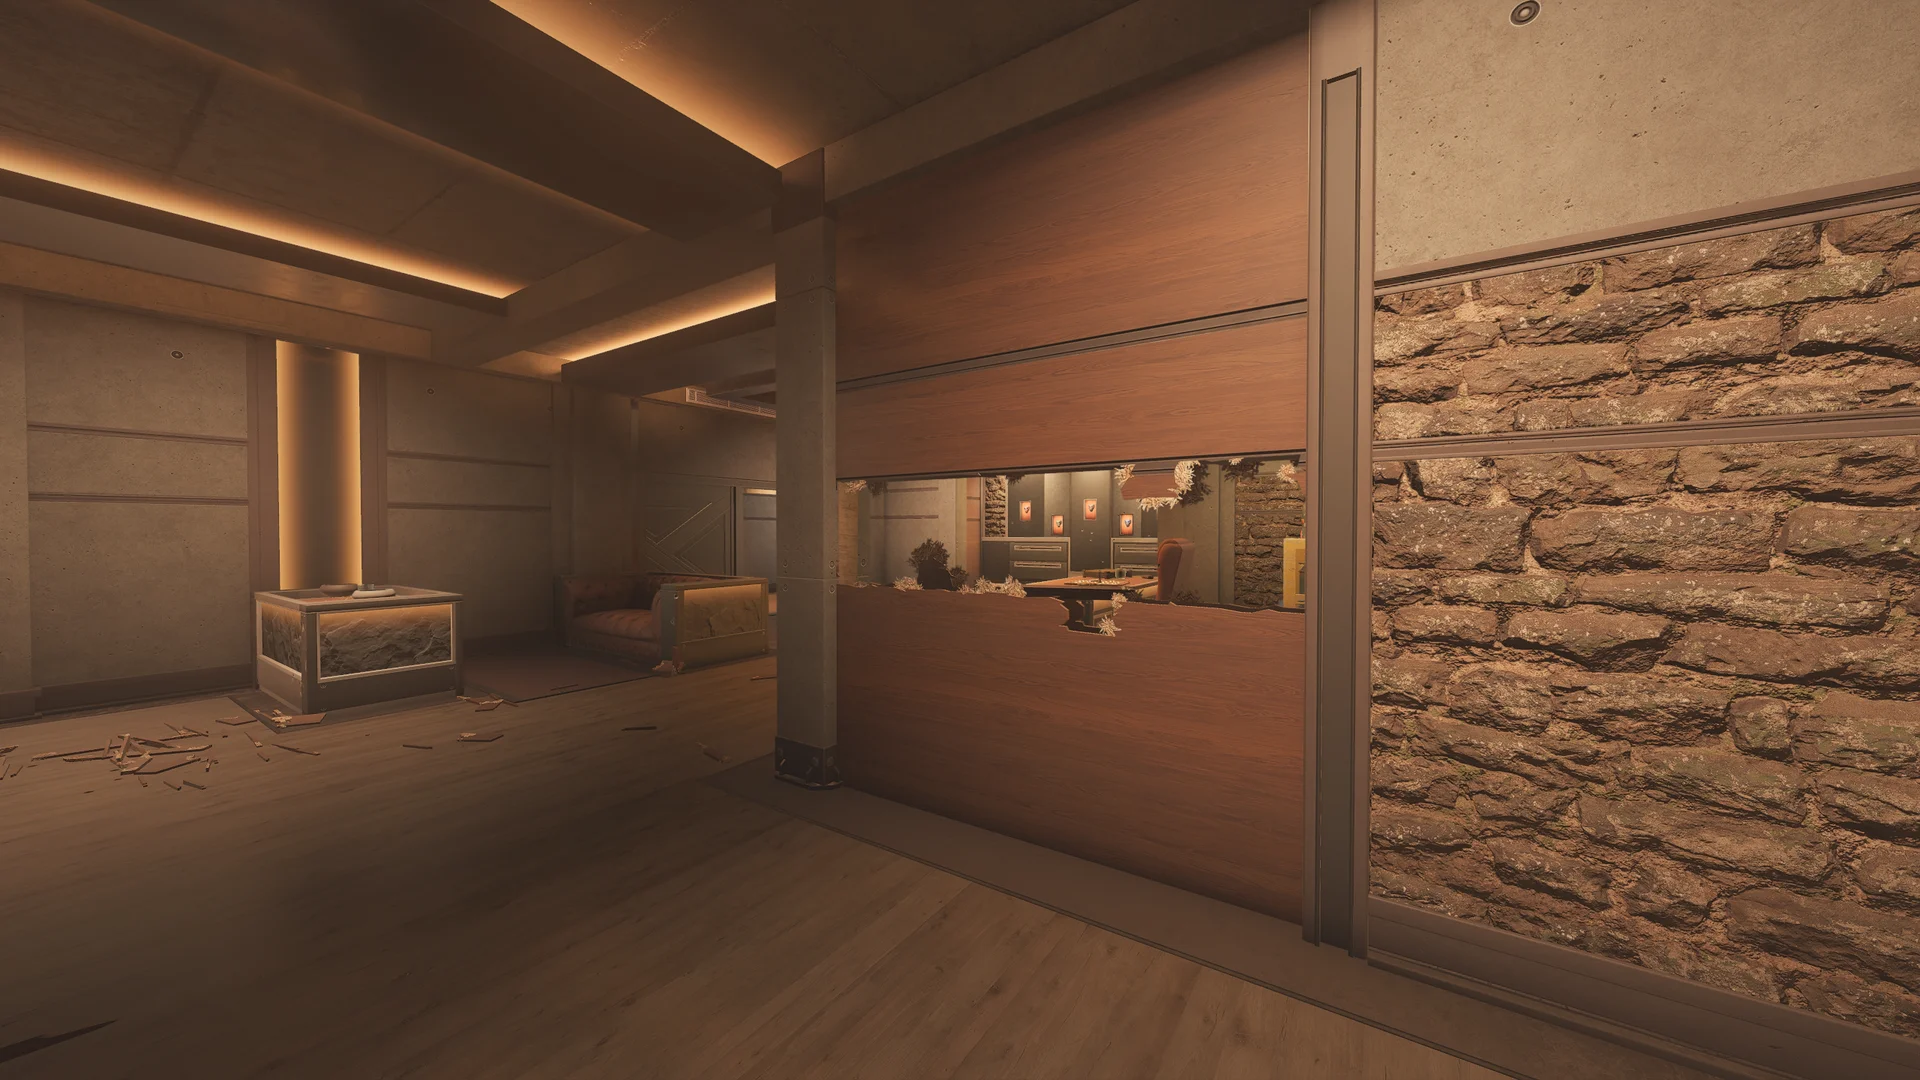
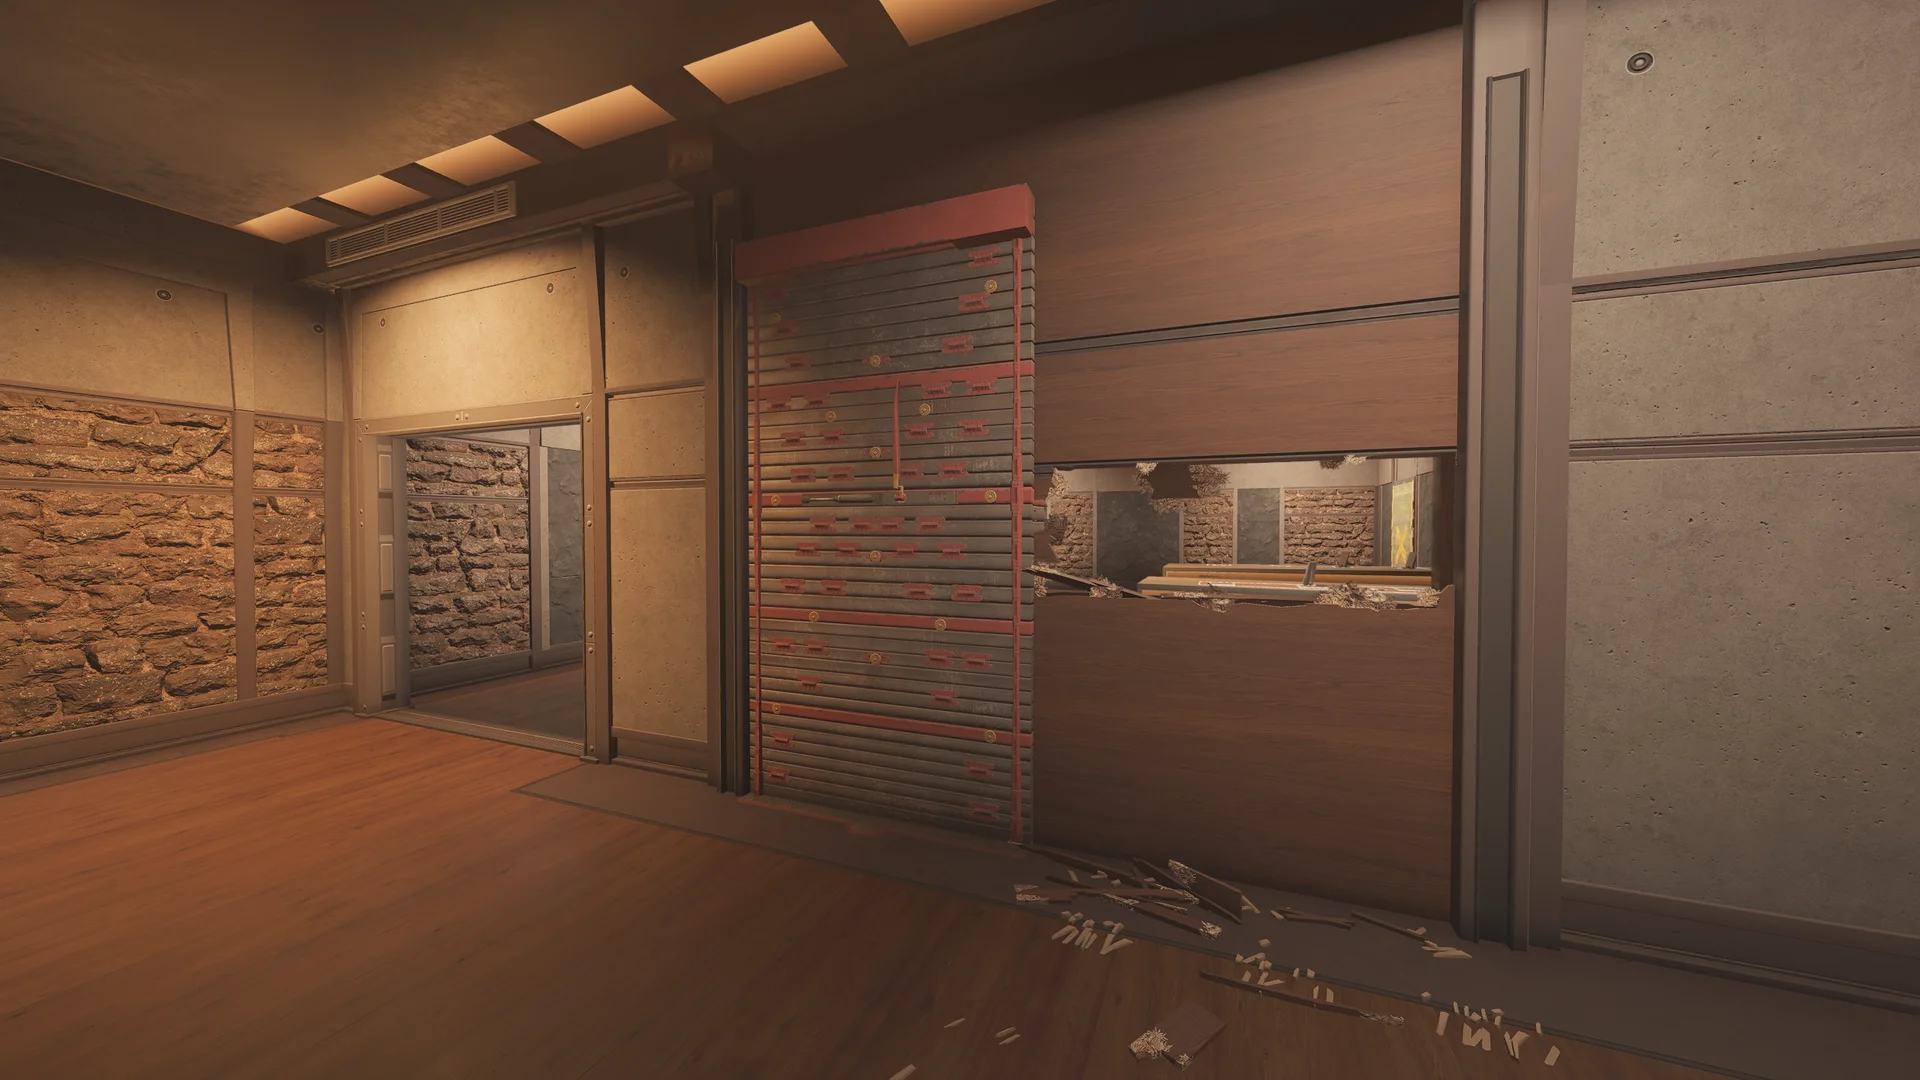
Operations is the power spot: its wall is reinforced on the left with headholes on the right, and it is held to waste time before falling back. The inner Mask walls are double reinforced, because the plant behind them is the one attackers want most. Both Bathroom walls are reinforced so a trap player can seal it off, and headholes from Servers into Master Office let defenders stop that plant from cover.
Held with two defenders roaming above and three in site. The Missile wall stays shut so attackers have to come down the Missile hallway into crossfires. Armory is reinforced on three sides and contested early, and a defender with impacts can open the floor of Security to watch the Lockers door and the default plant from above.
Won from the floor above. The two outside walls and the Green pillar walls are reinforced, and four defenders hold 2F with the same Operations and Bridge setup as Master Office. Vertical holes cover the Green pillar plant, the breach and the Security door, so a horizontal push can be stopped without anyone standing in site.
The pattern repeats on every site: waste time in Operations and on the Bridge side, then layer back and play the vertical holes.
reference
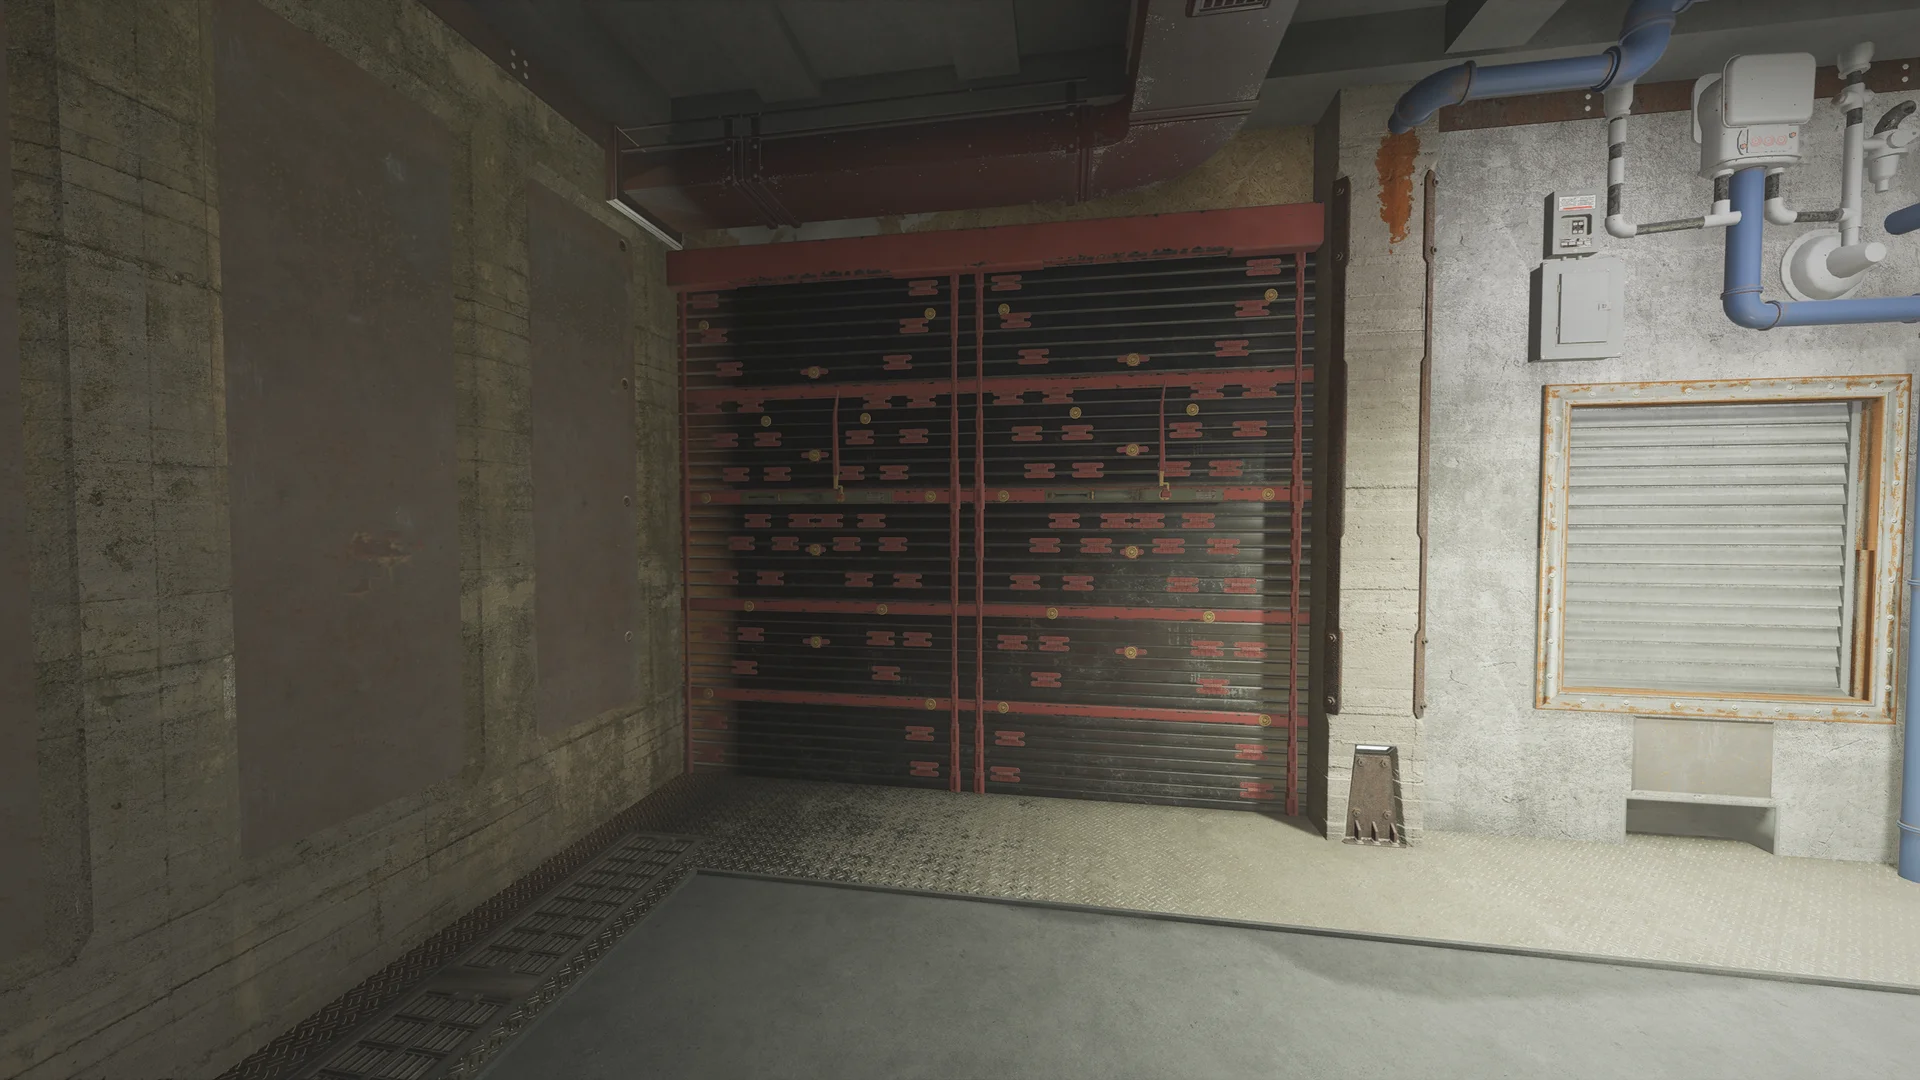
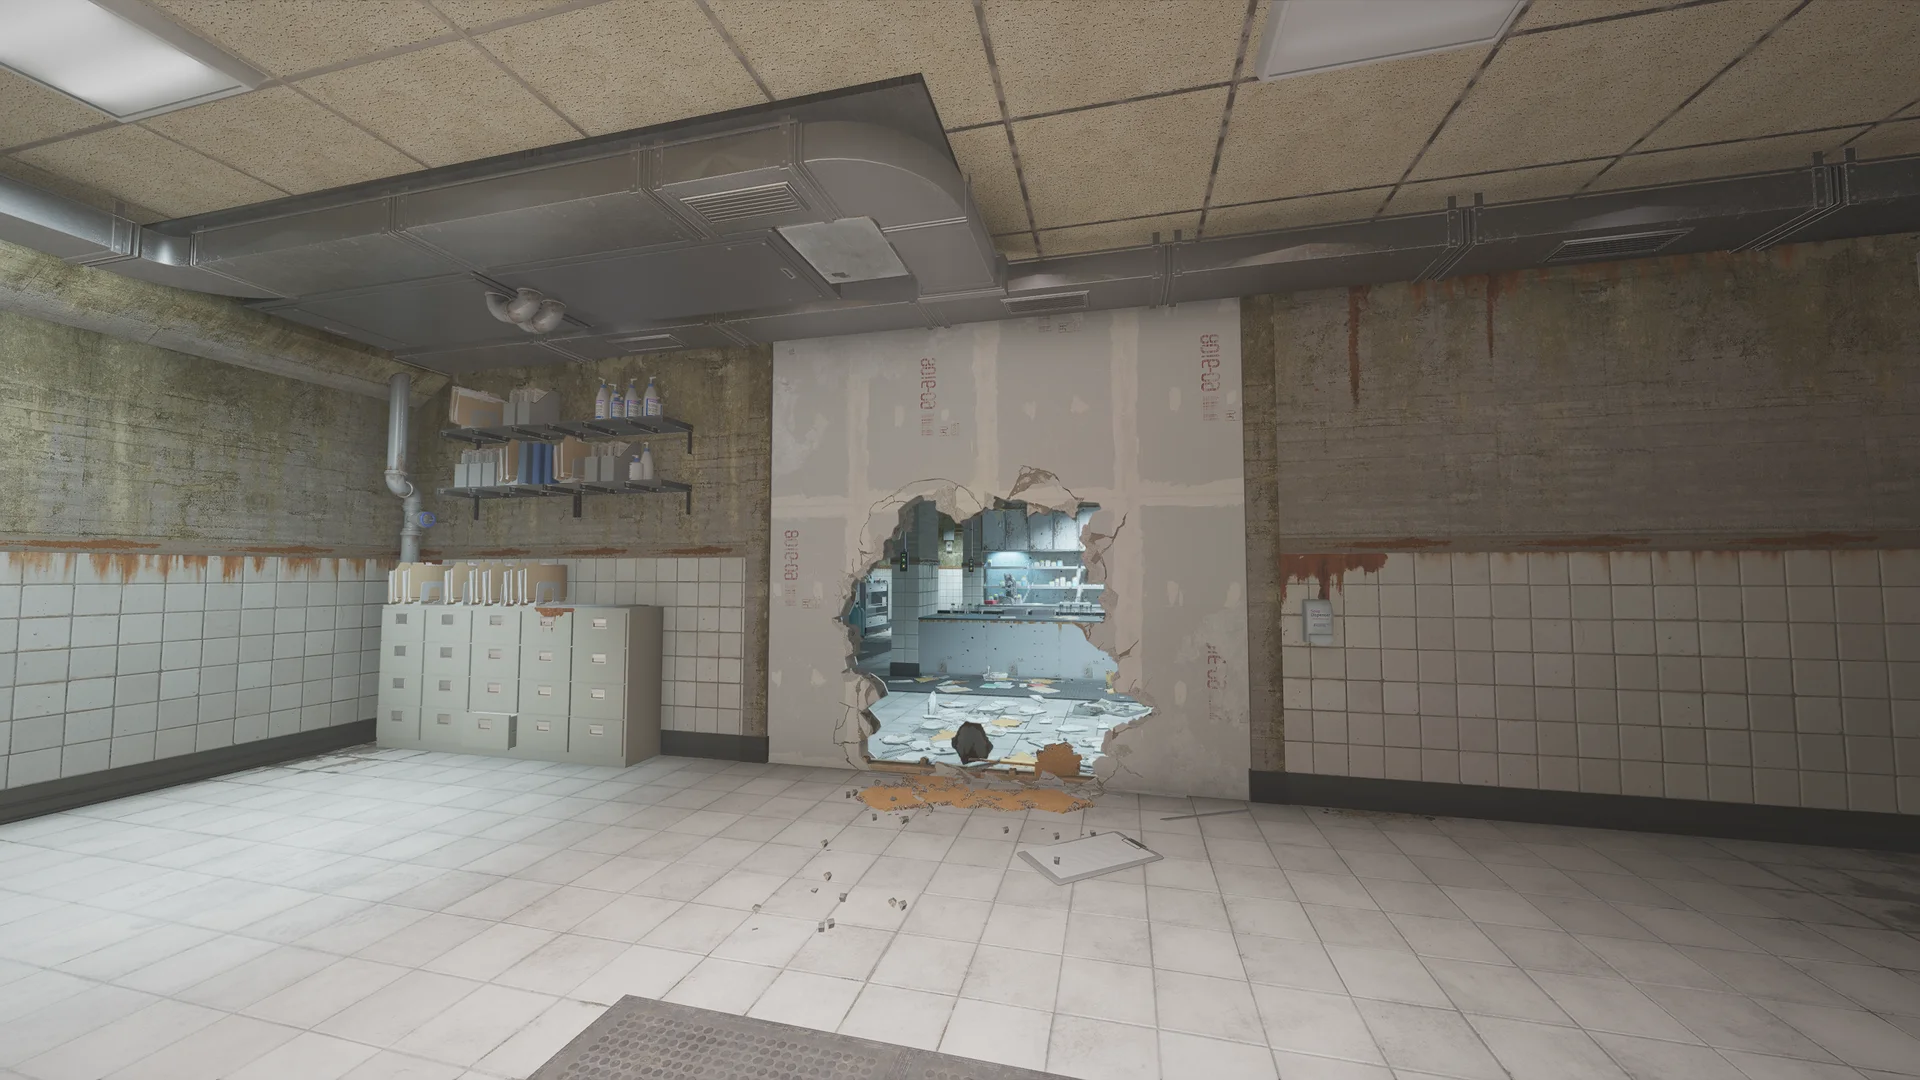
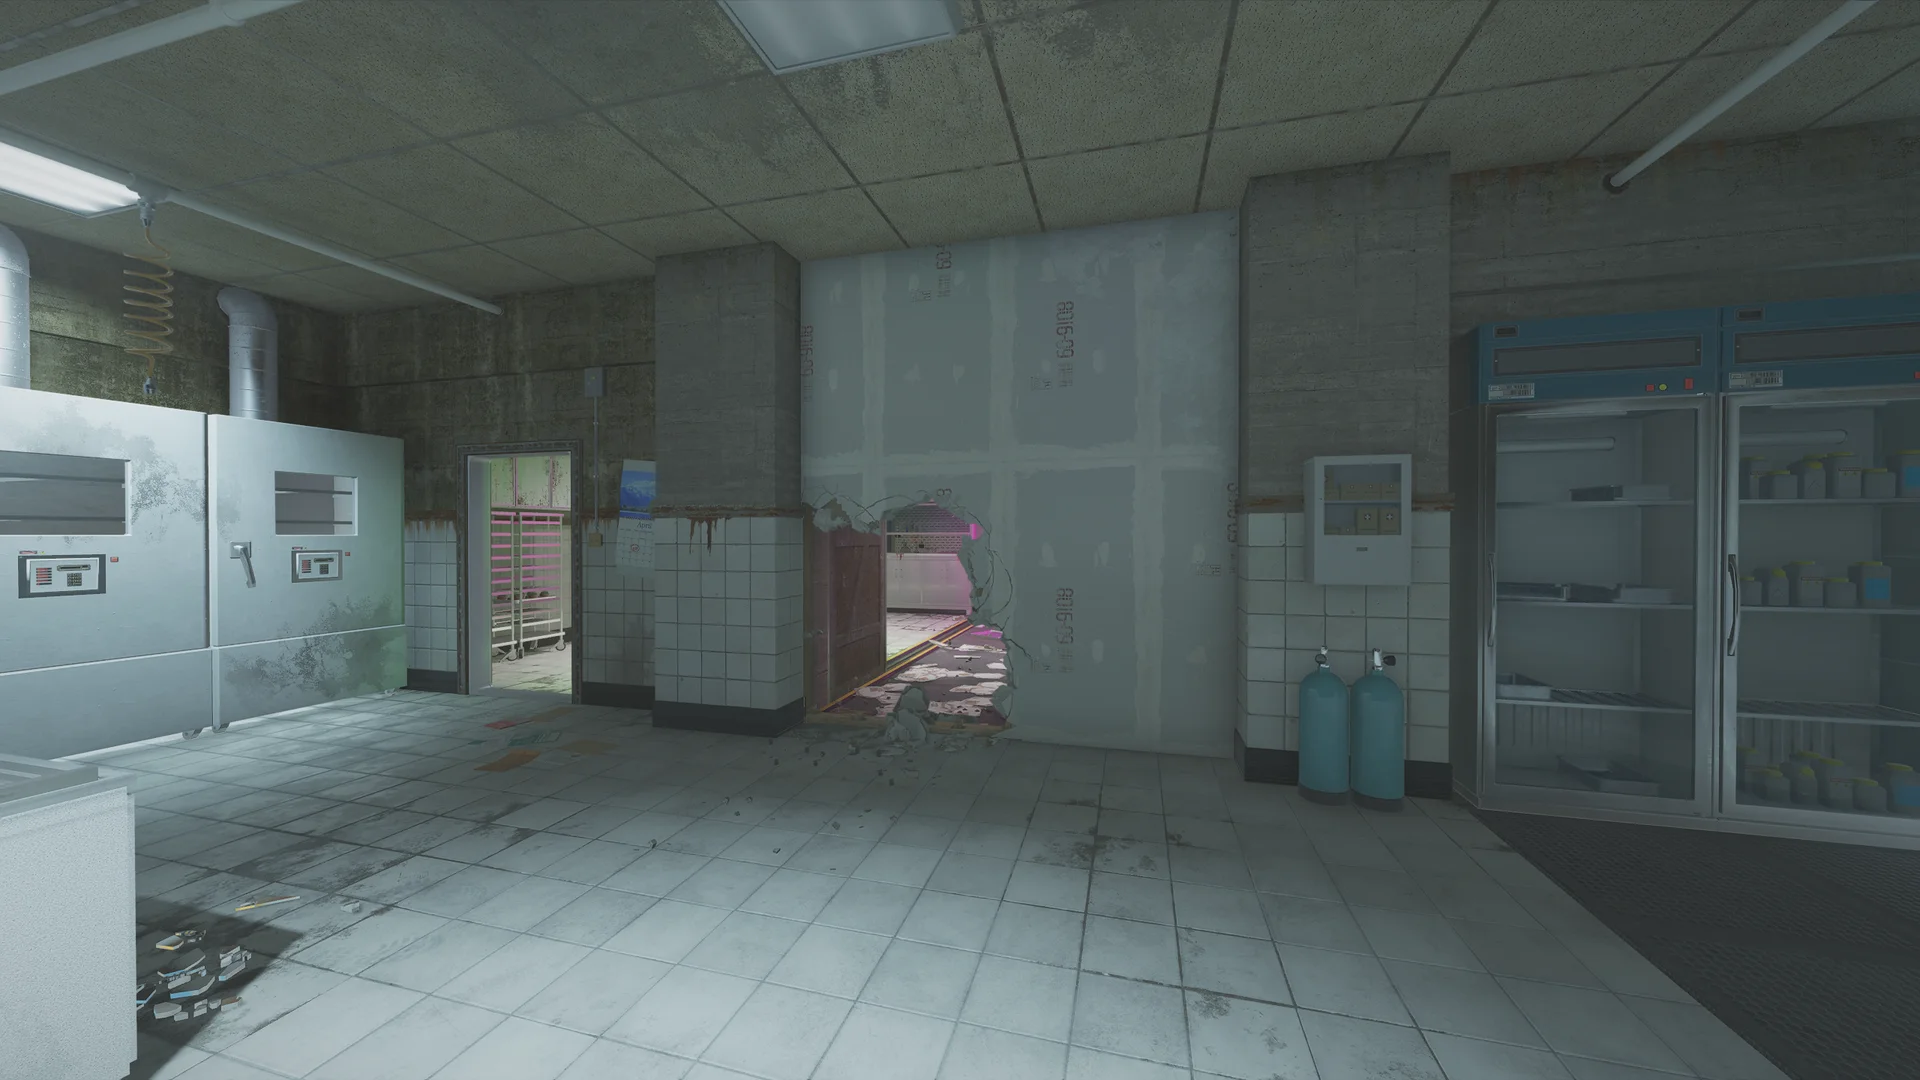
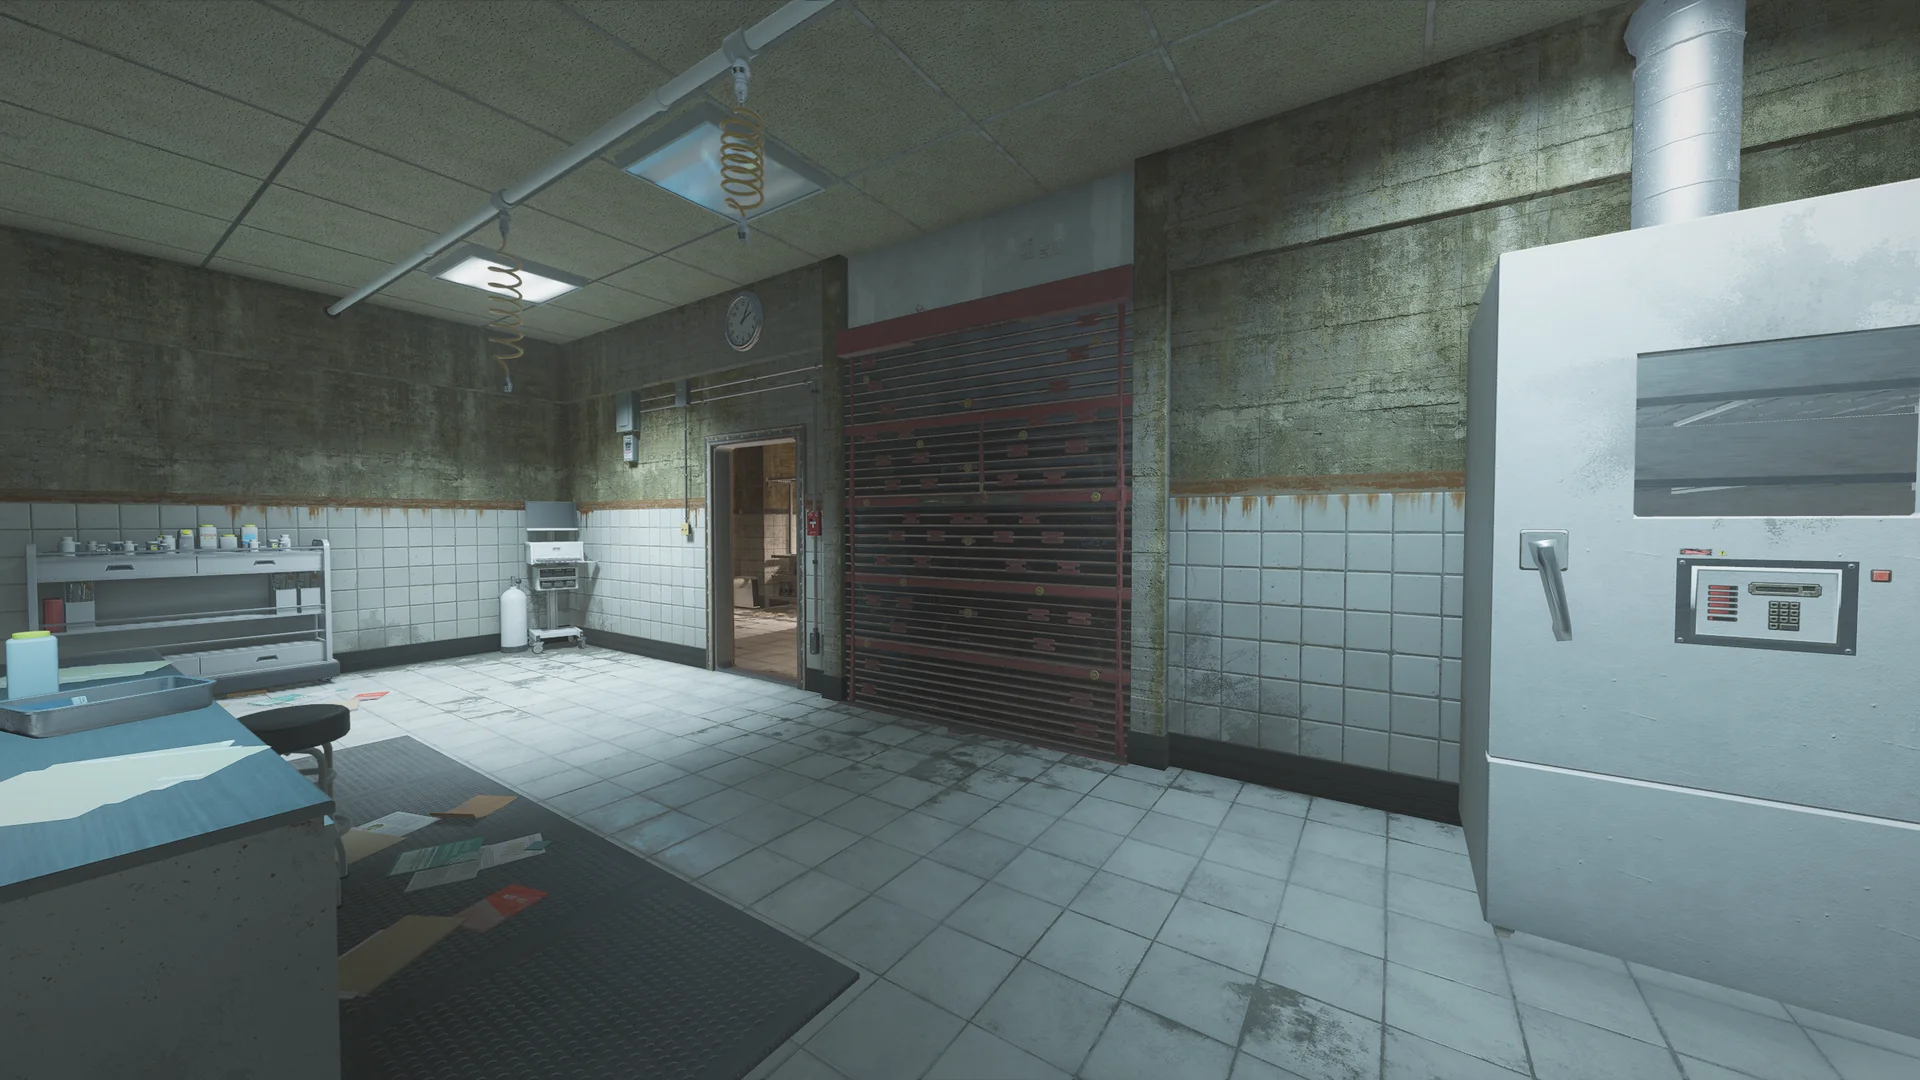
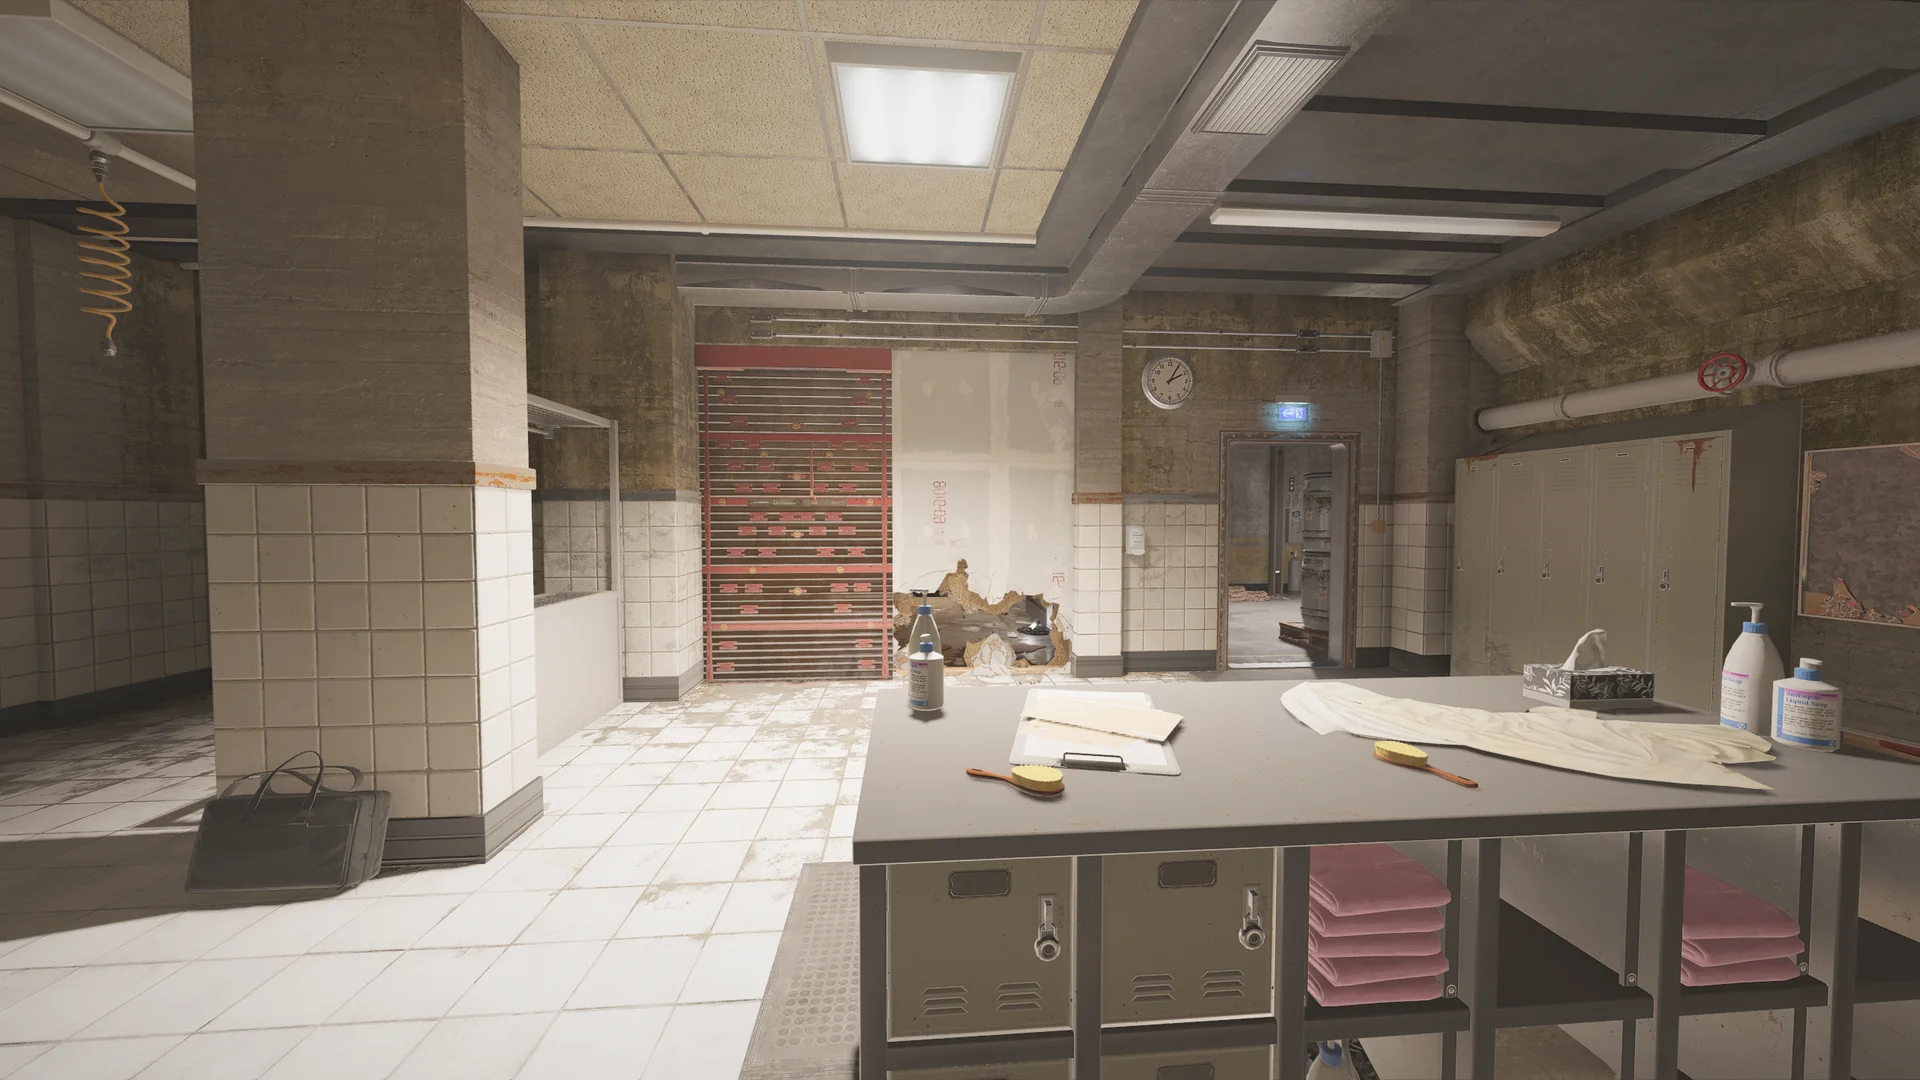
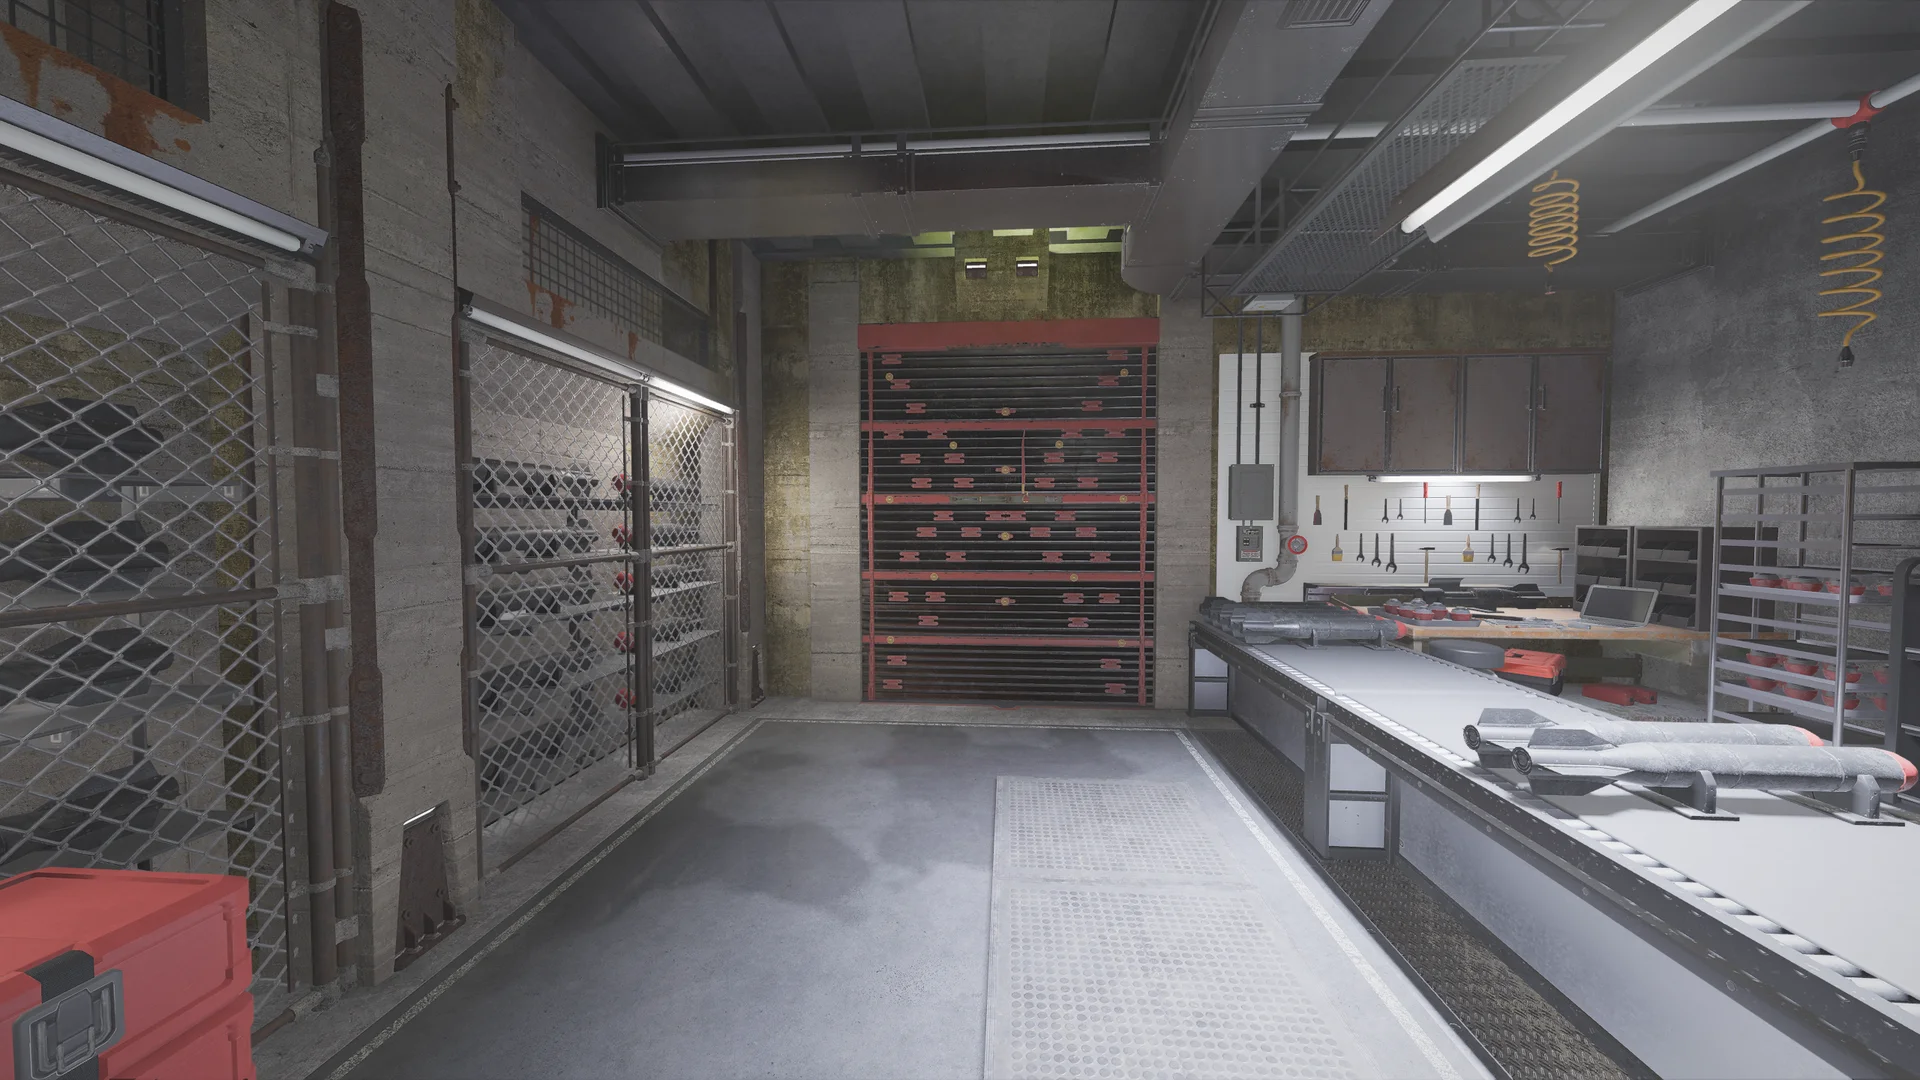
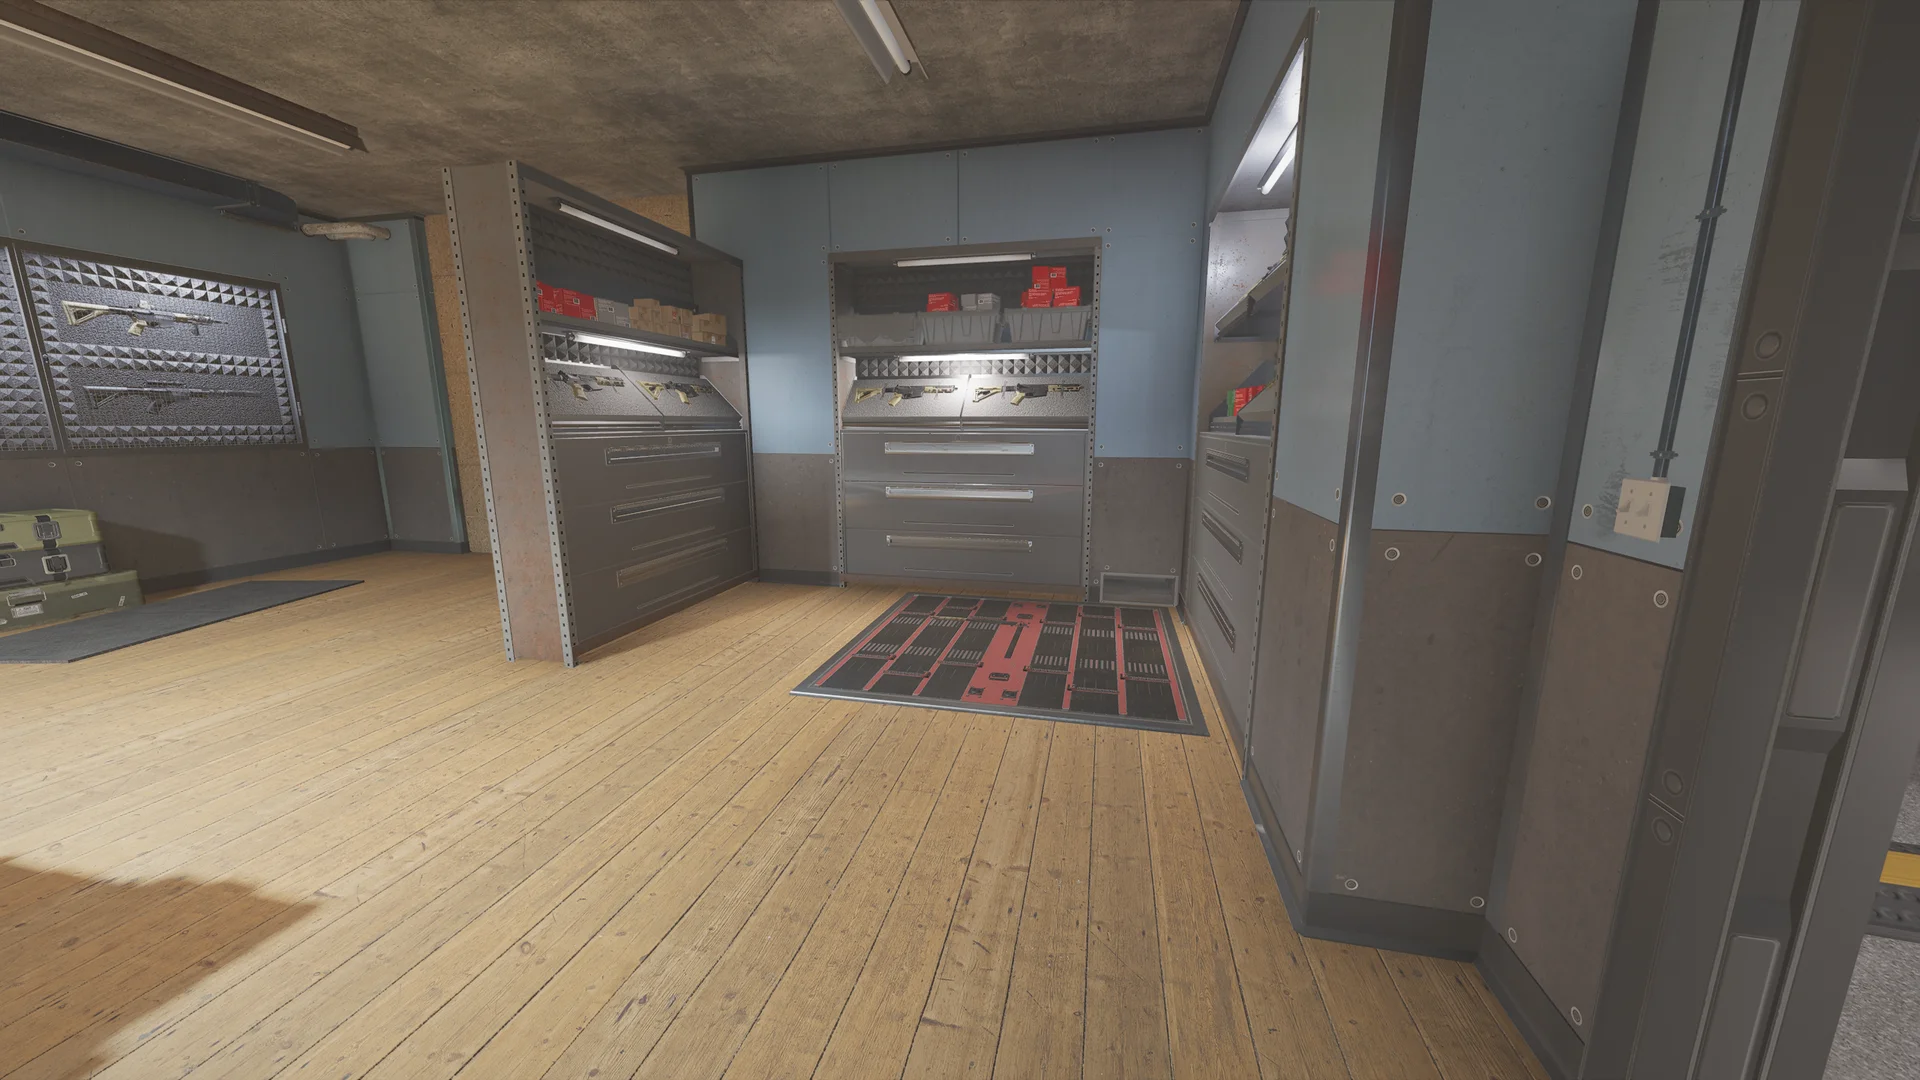
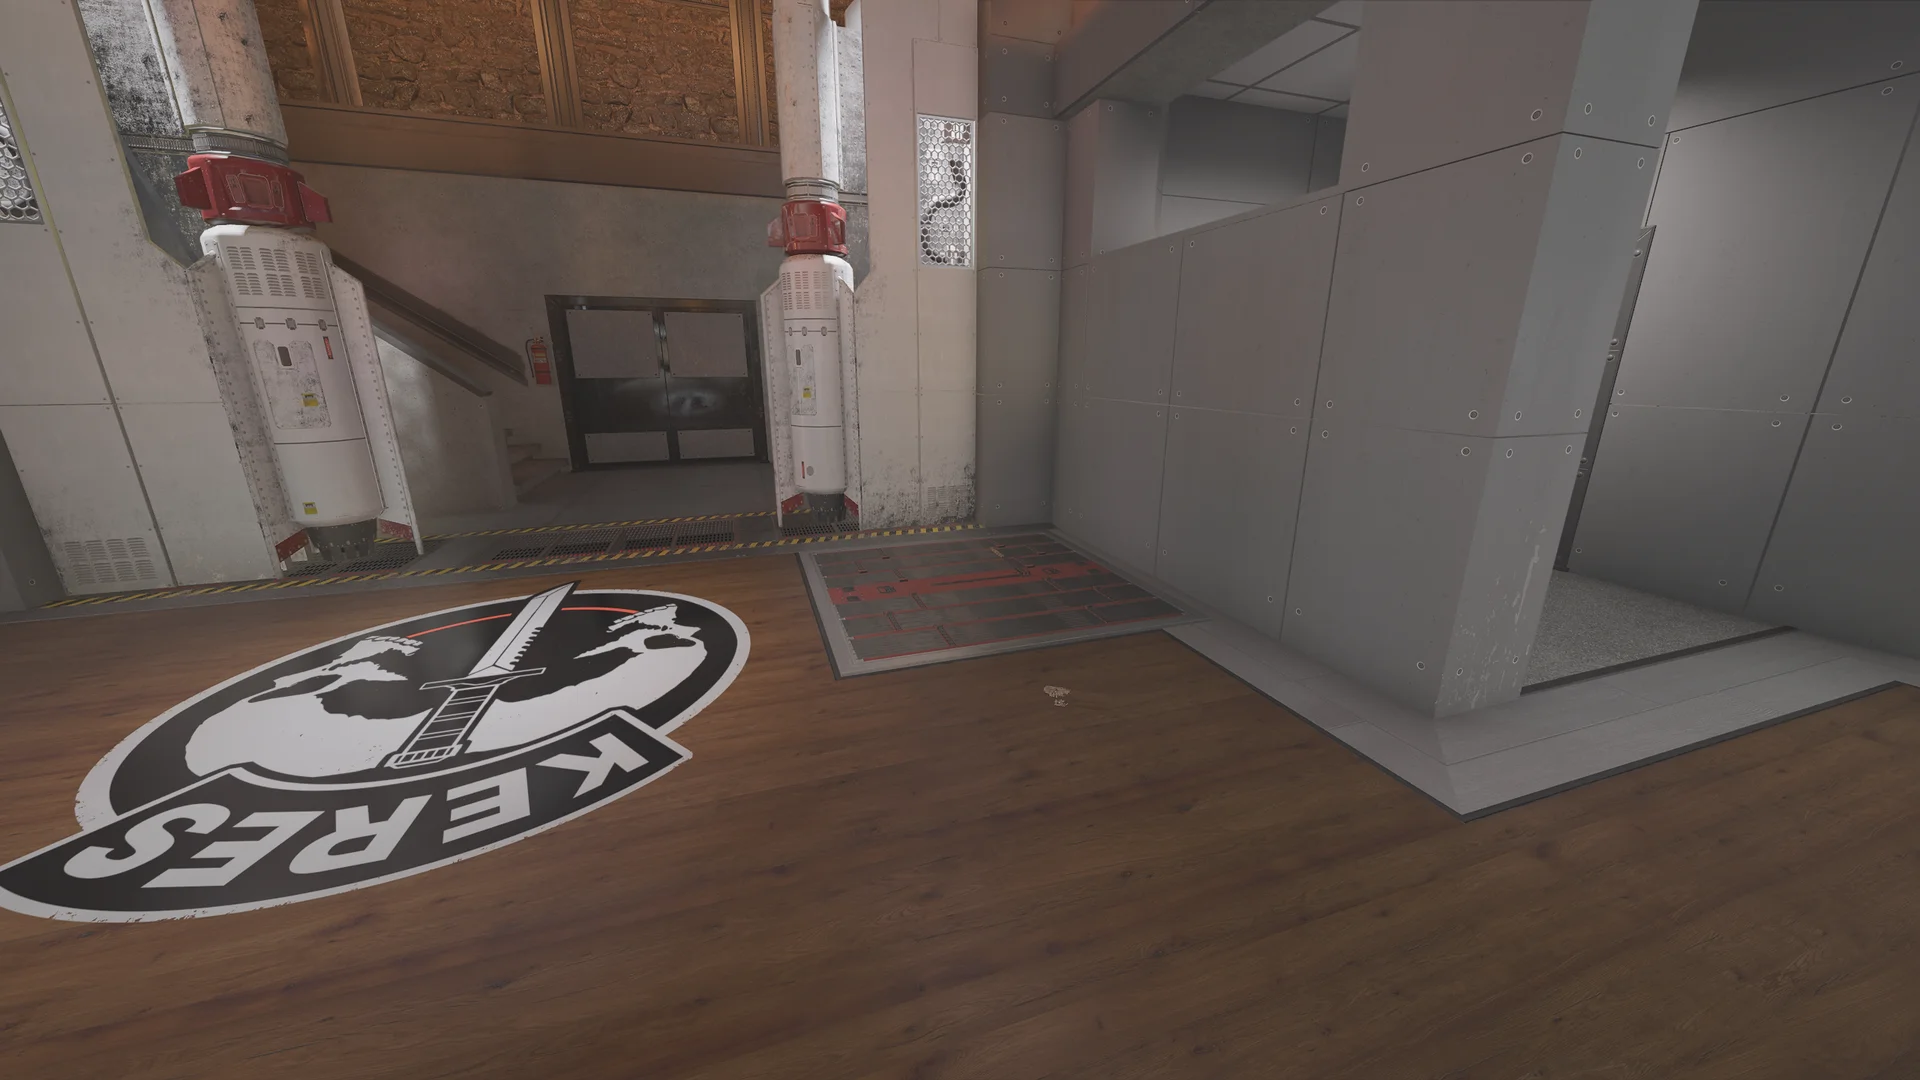
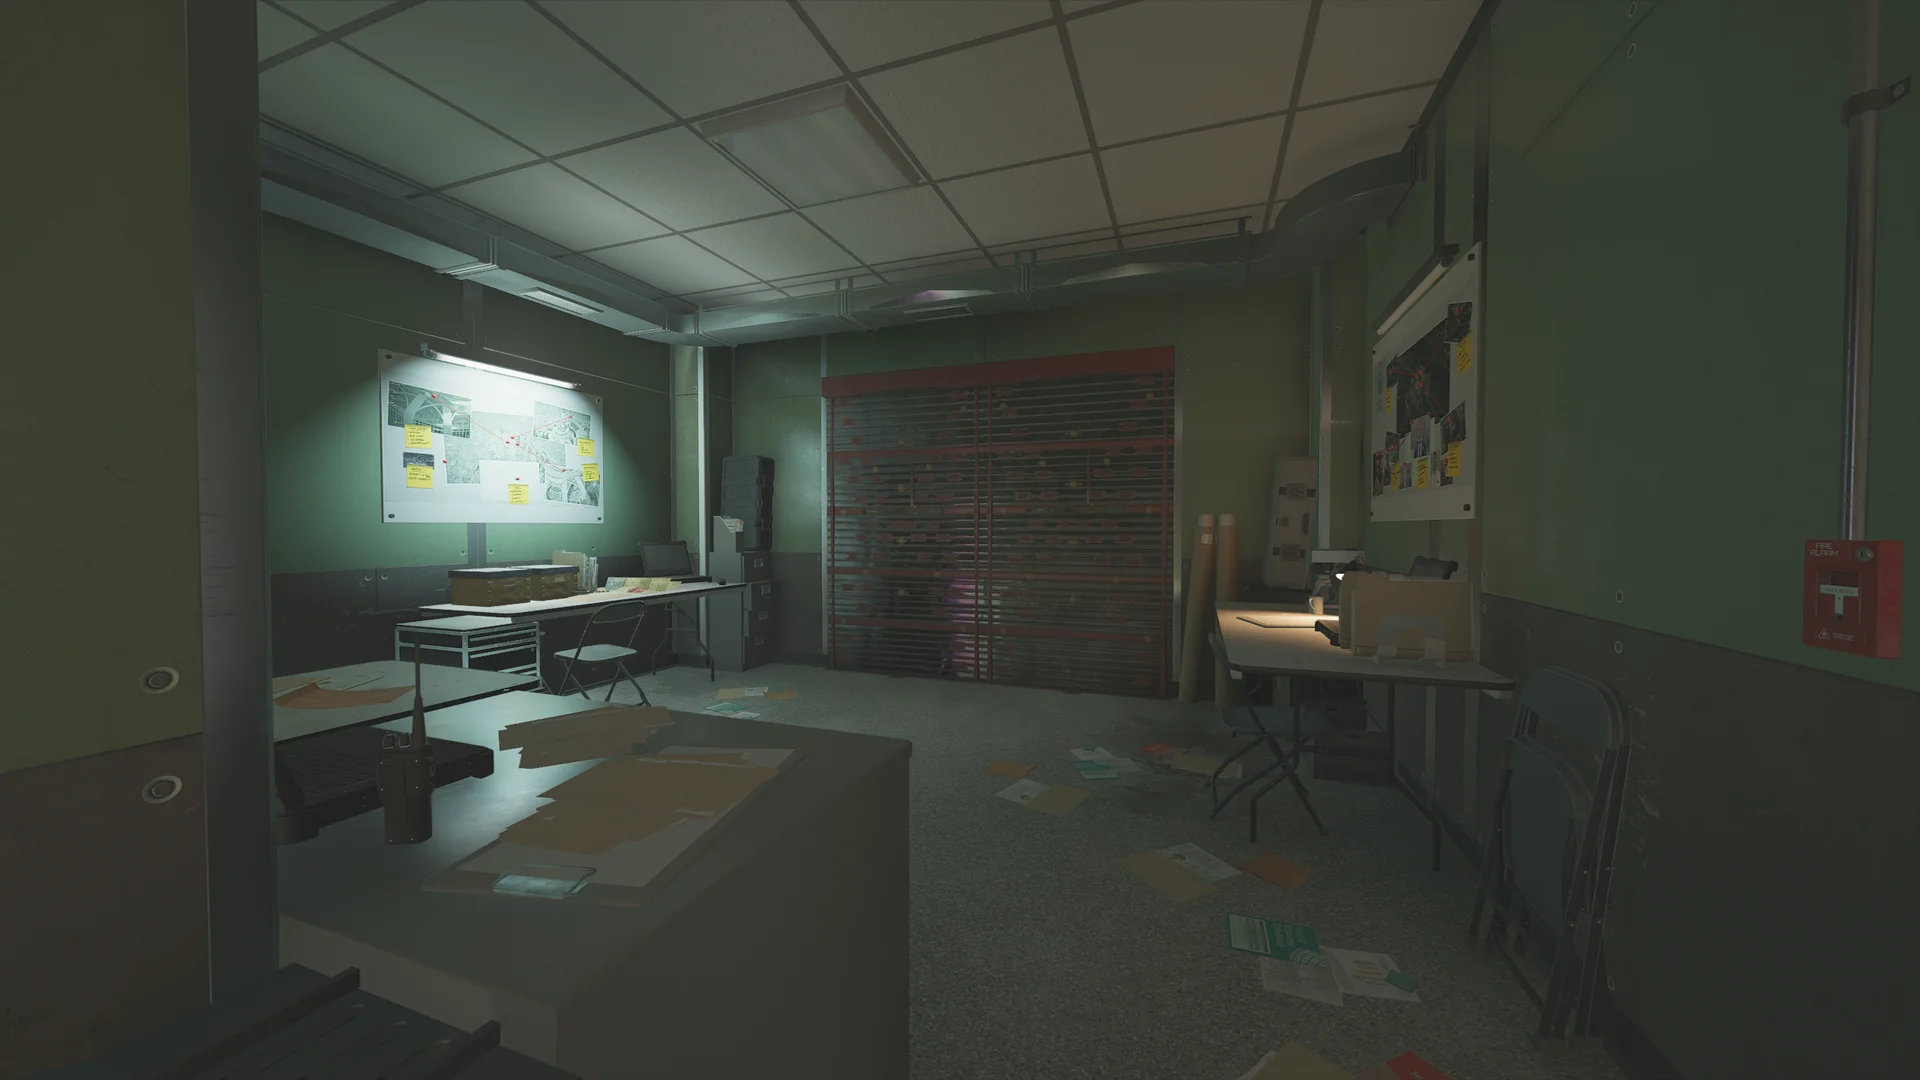
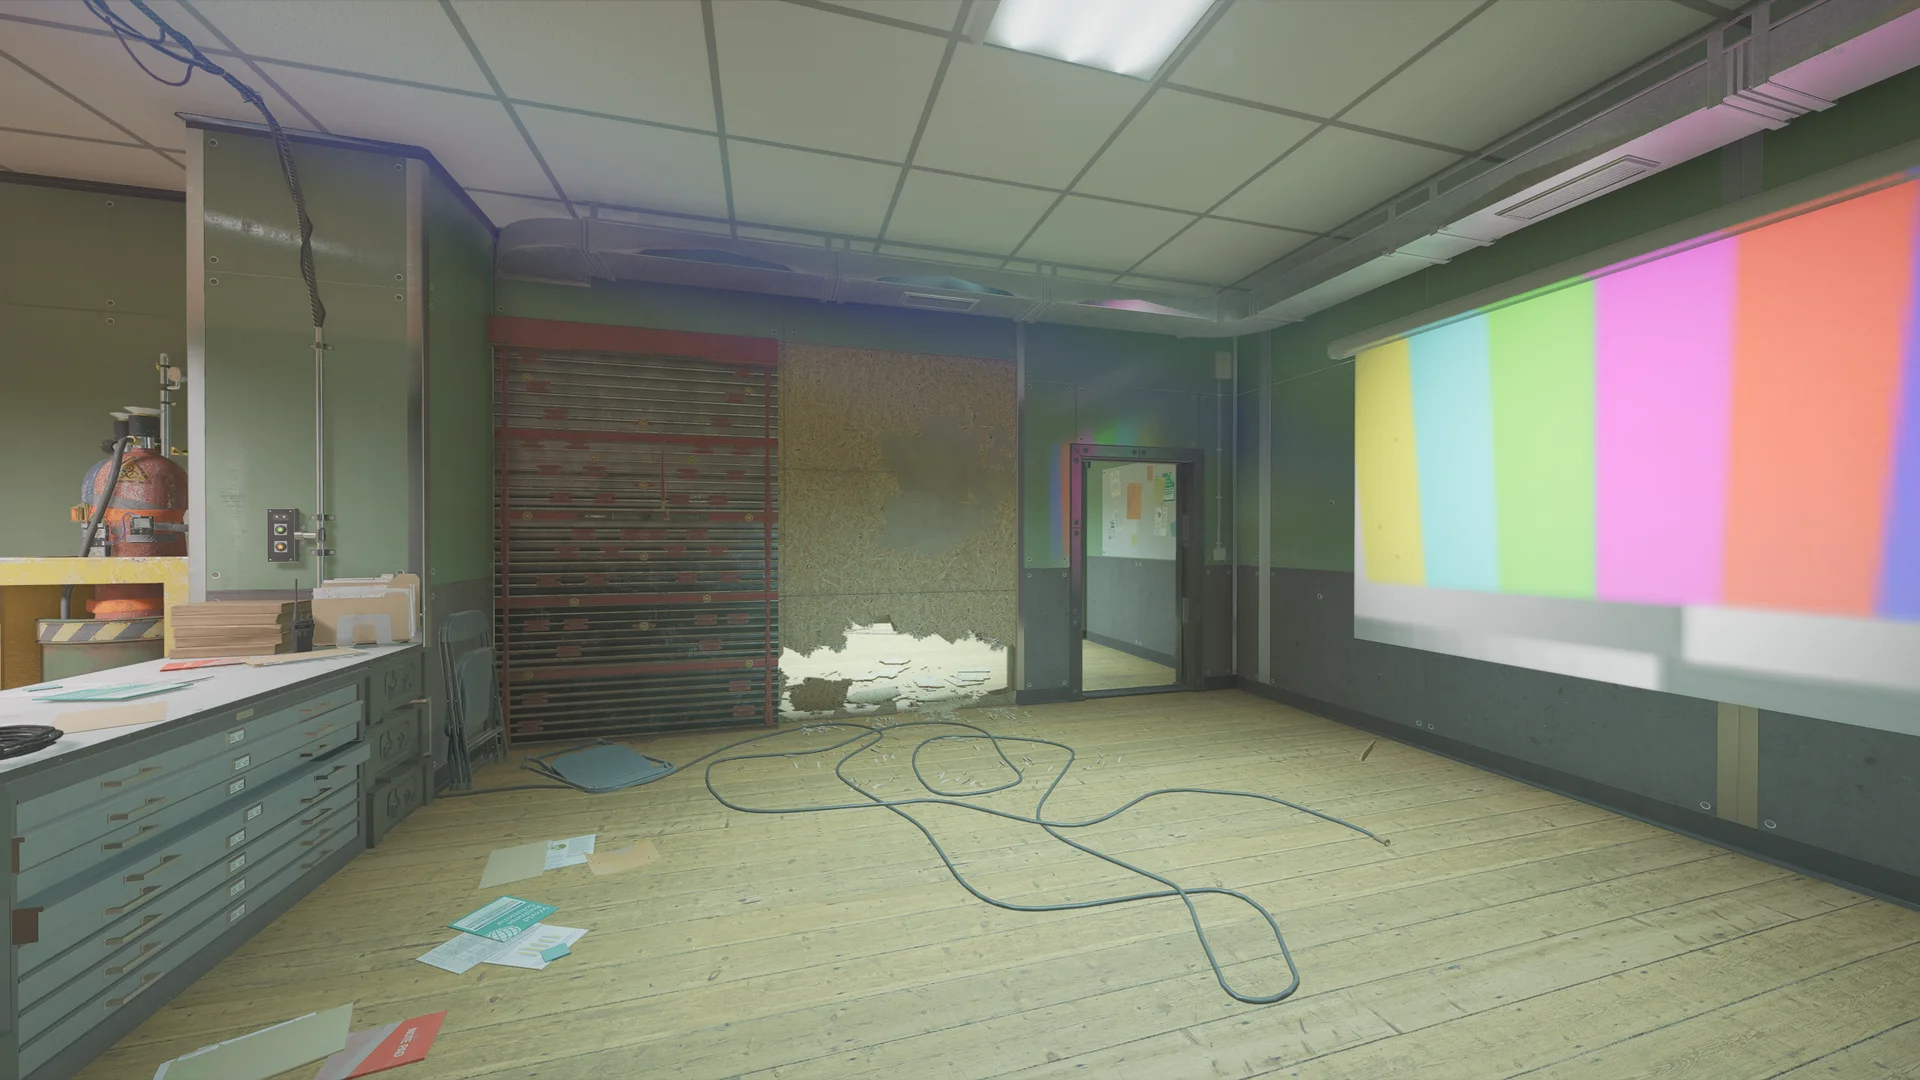
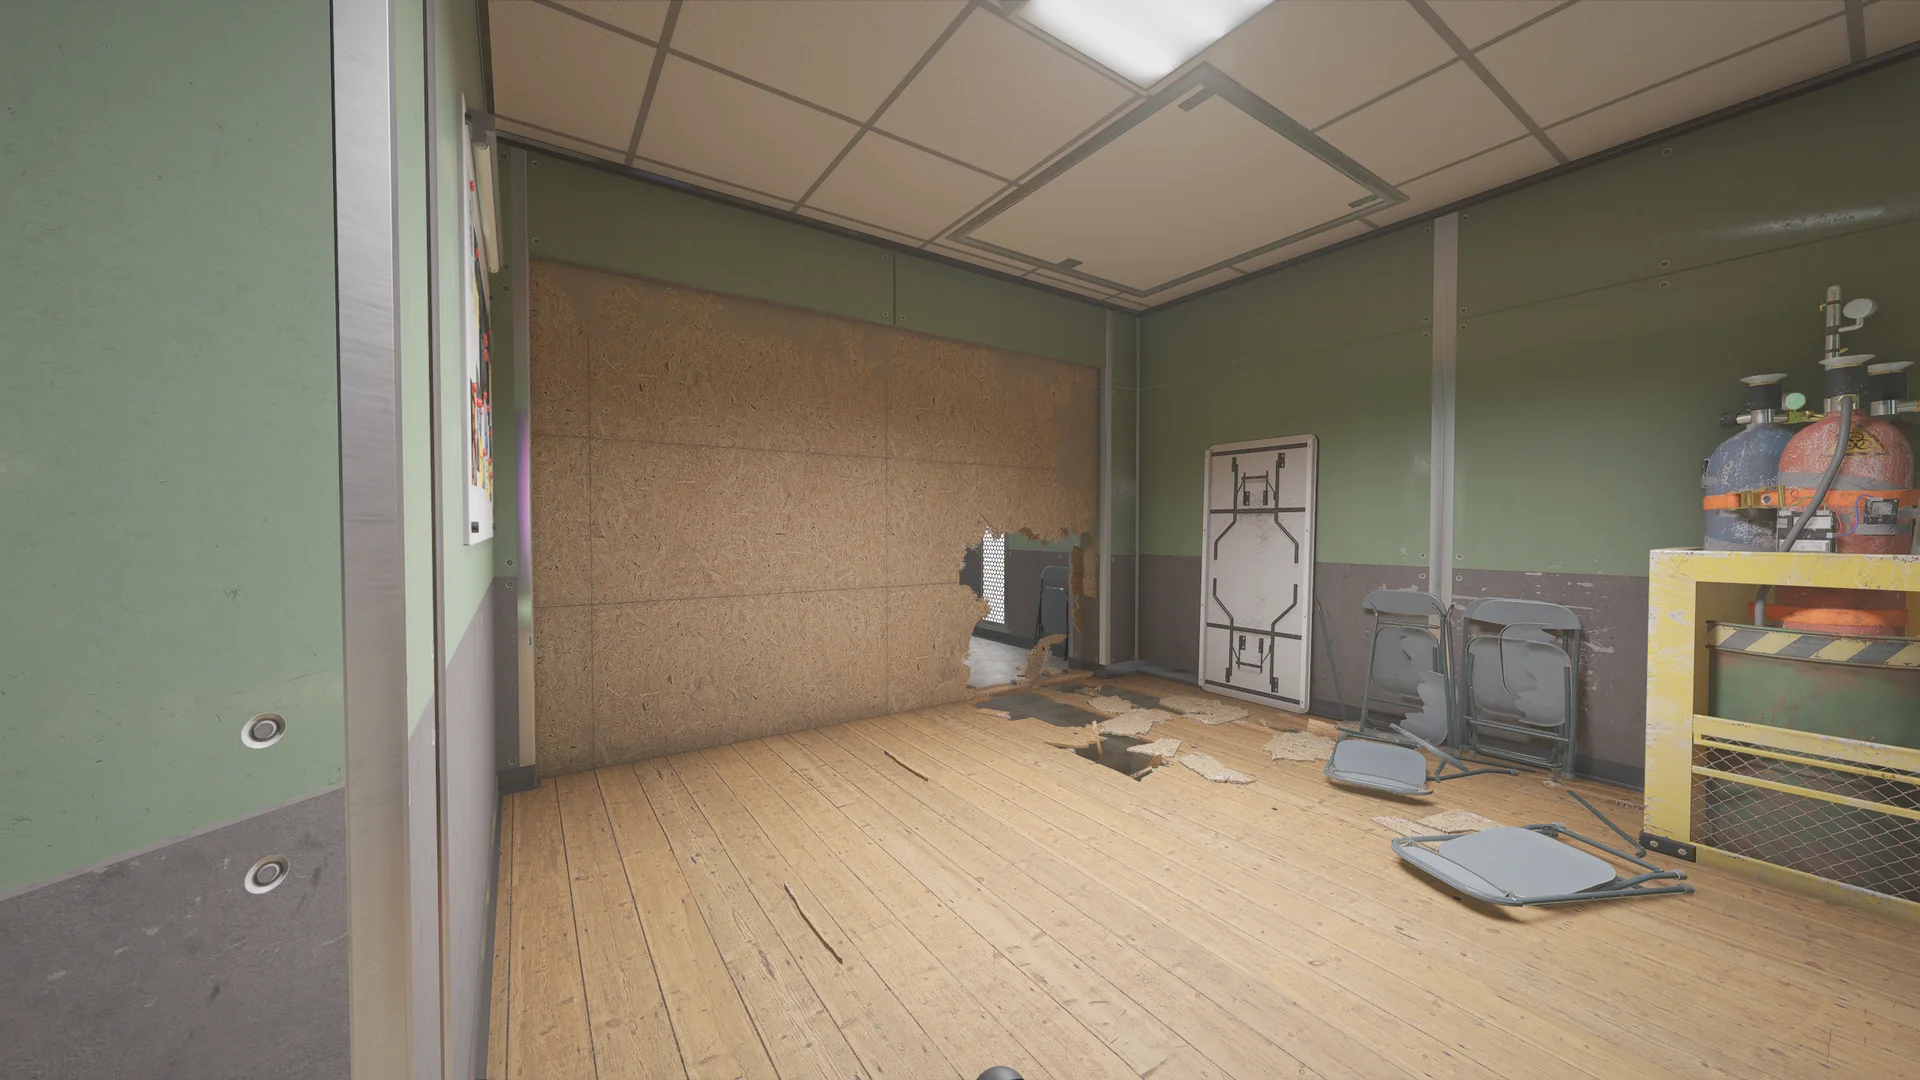
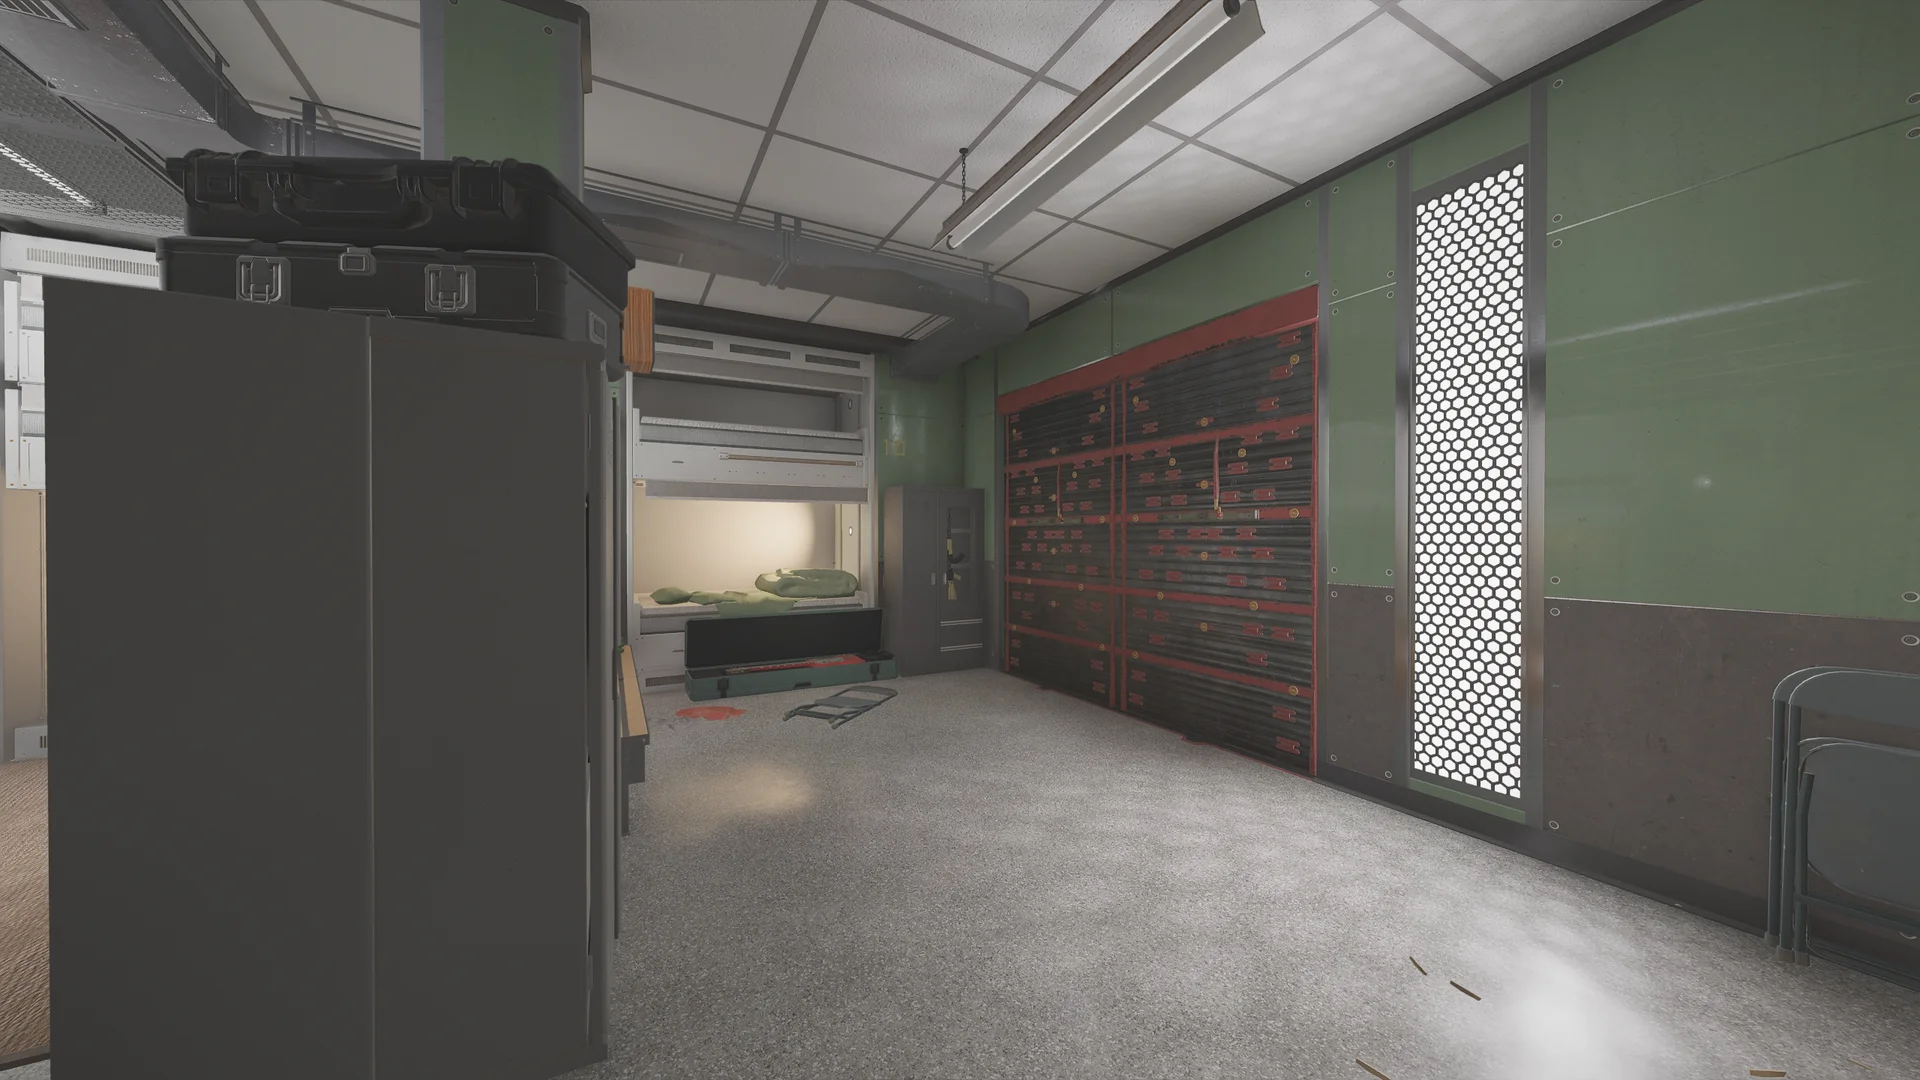
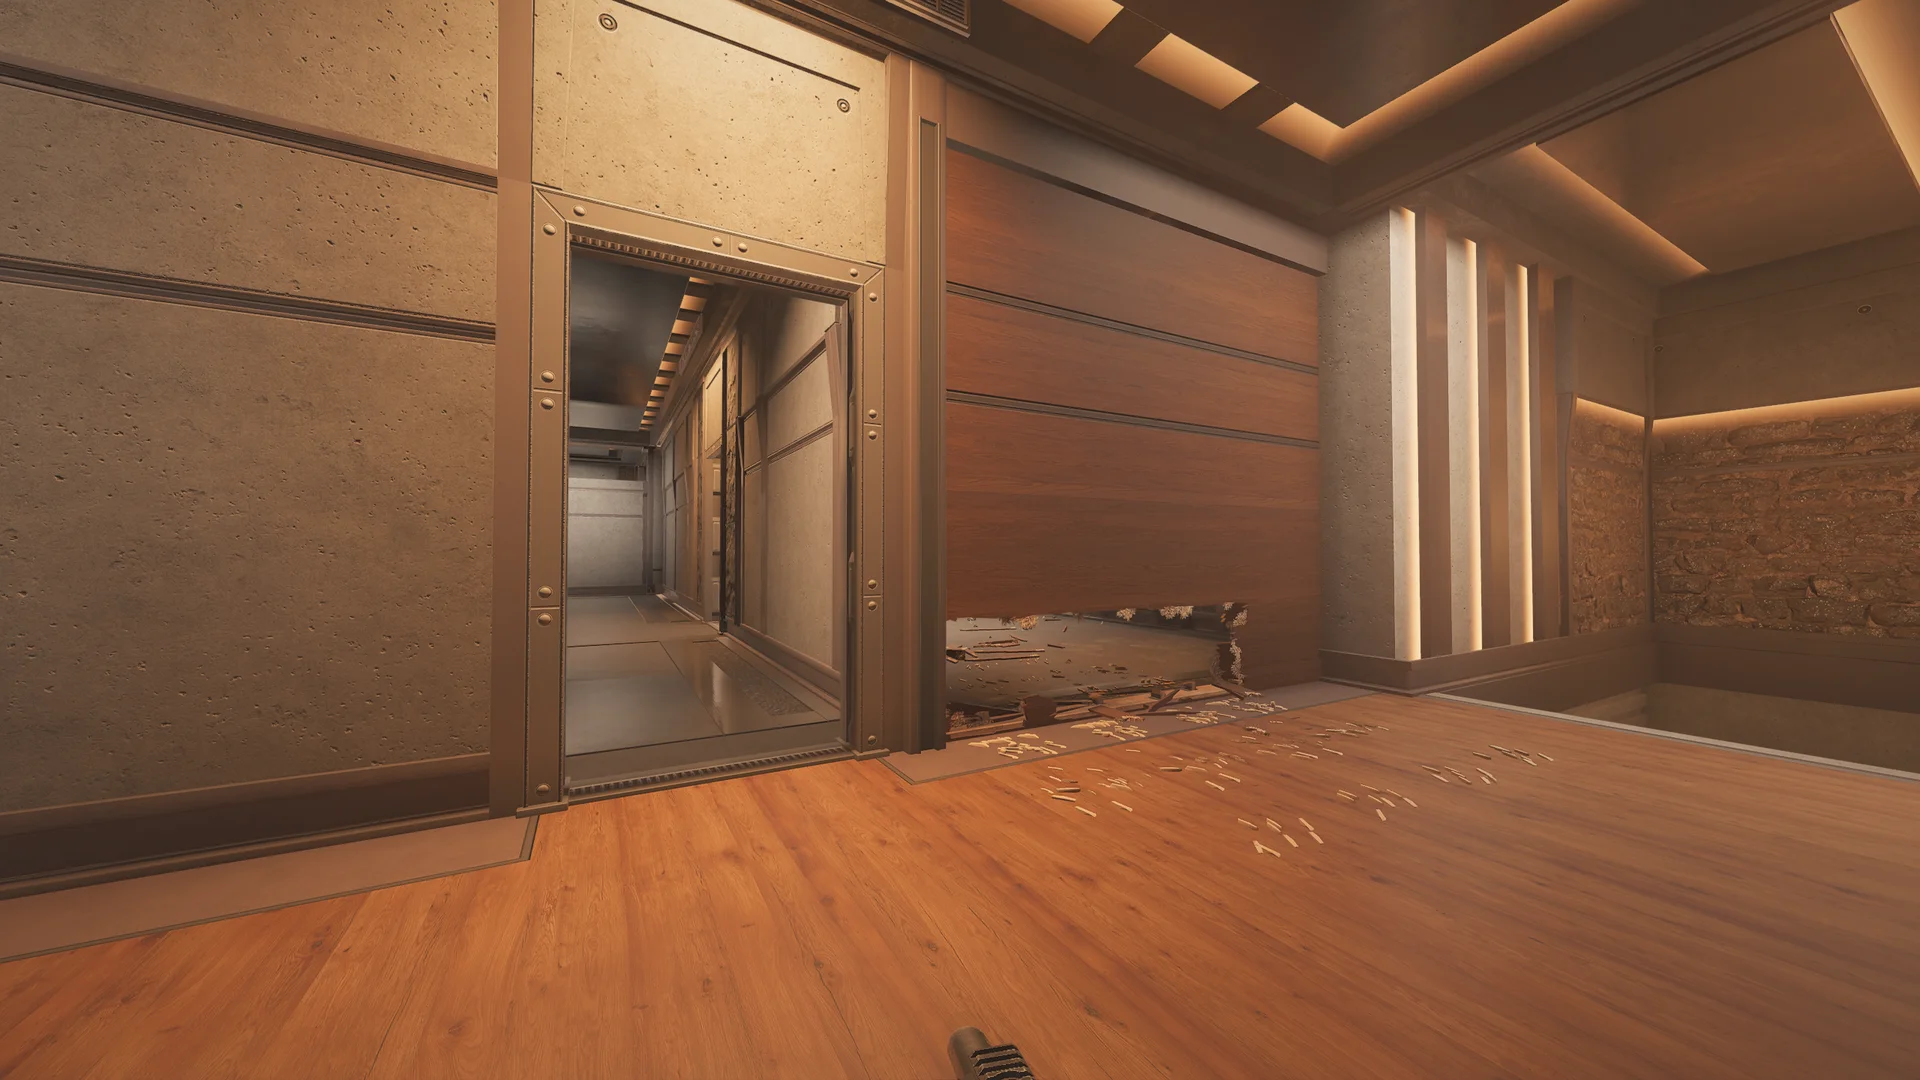
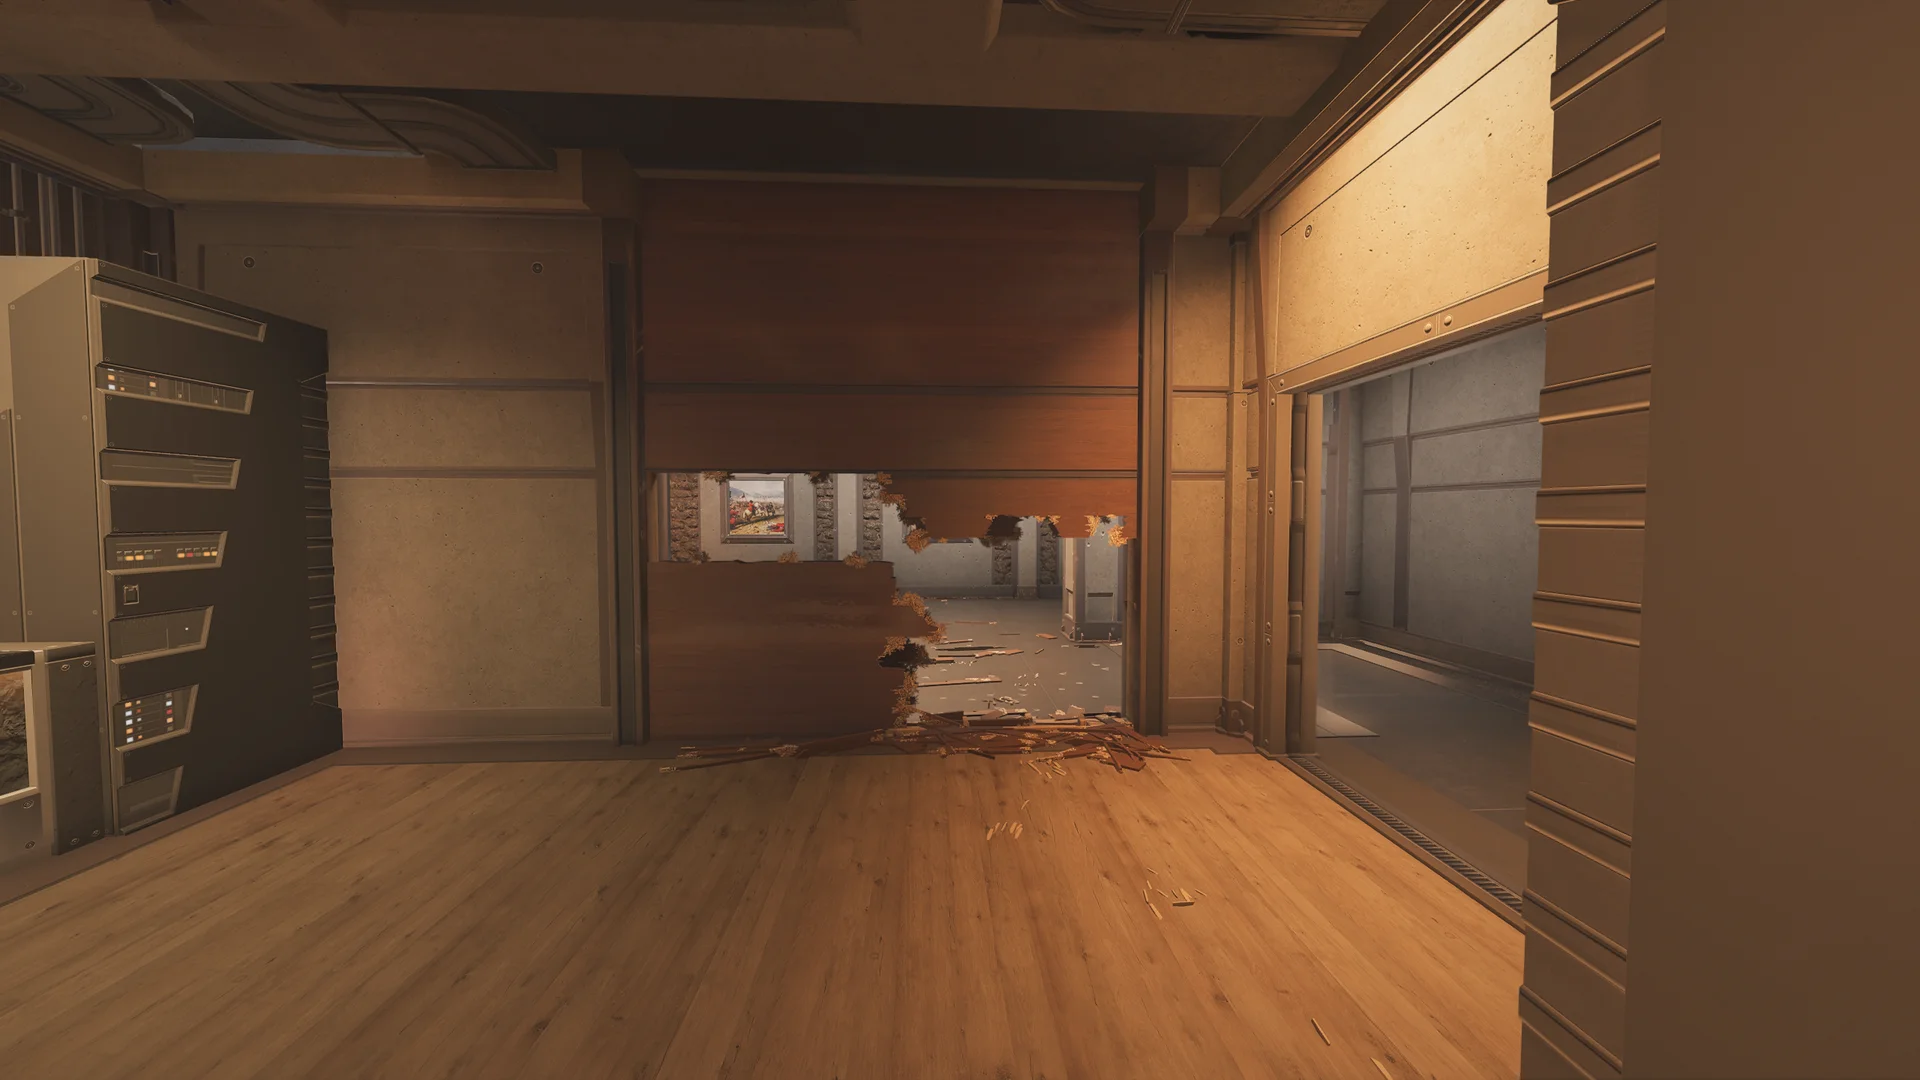
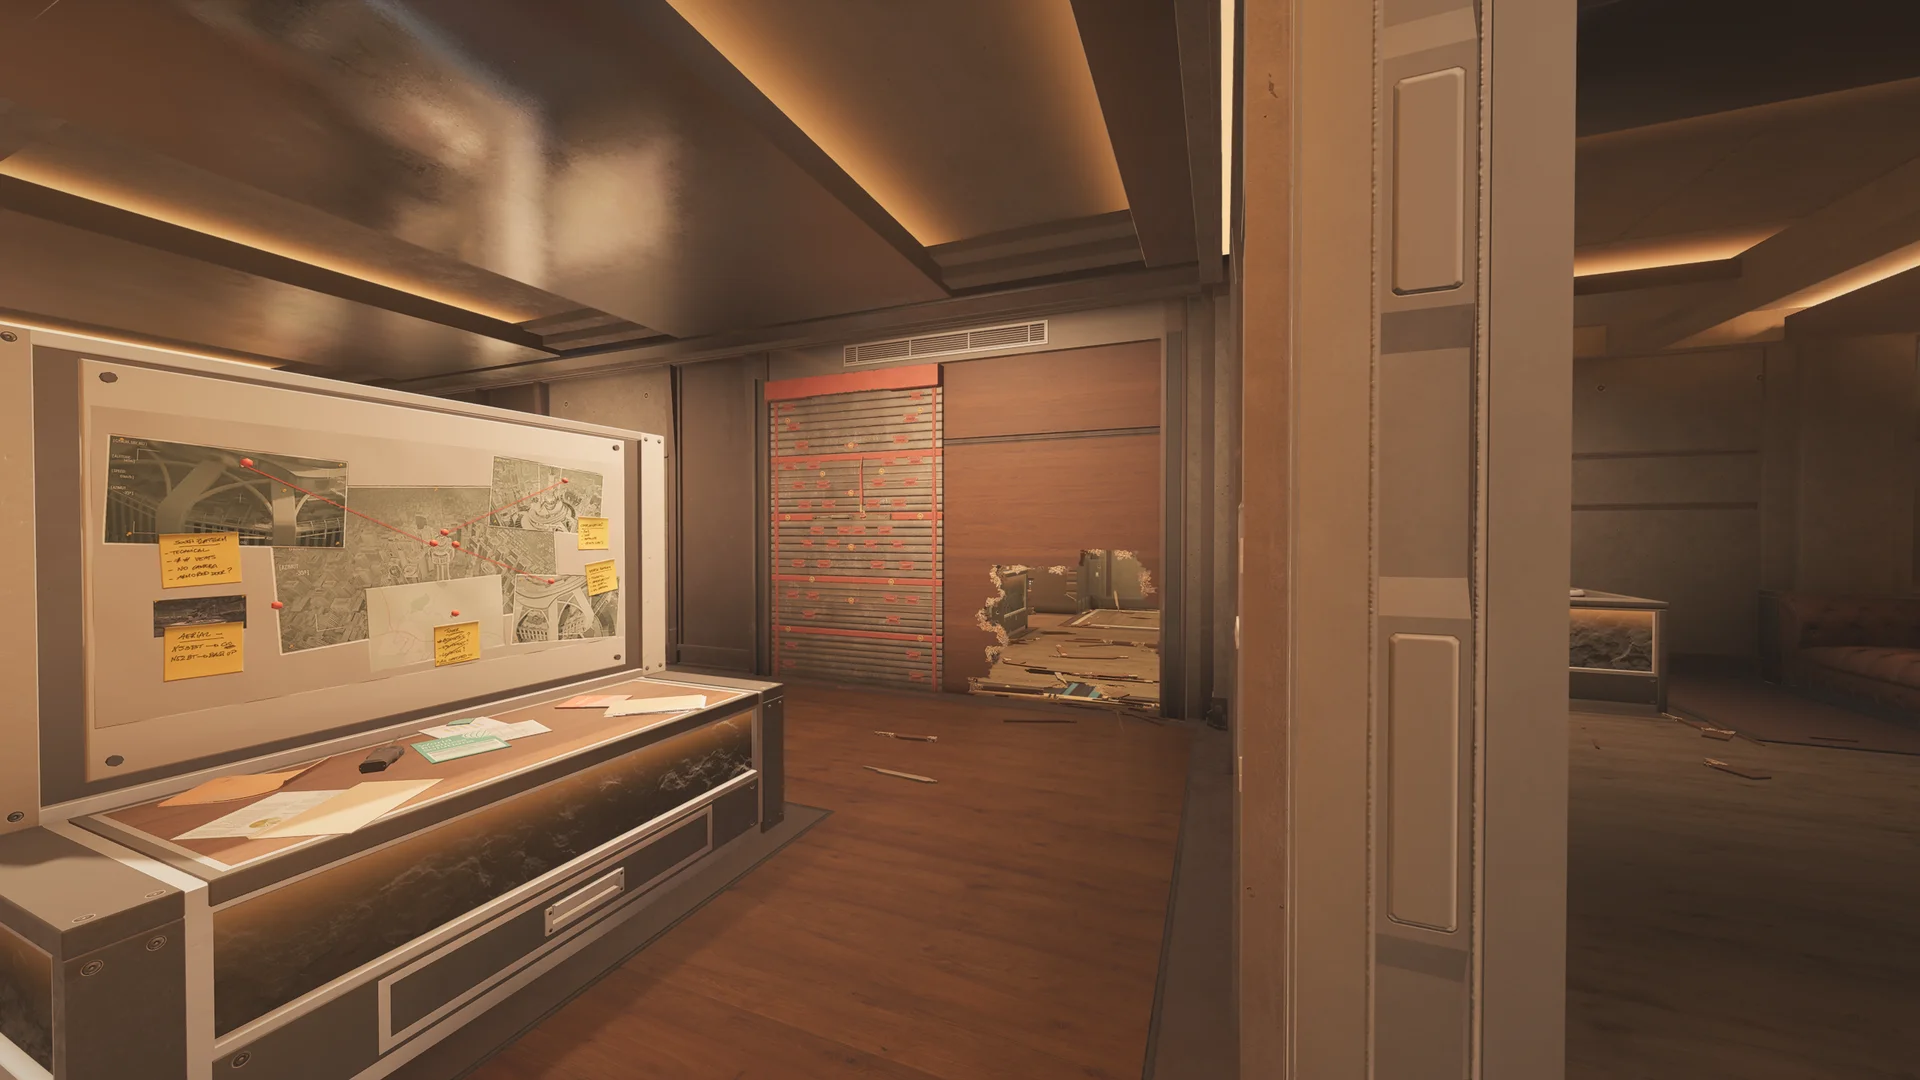
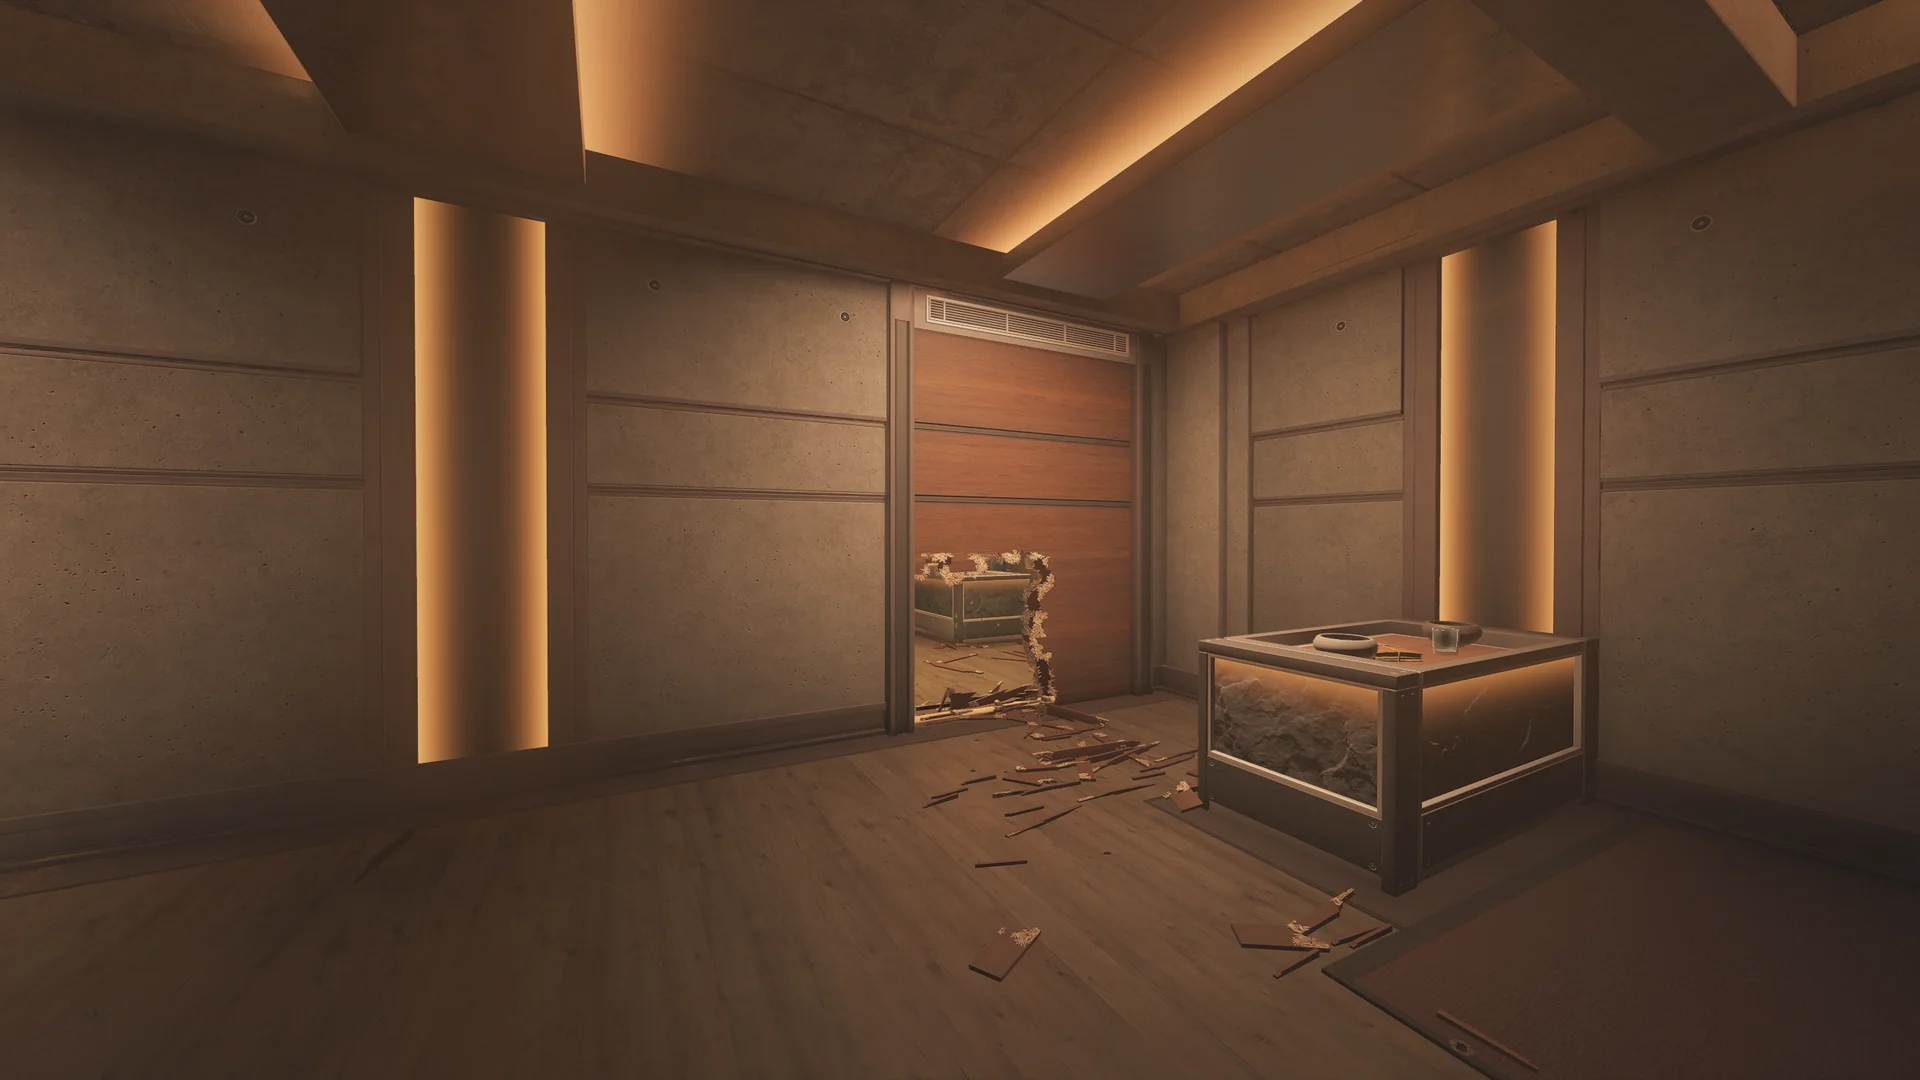
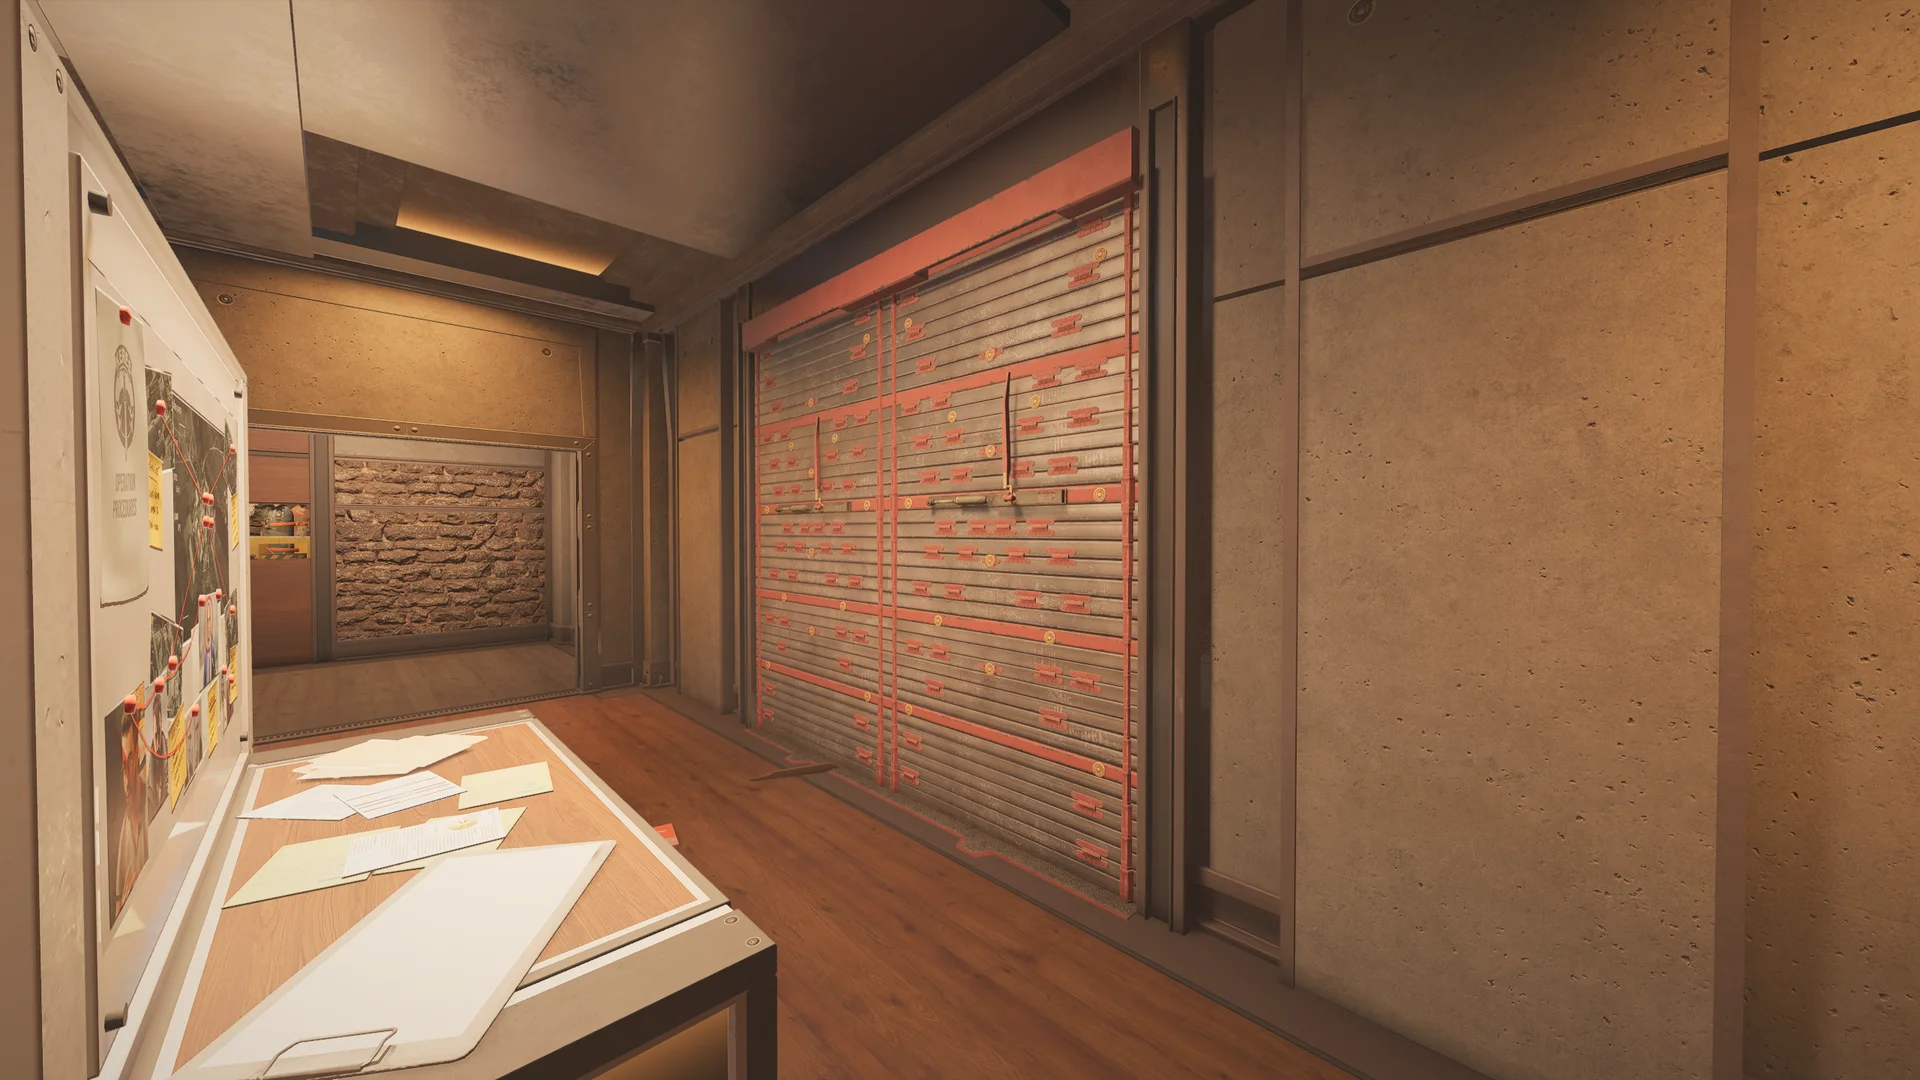
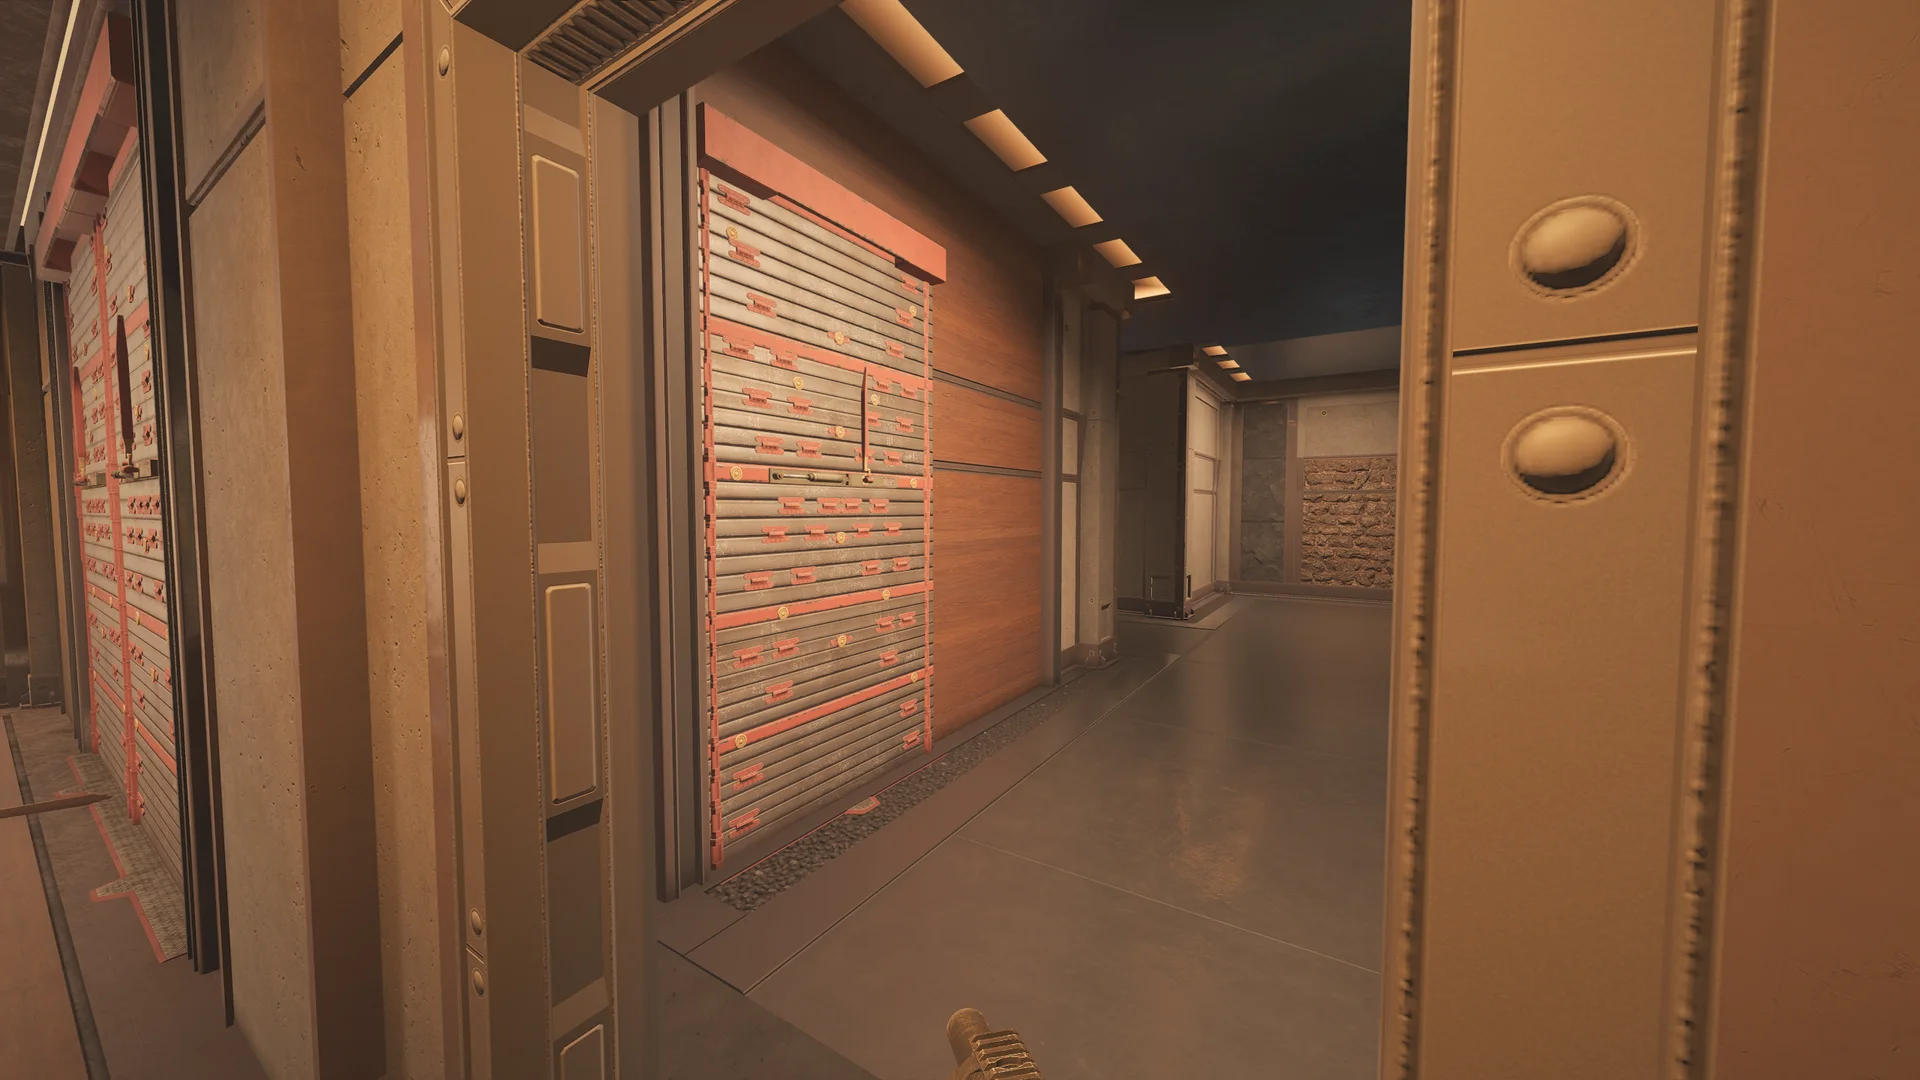
22 in-game reference screenshots from the Lair defender setups, covering B Lab Support, B Lab; 1F Bunks, 1F Briefing; 2F Master Office, 2F R6 Room.
R6 Prep is built by three players in their free time. After each patch we walk every bombsite again in custom games so the setups still match the current build. If the site has saved you a round, a coffee keeps it going.
 Buy us a coffee


