Nighthaven Labs – Basement
 Rotation
 Reinforcement
 Headhole
 Foothole
 High Hole
 Bomb A
 Bomb B
hover a marker to preview · click to enlarge
overview
Nighthaven Labs is won or lost at the 2F IT walls, the most contested walls on the map, and most sites are held by trading 2F space for time.
Three floors. On 2F, attackers pressure from IT, Rafters, Ebox, the Aqua hallway and the Meeting side. The Aqua stairs link 2F to Fork on 1F, and the Lobby stairs climb to the Mezzanine. Below, the Exo stairs run from Break down to the basement and the Cargo stairs drop out of Garage. The floors between 2F and the 1F sites are soft, so losing top floor opens a lot of vertical play.
The most defensible site. The two IT walls stay shut with wall denial for as long as possible. Rafters gets a rotation so defenders can waste time there before falling back, with a spare reinforcement kept to seal it off afterwards. A reinforced wall on the Aqua hallway, with footholes beside it, gives a hard crossfire when Aqua falls.
The three outside walls are reinforced, and footholes in the Animus wall stop attackers from using it as cover. All hatches are reinforced. Holes toward Exo and Cargo let defenders contest both stairs from deeper in the site, and Storage above is worth holding for its vertical holes onto the default plant.
Garage's outside walls are reinforced, and rotations connect Control with Cargo and Storage. 2F is set up the same way as for Servers and held for about a minute and a half before falling back. Late in the round, a defender in Garage can watch the Storage window.
The Cafeteria corner is the power spot against the Kitchen window, and knee-high holes in the Freezer wall cover the window jump. Top floor matters here: the top of the Lobby stairs is the position that keeps attackers off the vertical play.
Every site follows the same plan: contest IT and Rafters early, then layer back into a bunker and play trades.
reference
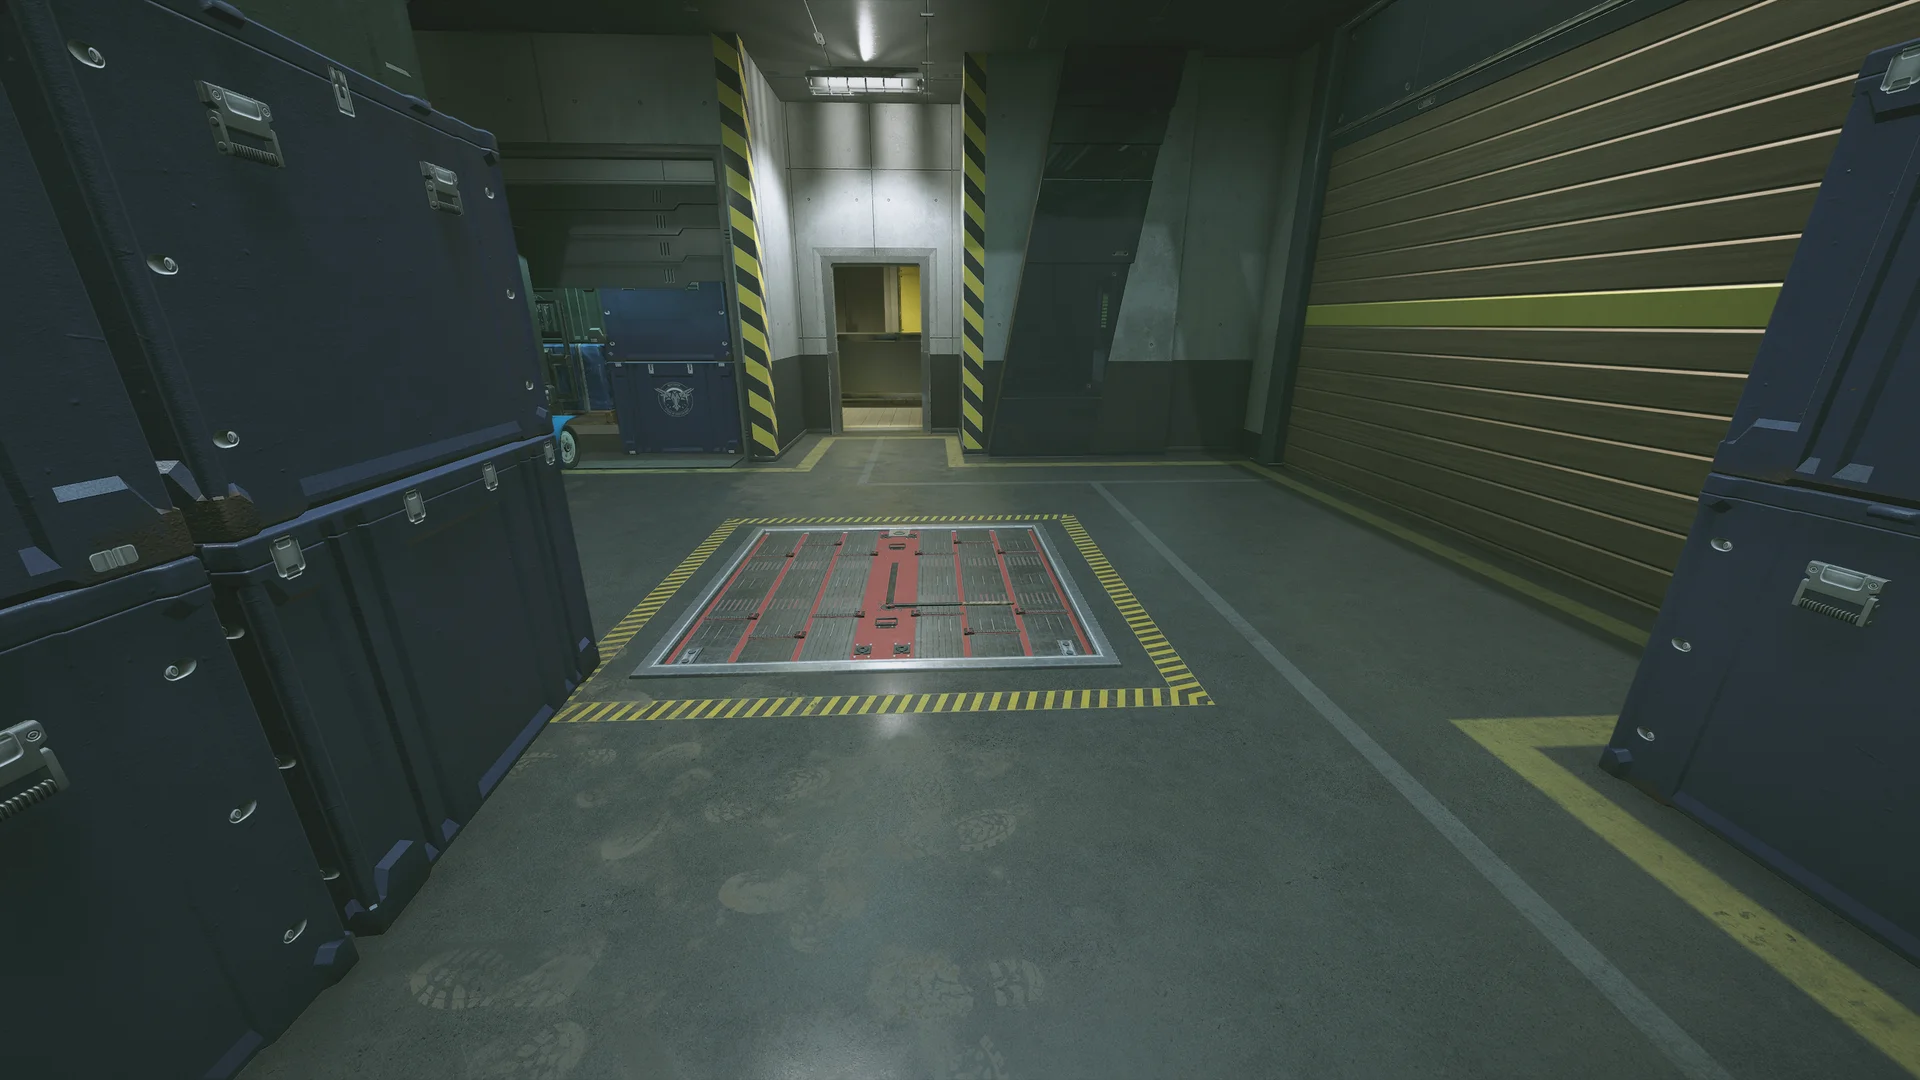
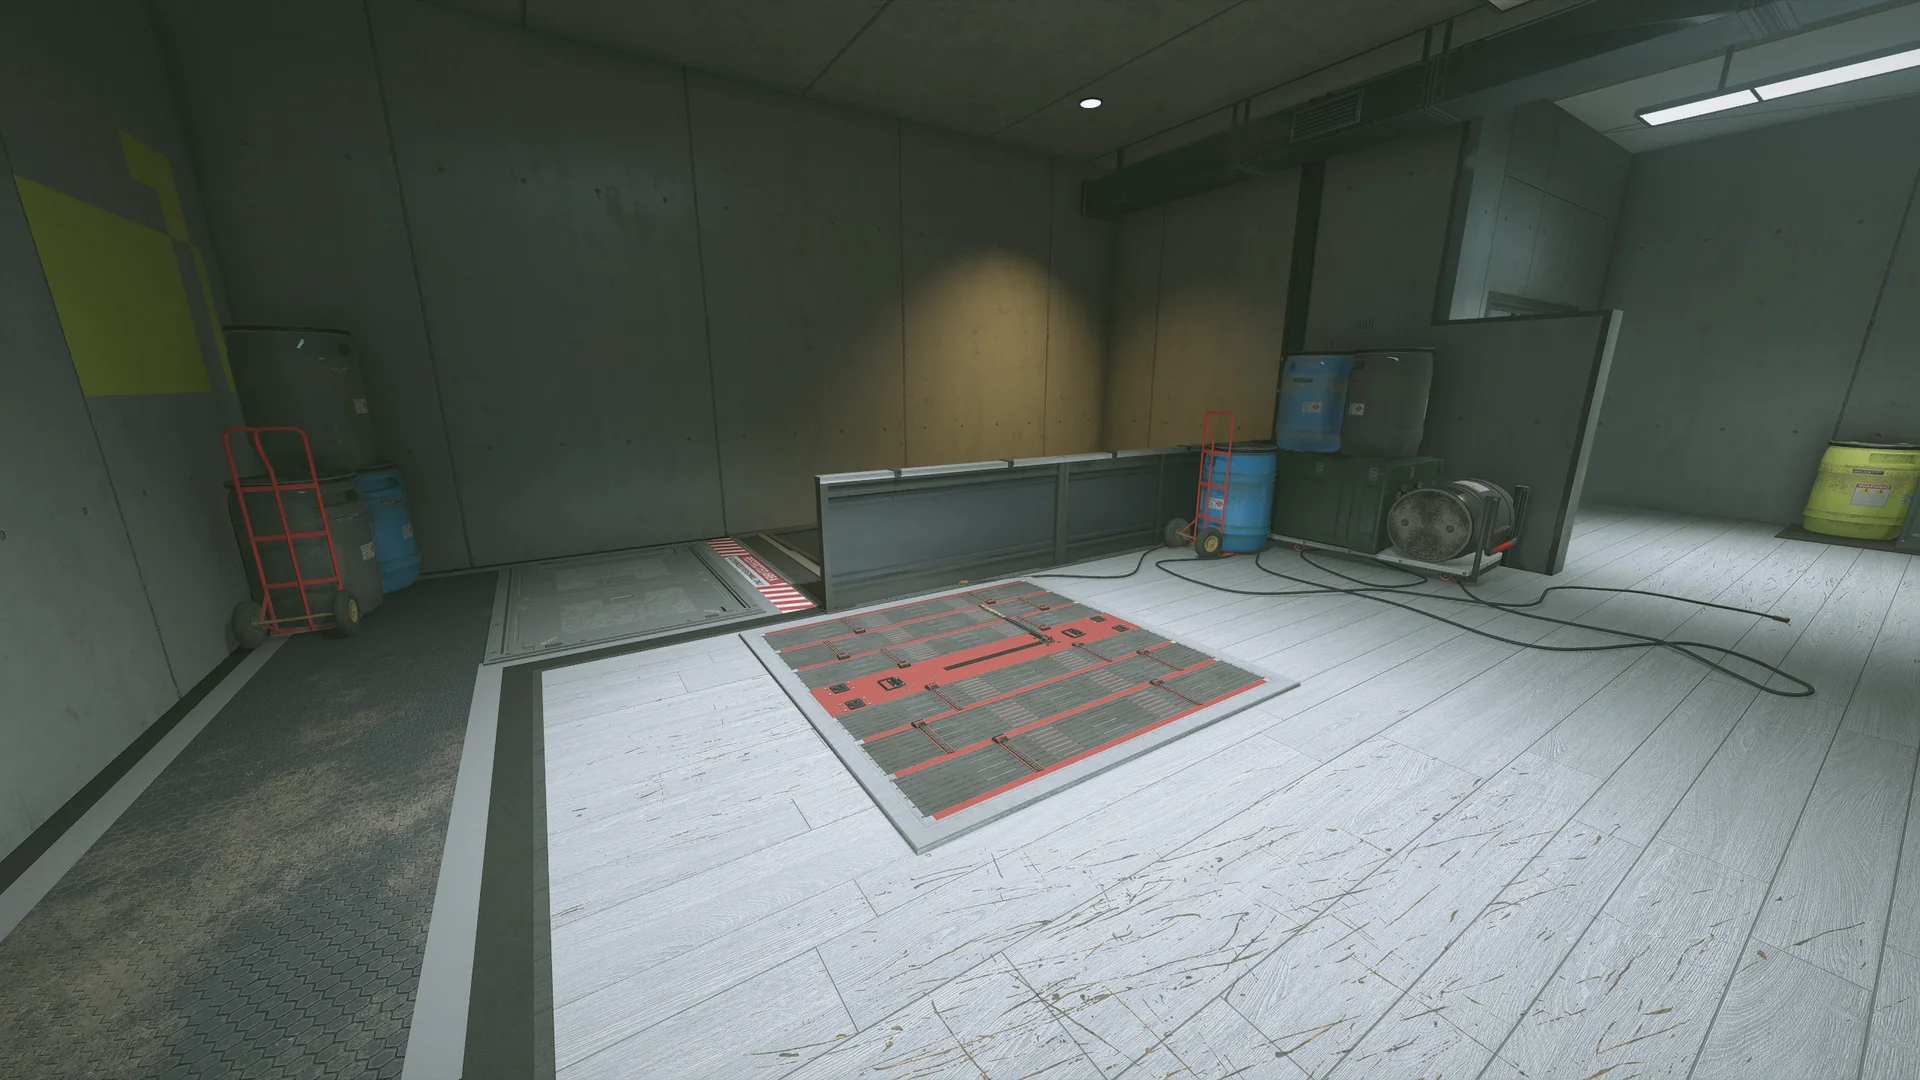
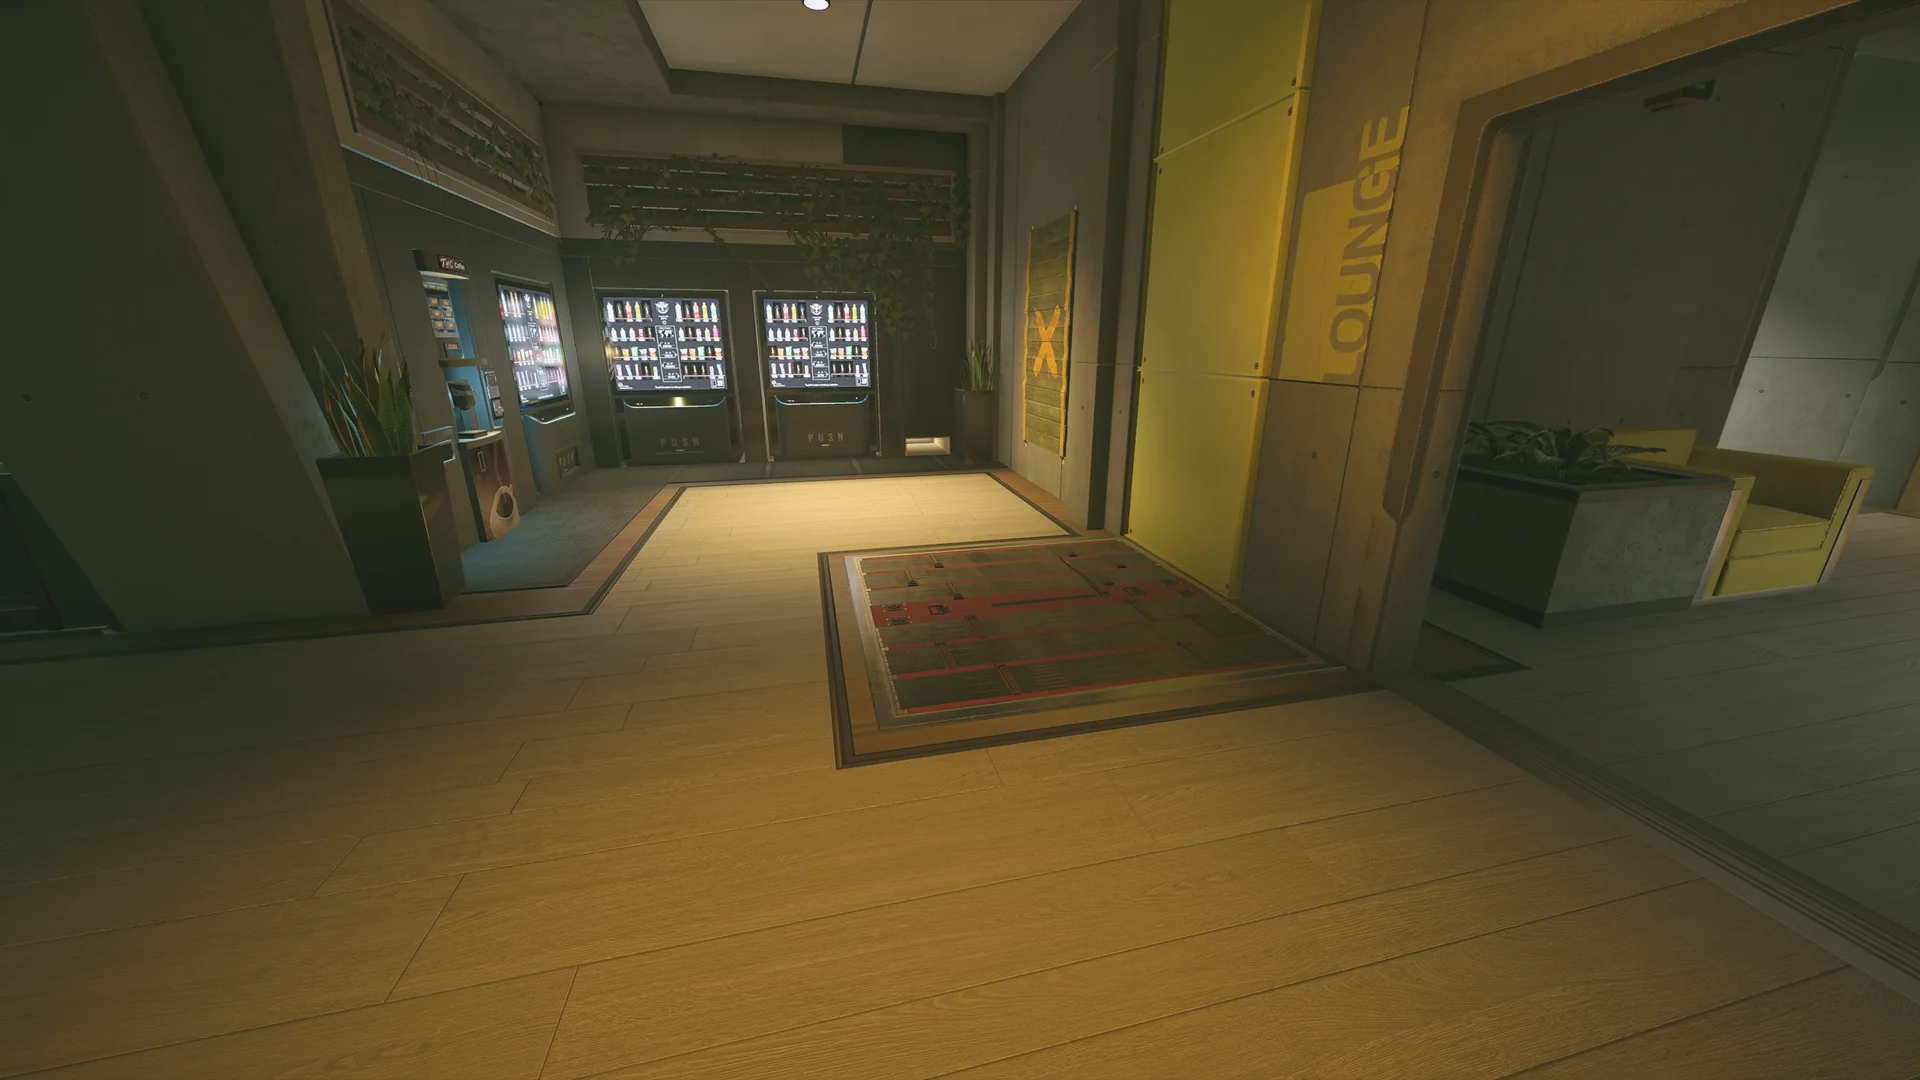
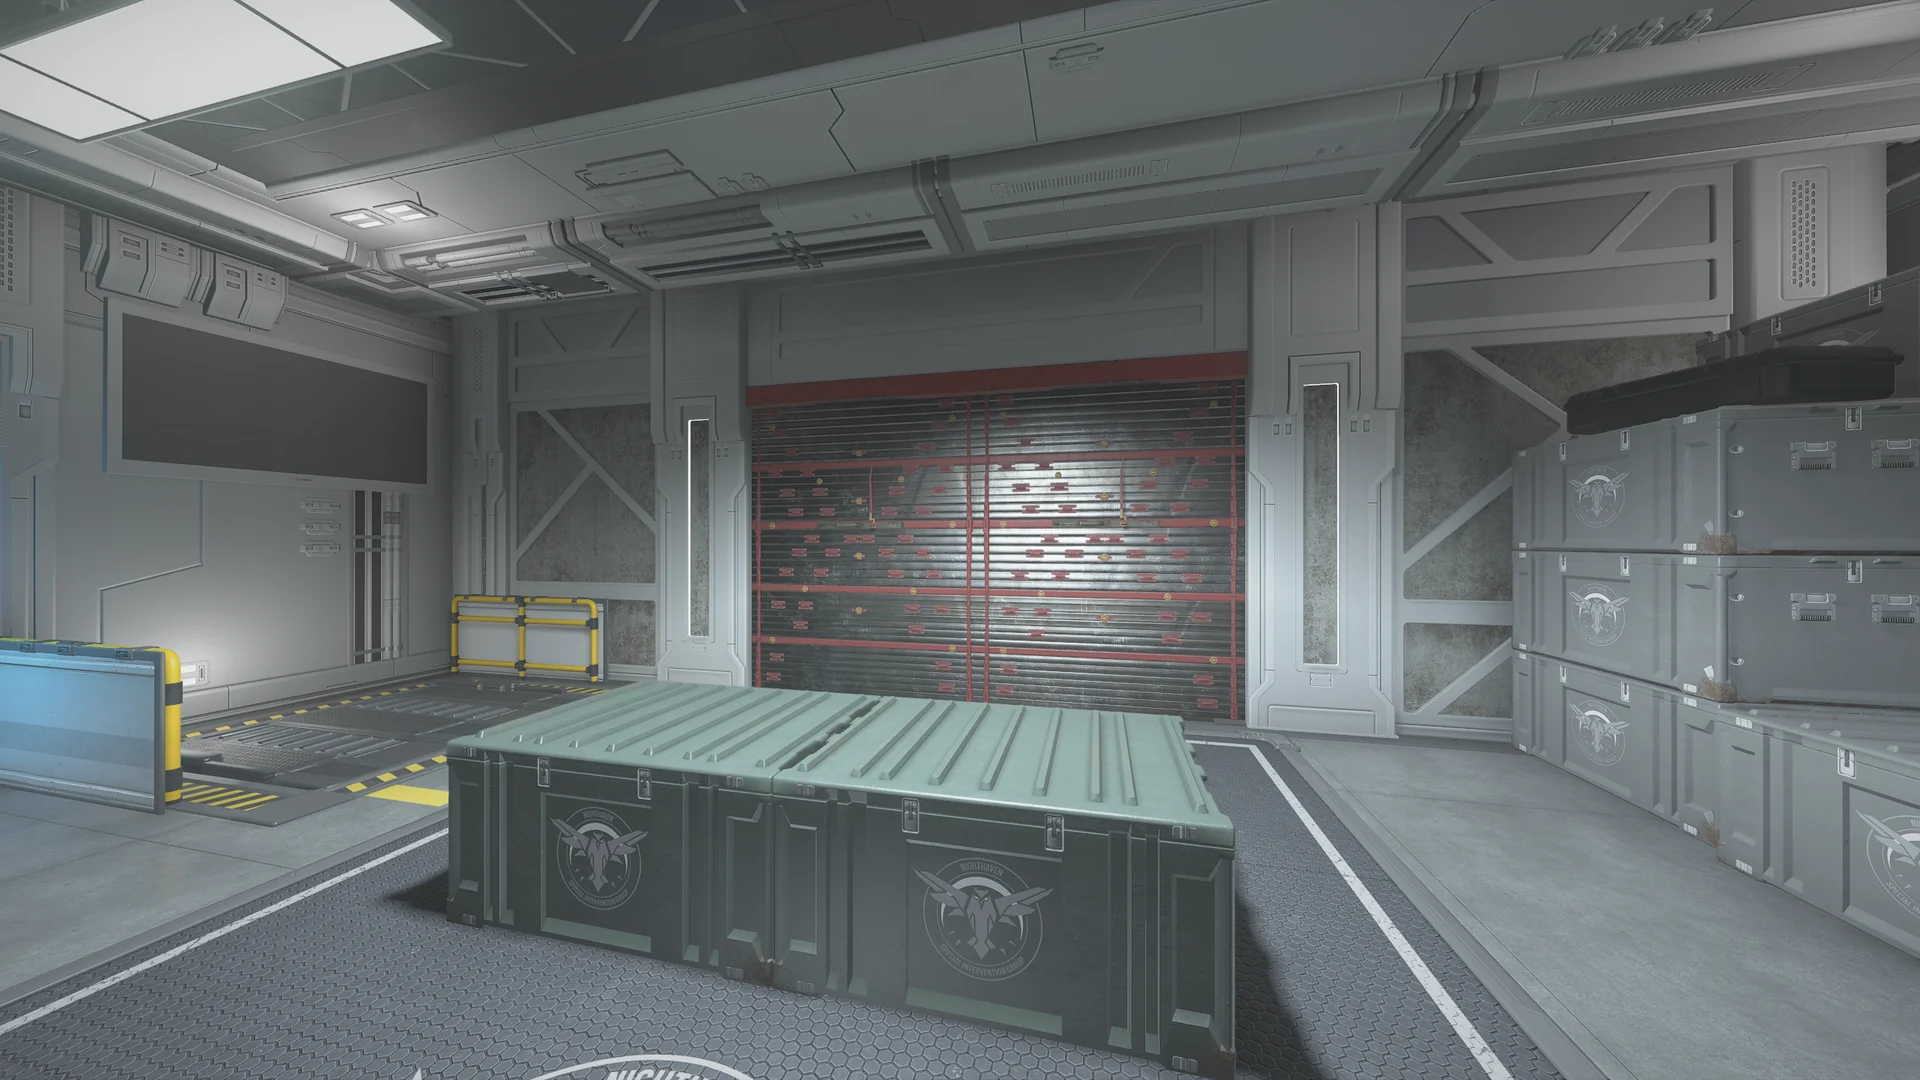
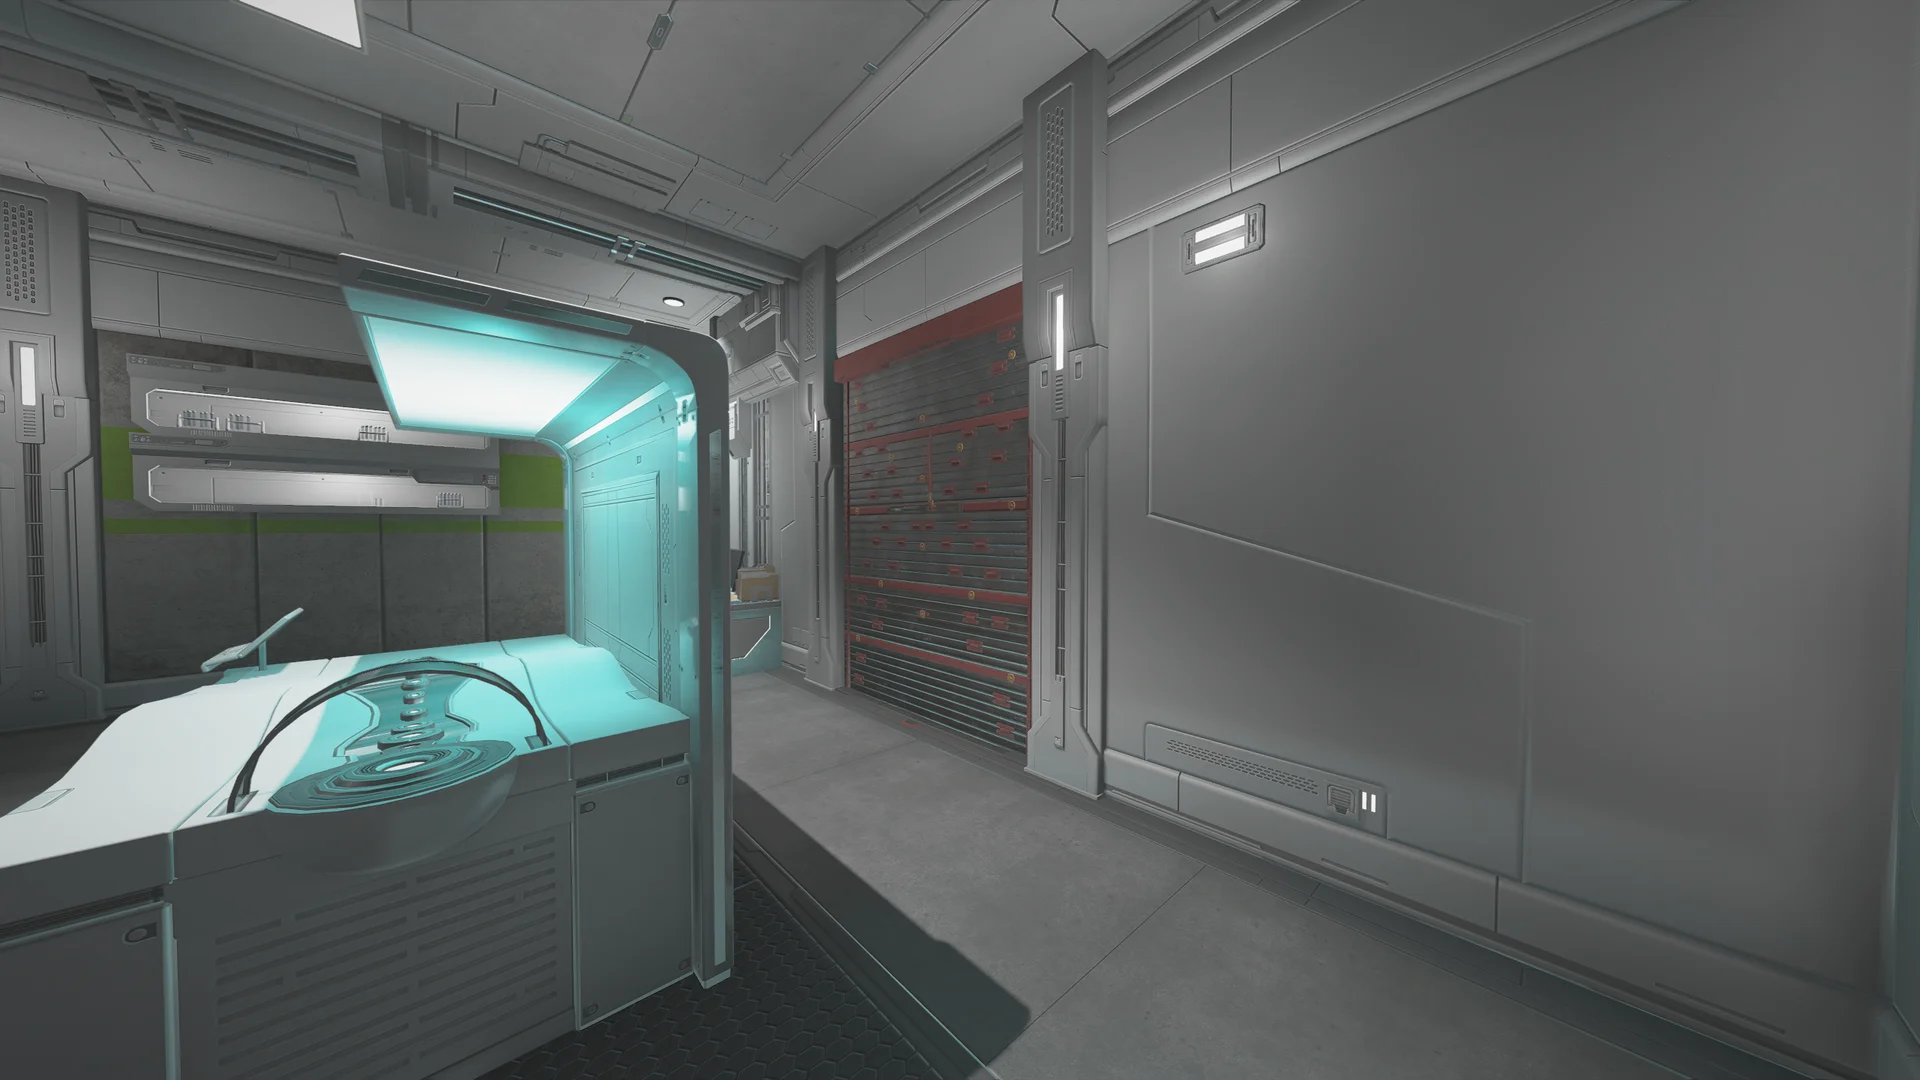
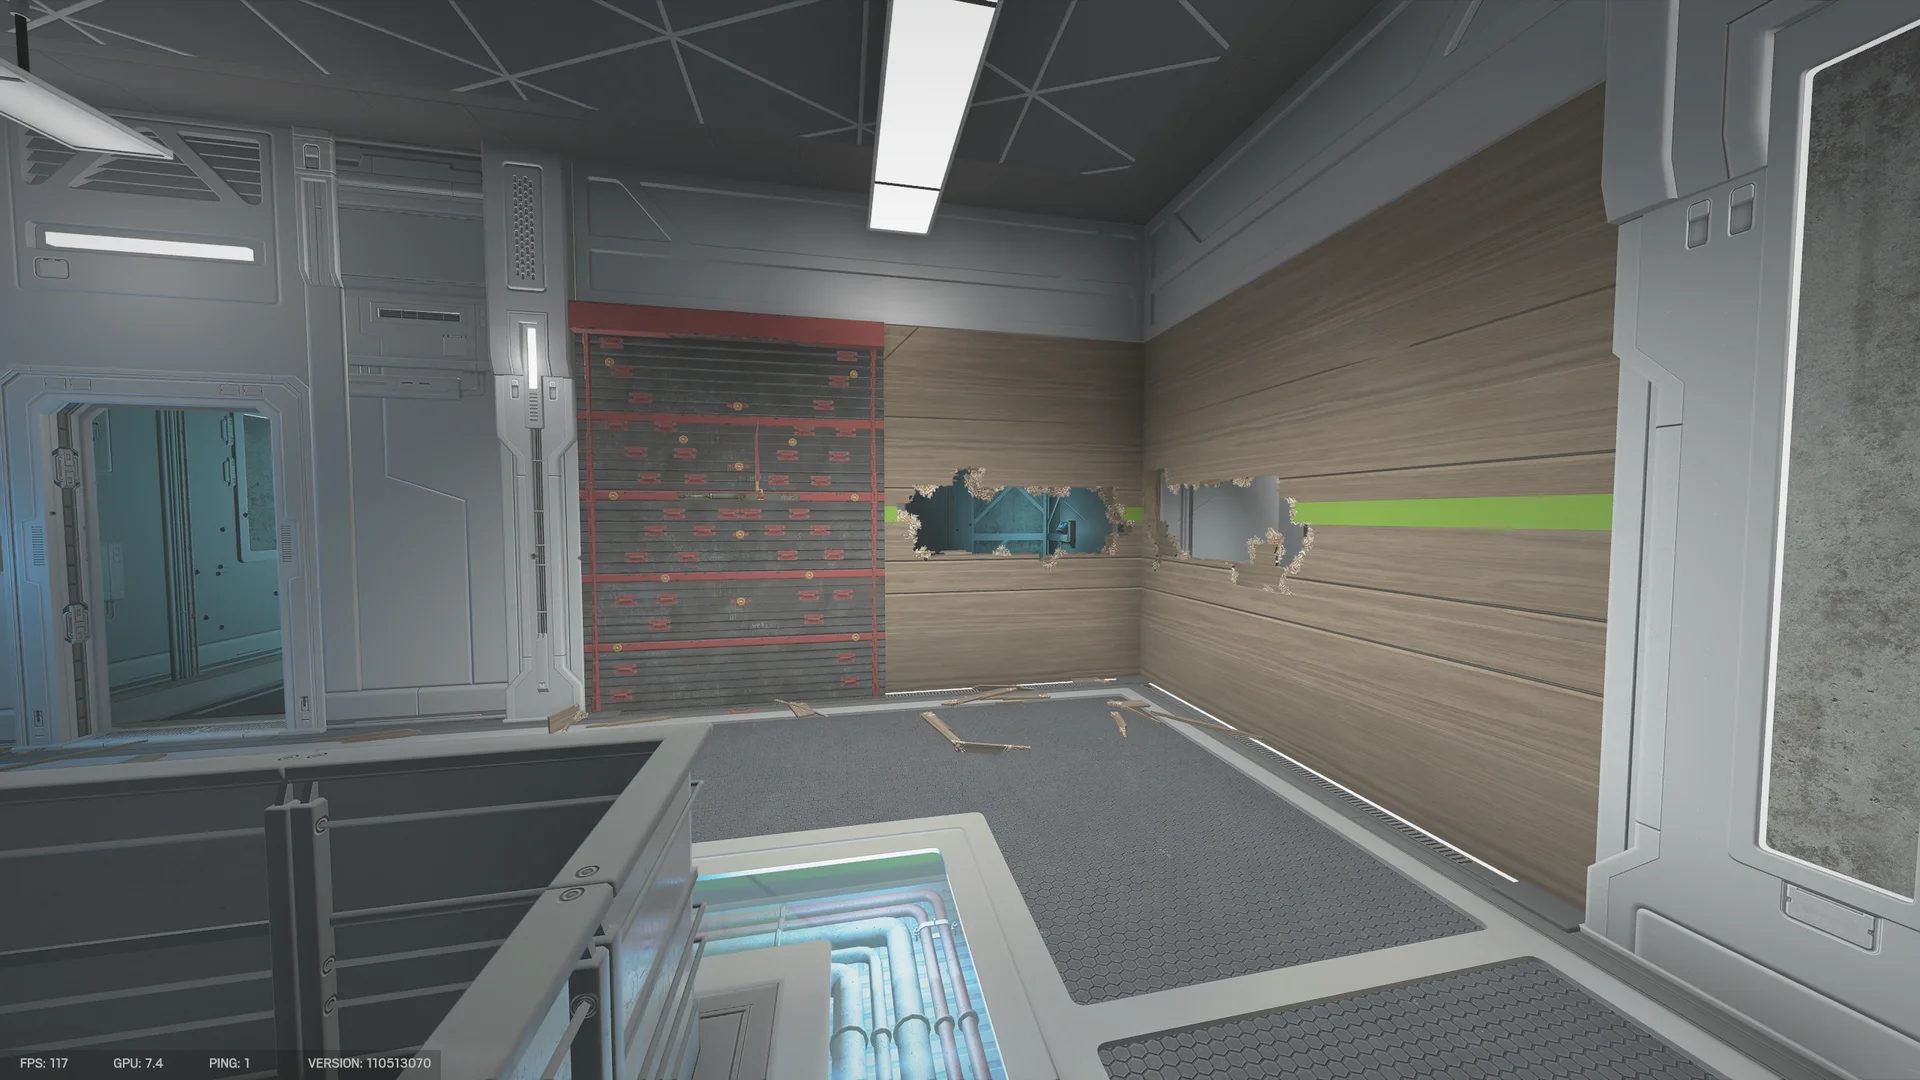
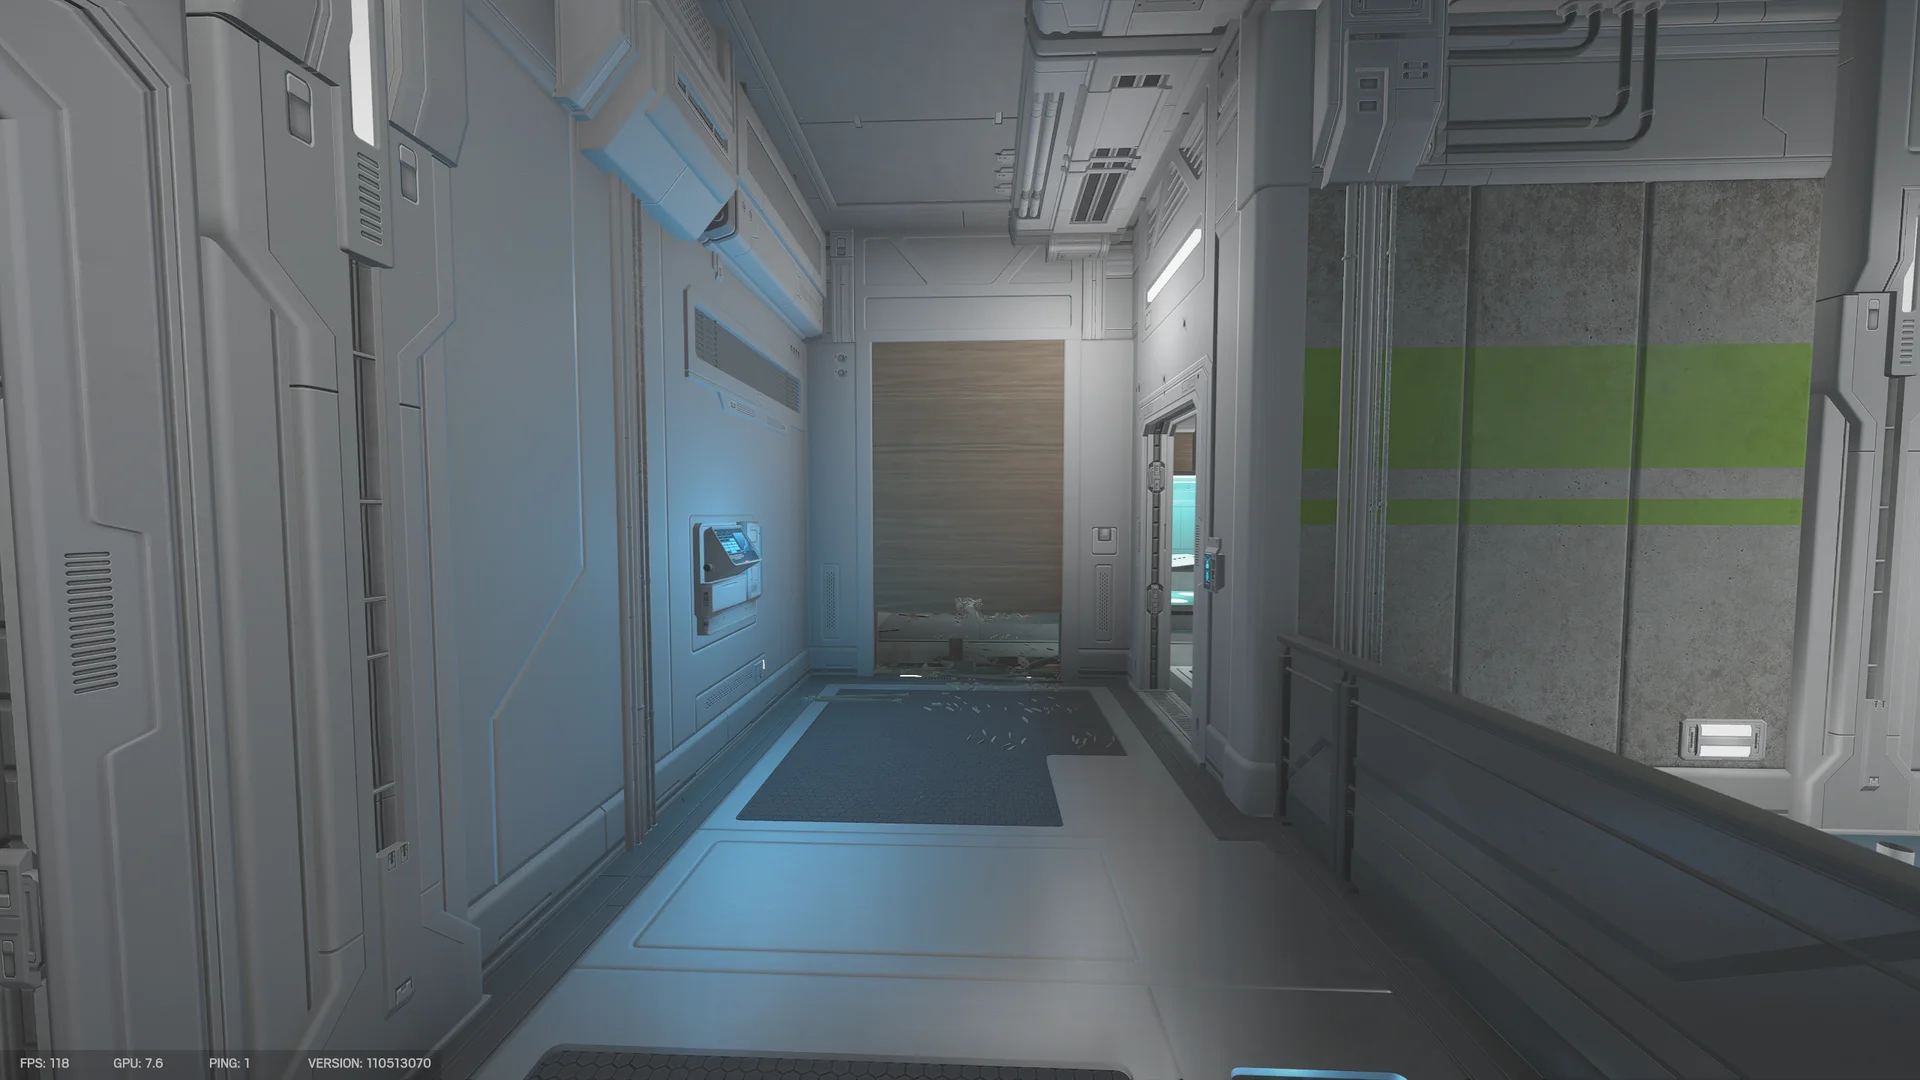
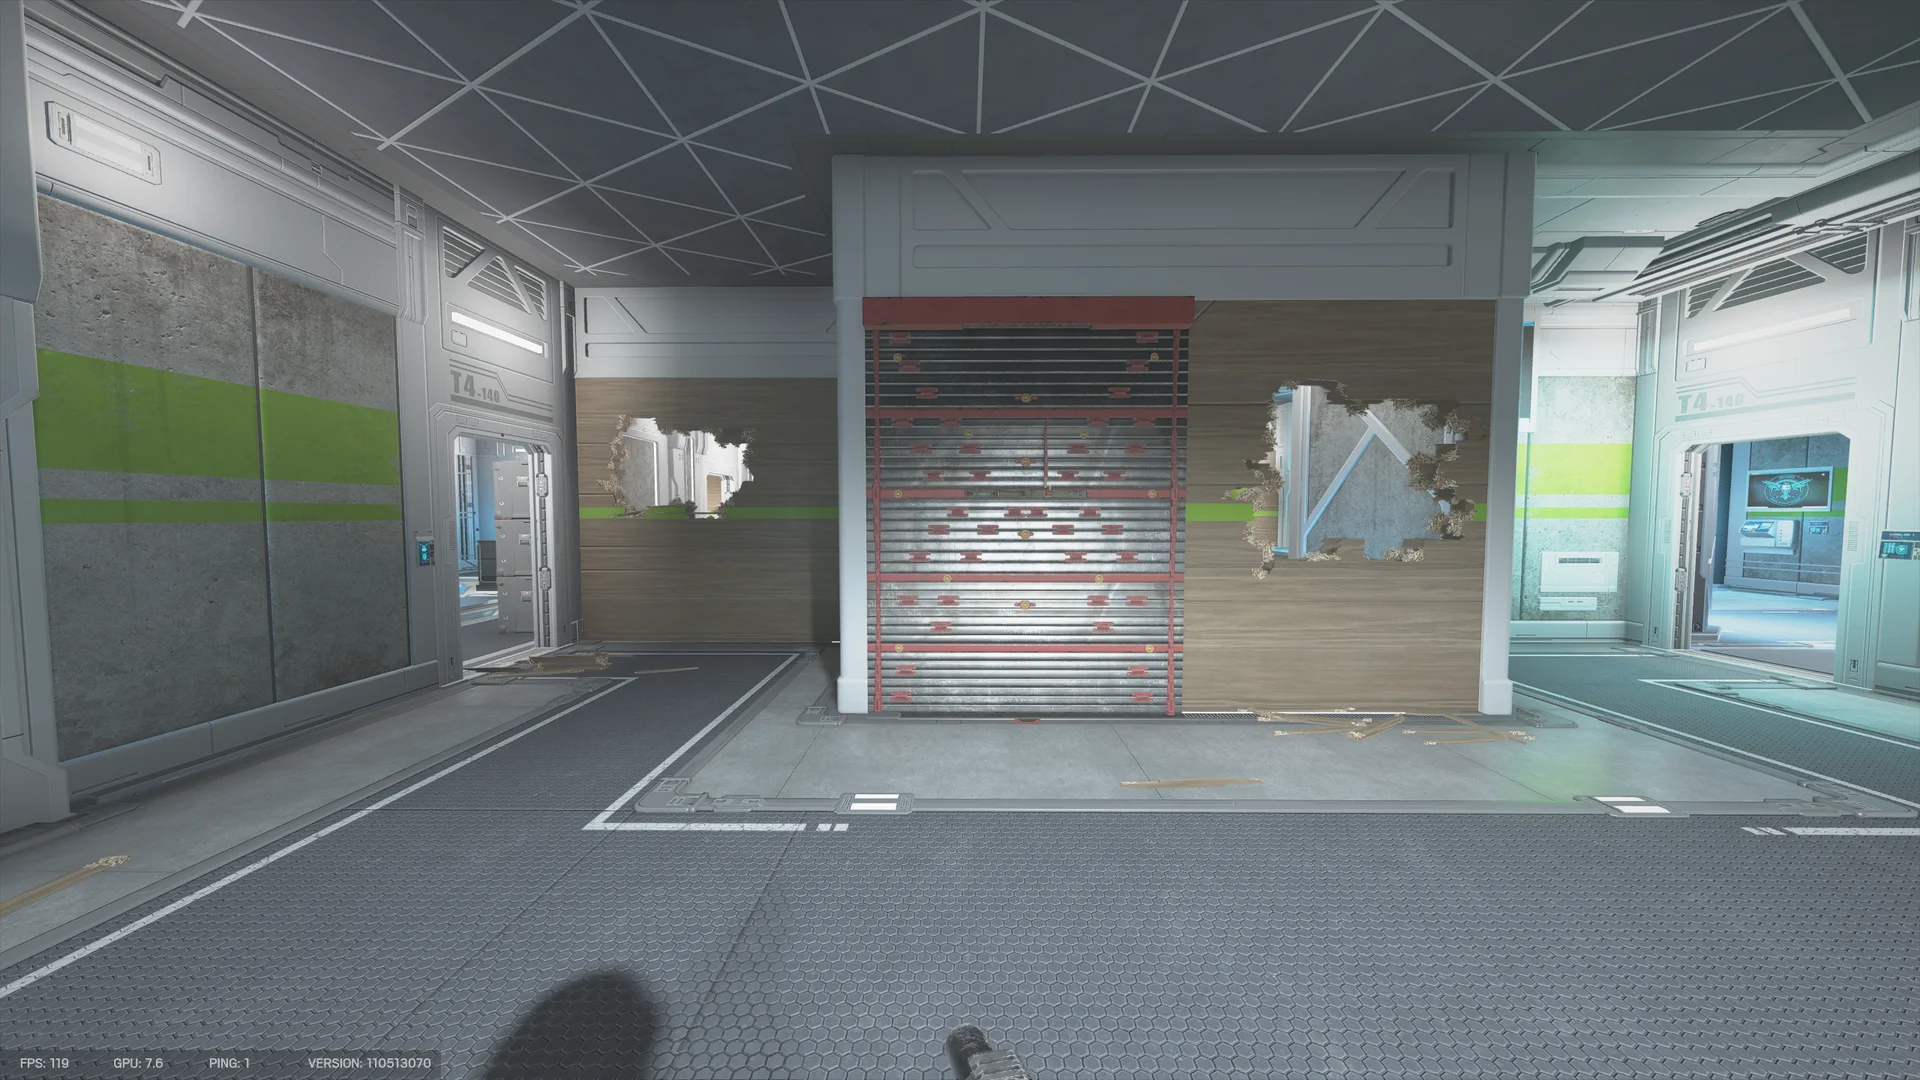
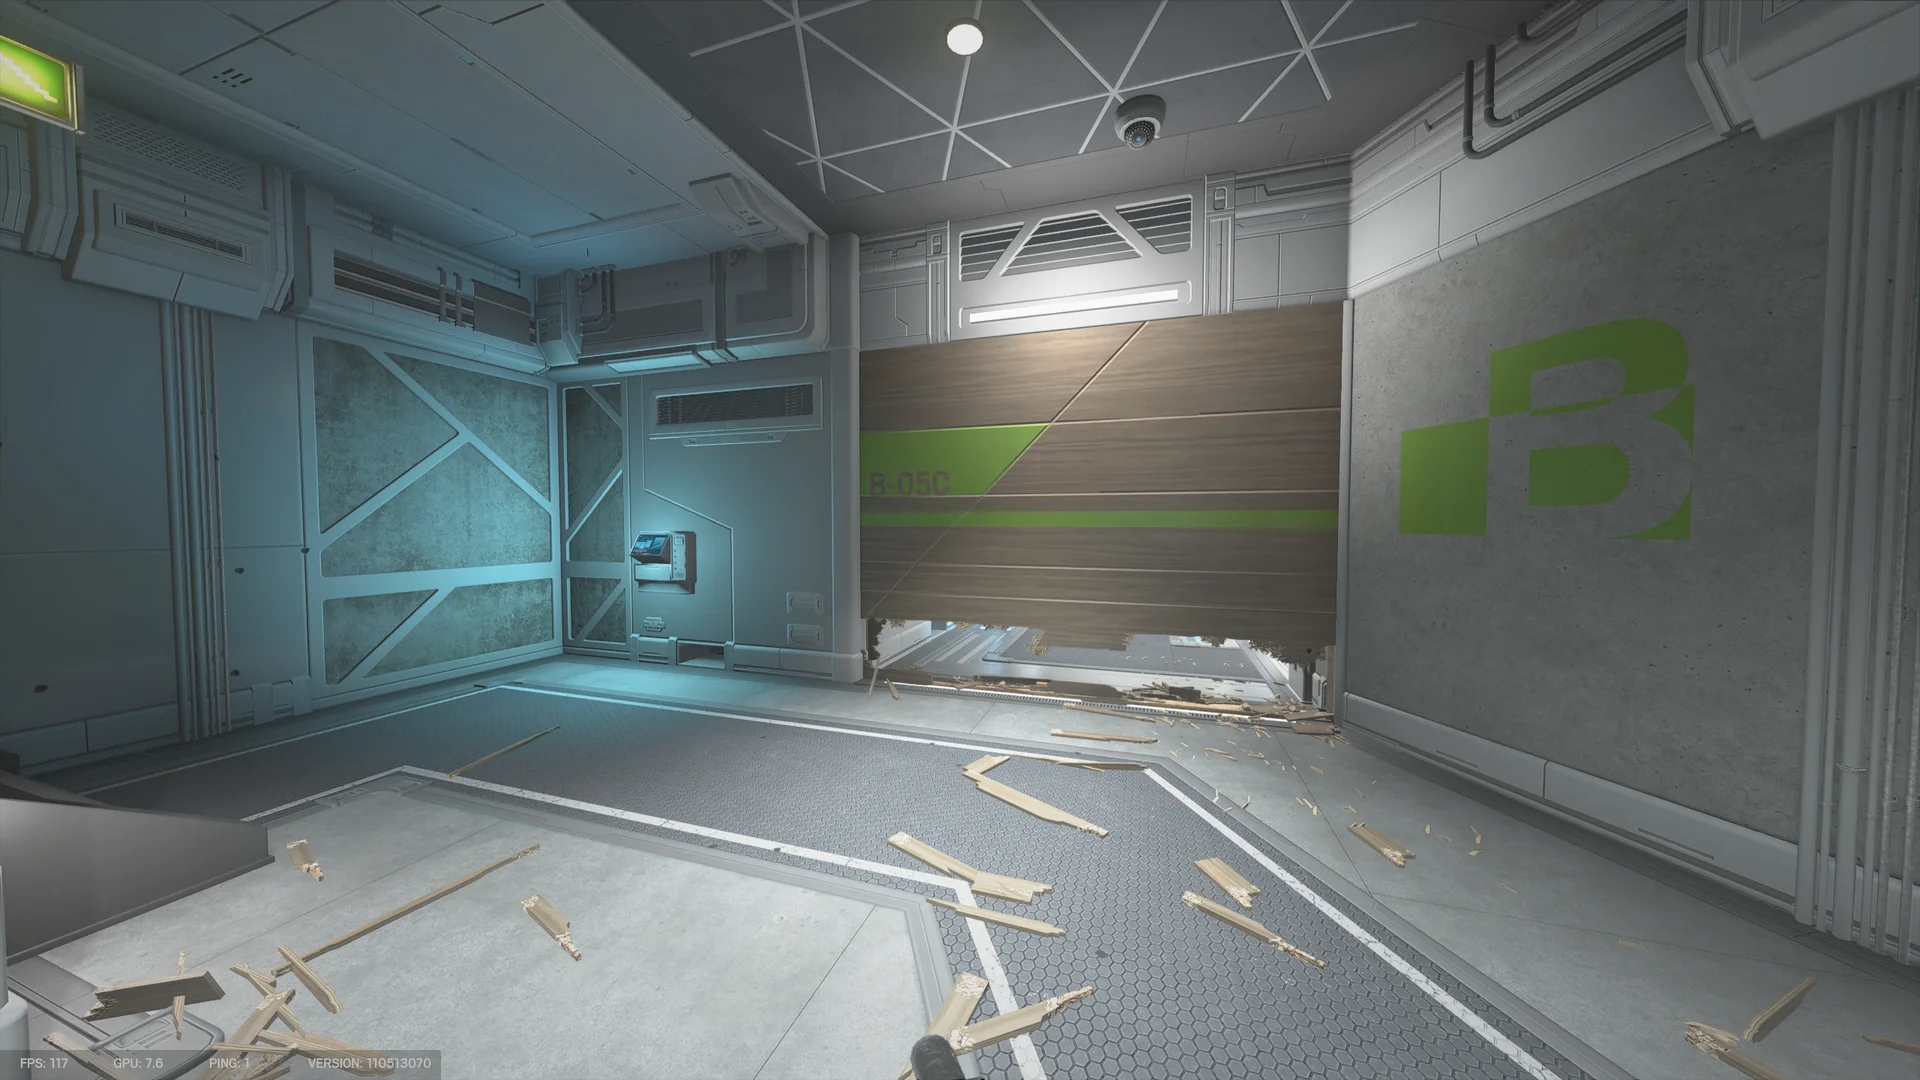
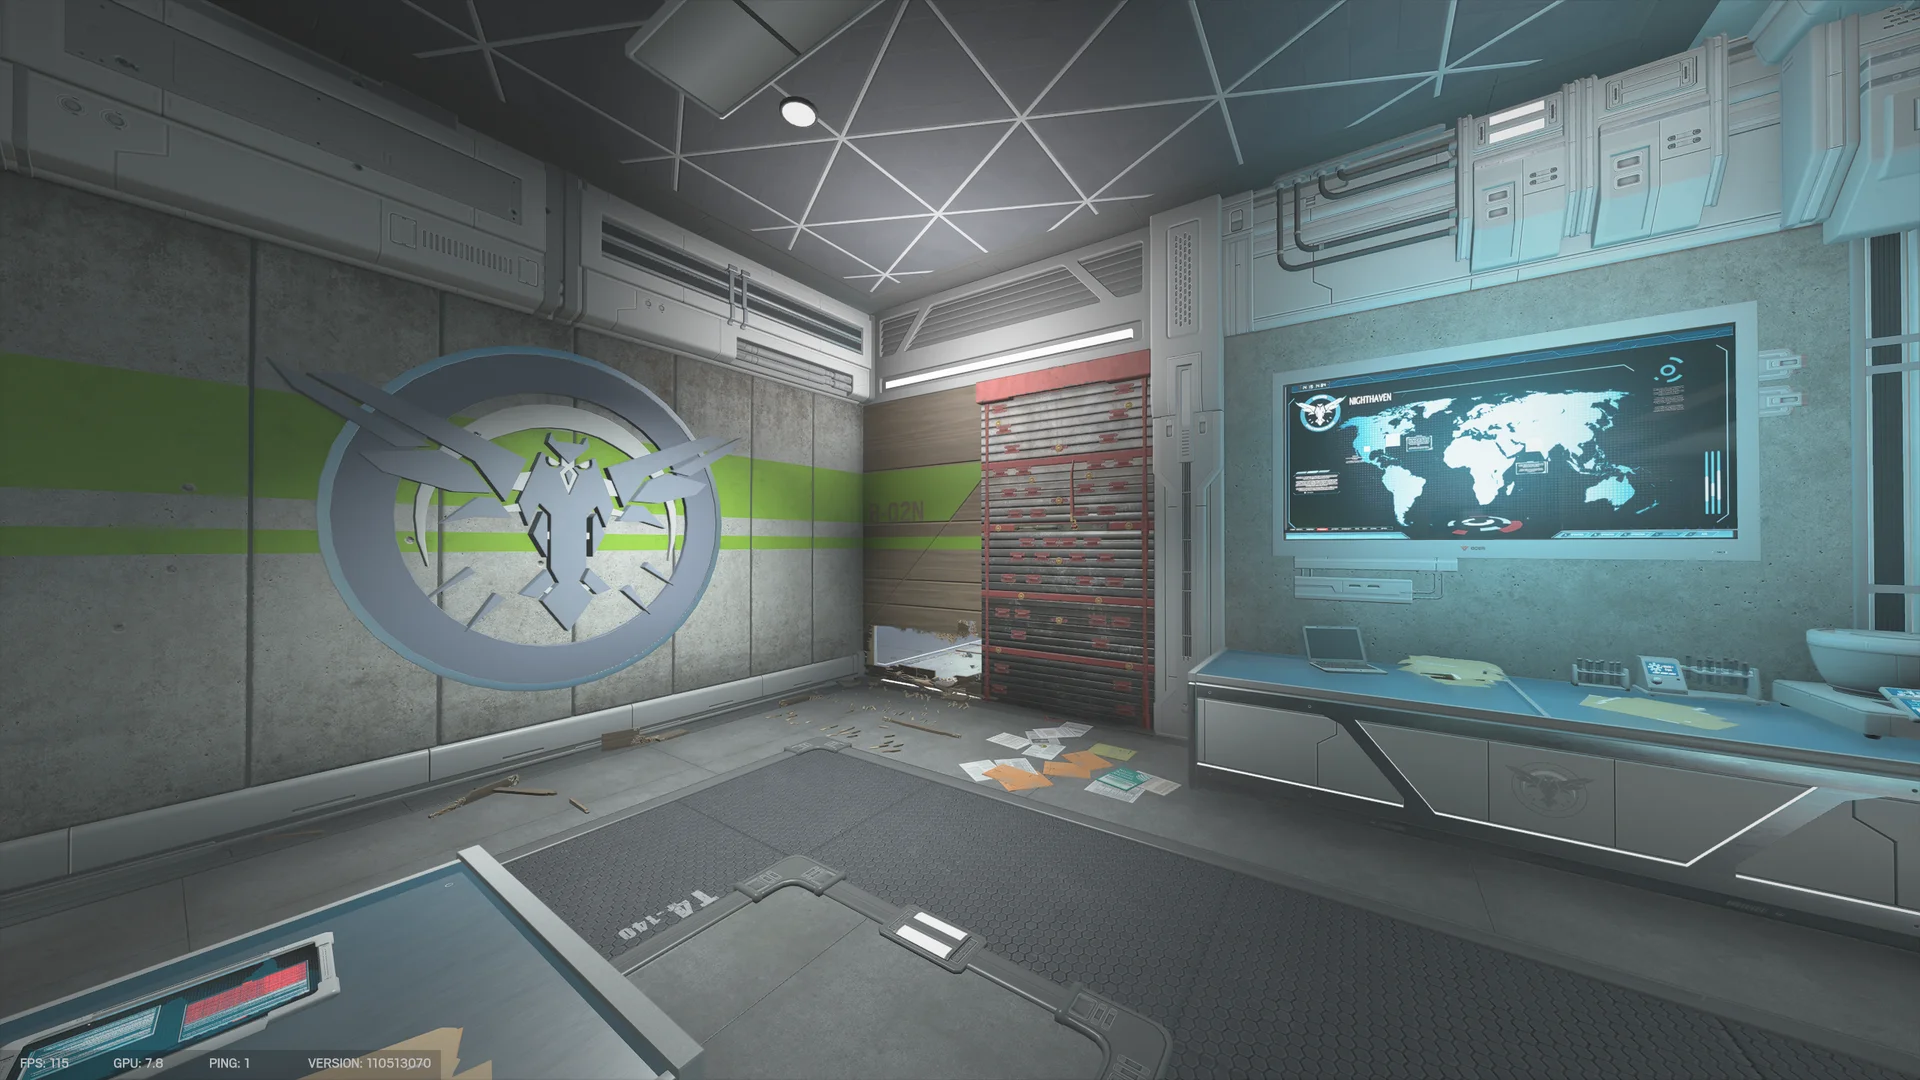
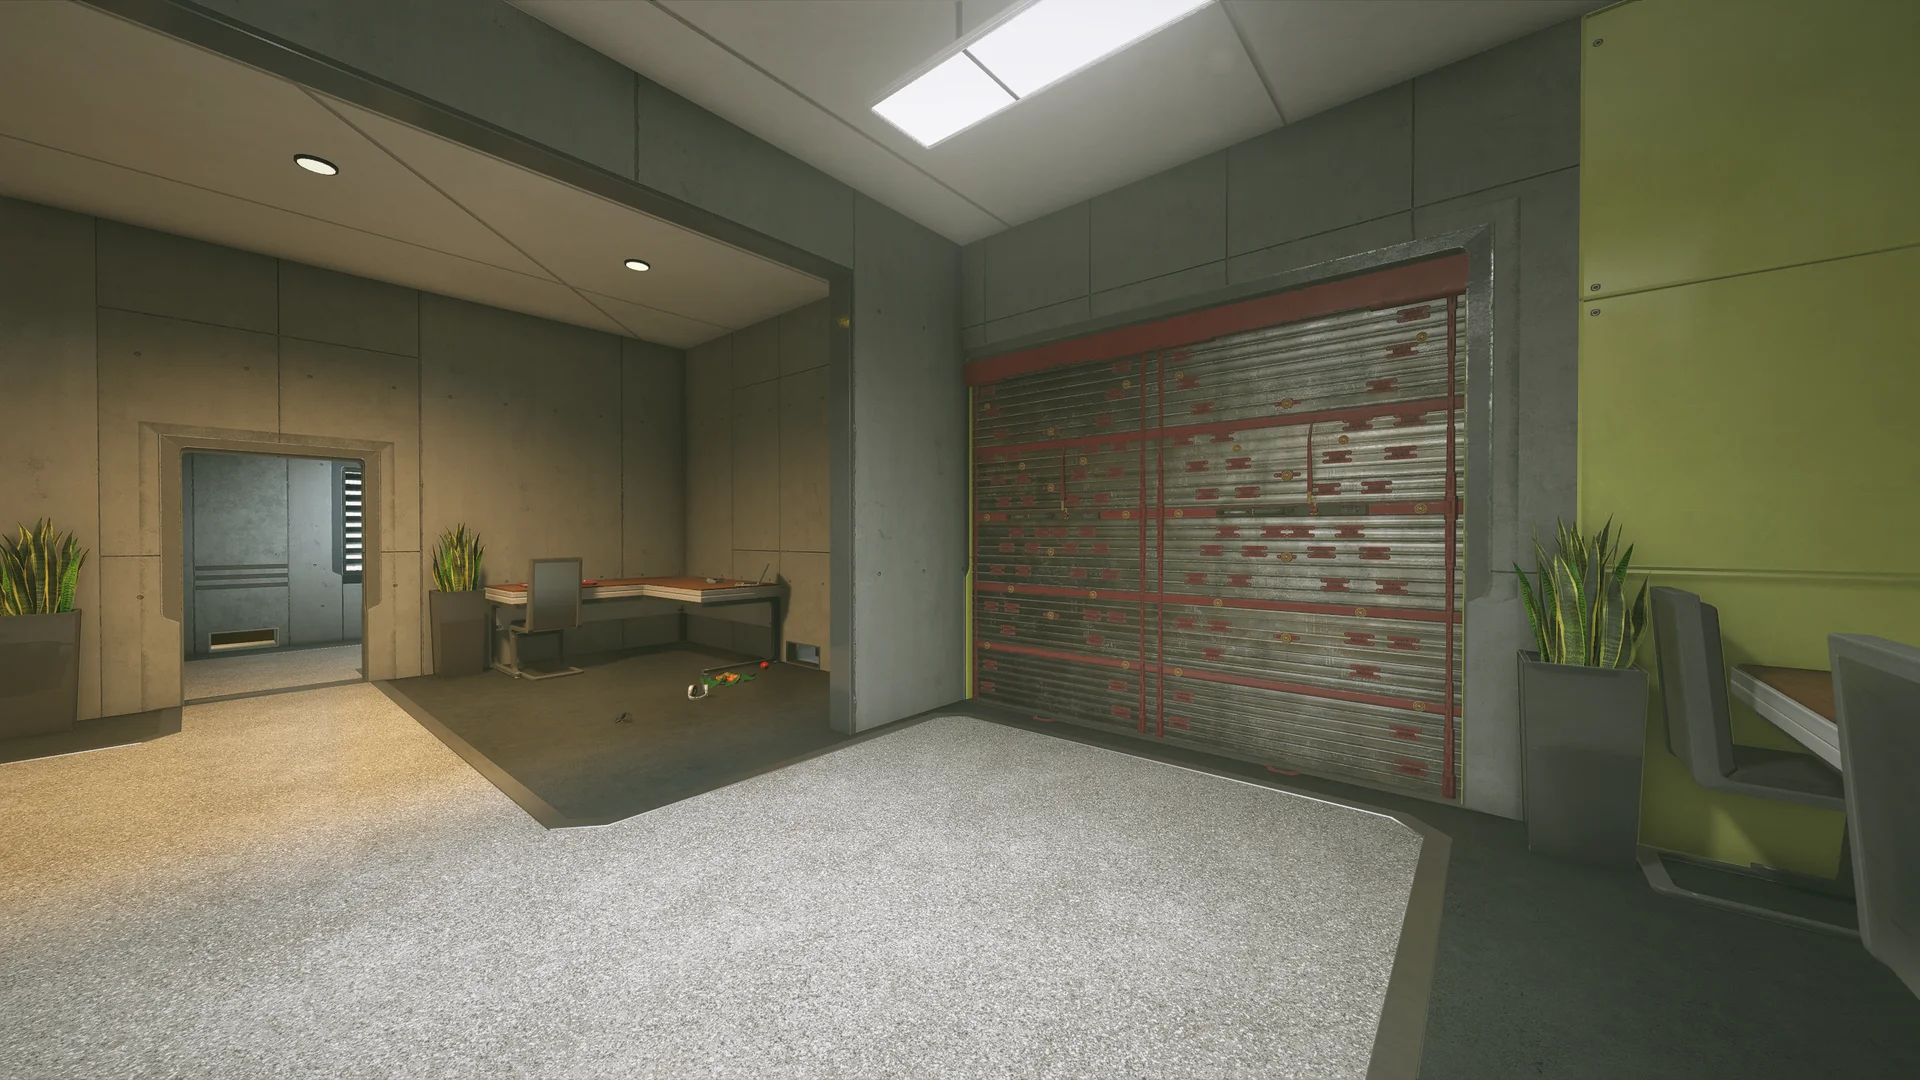
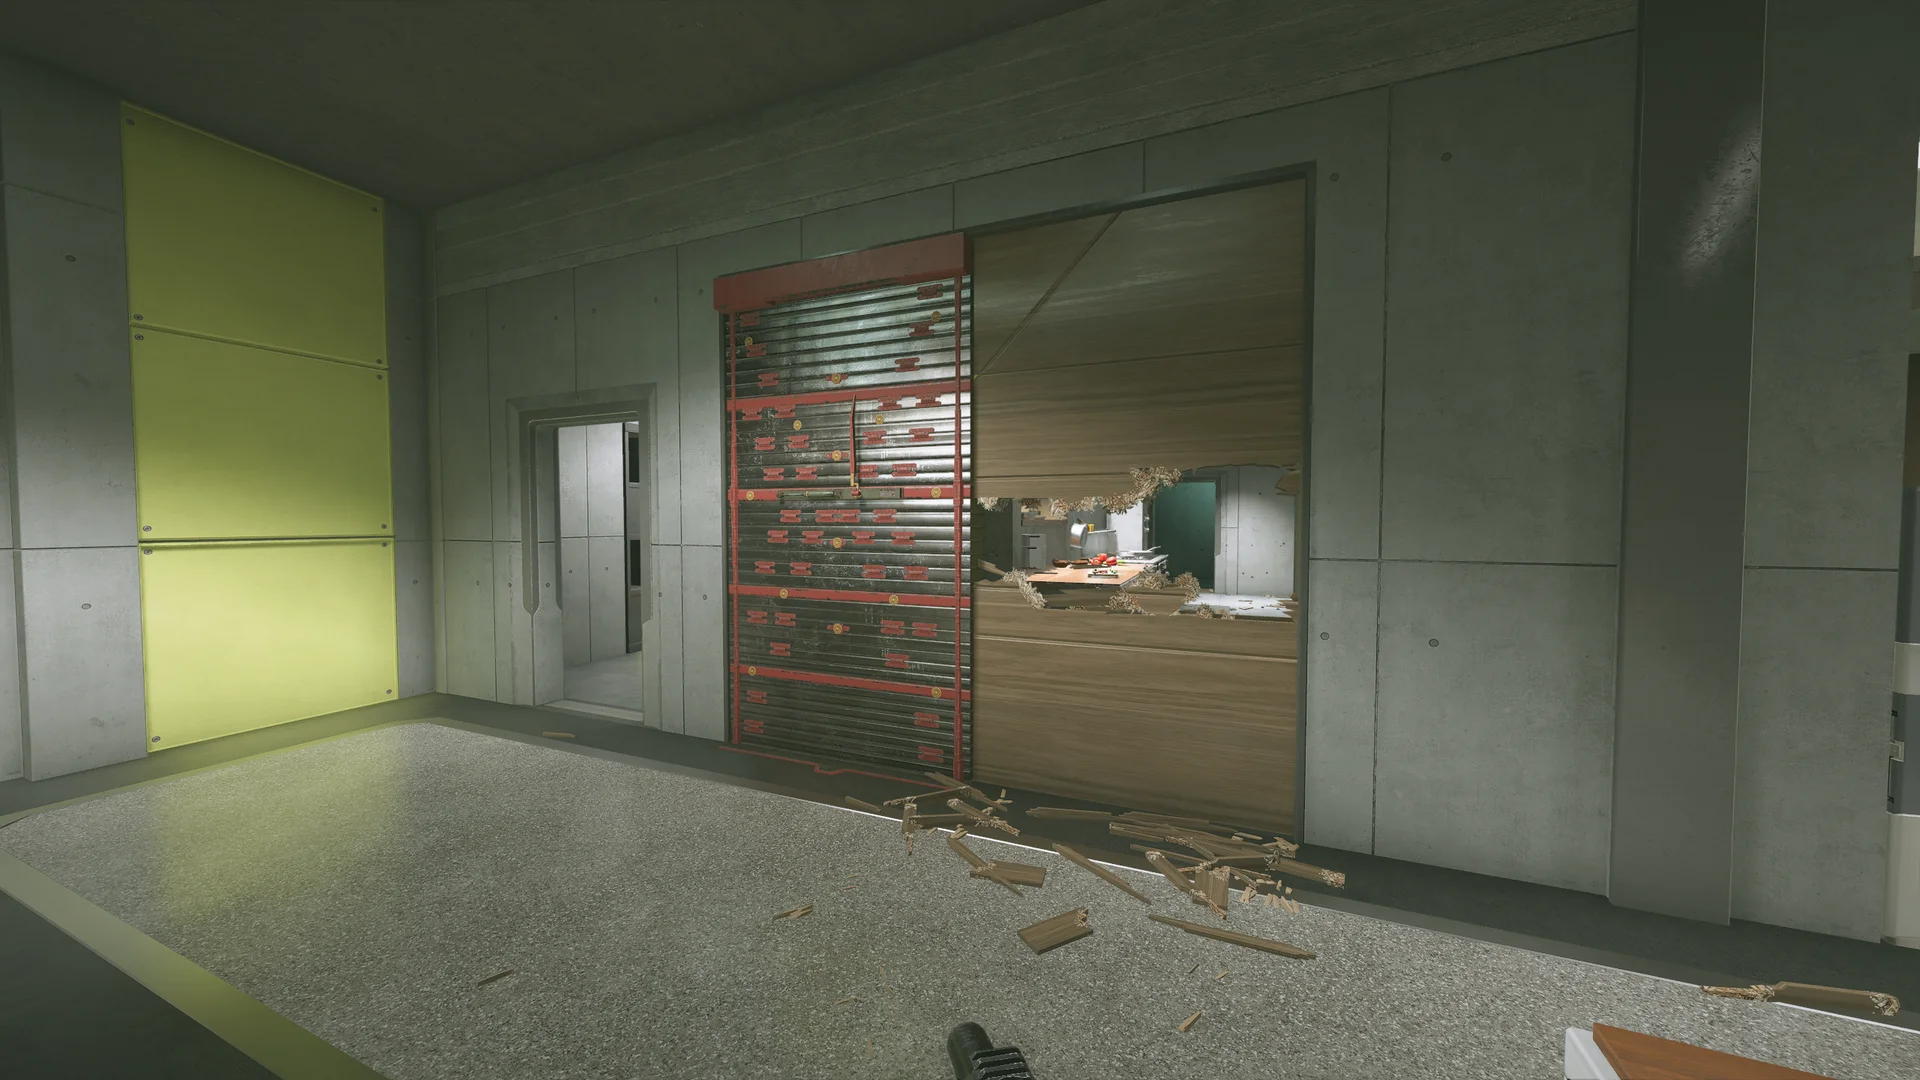
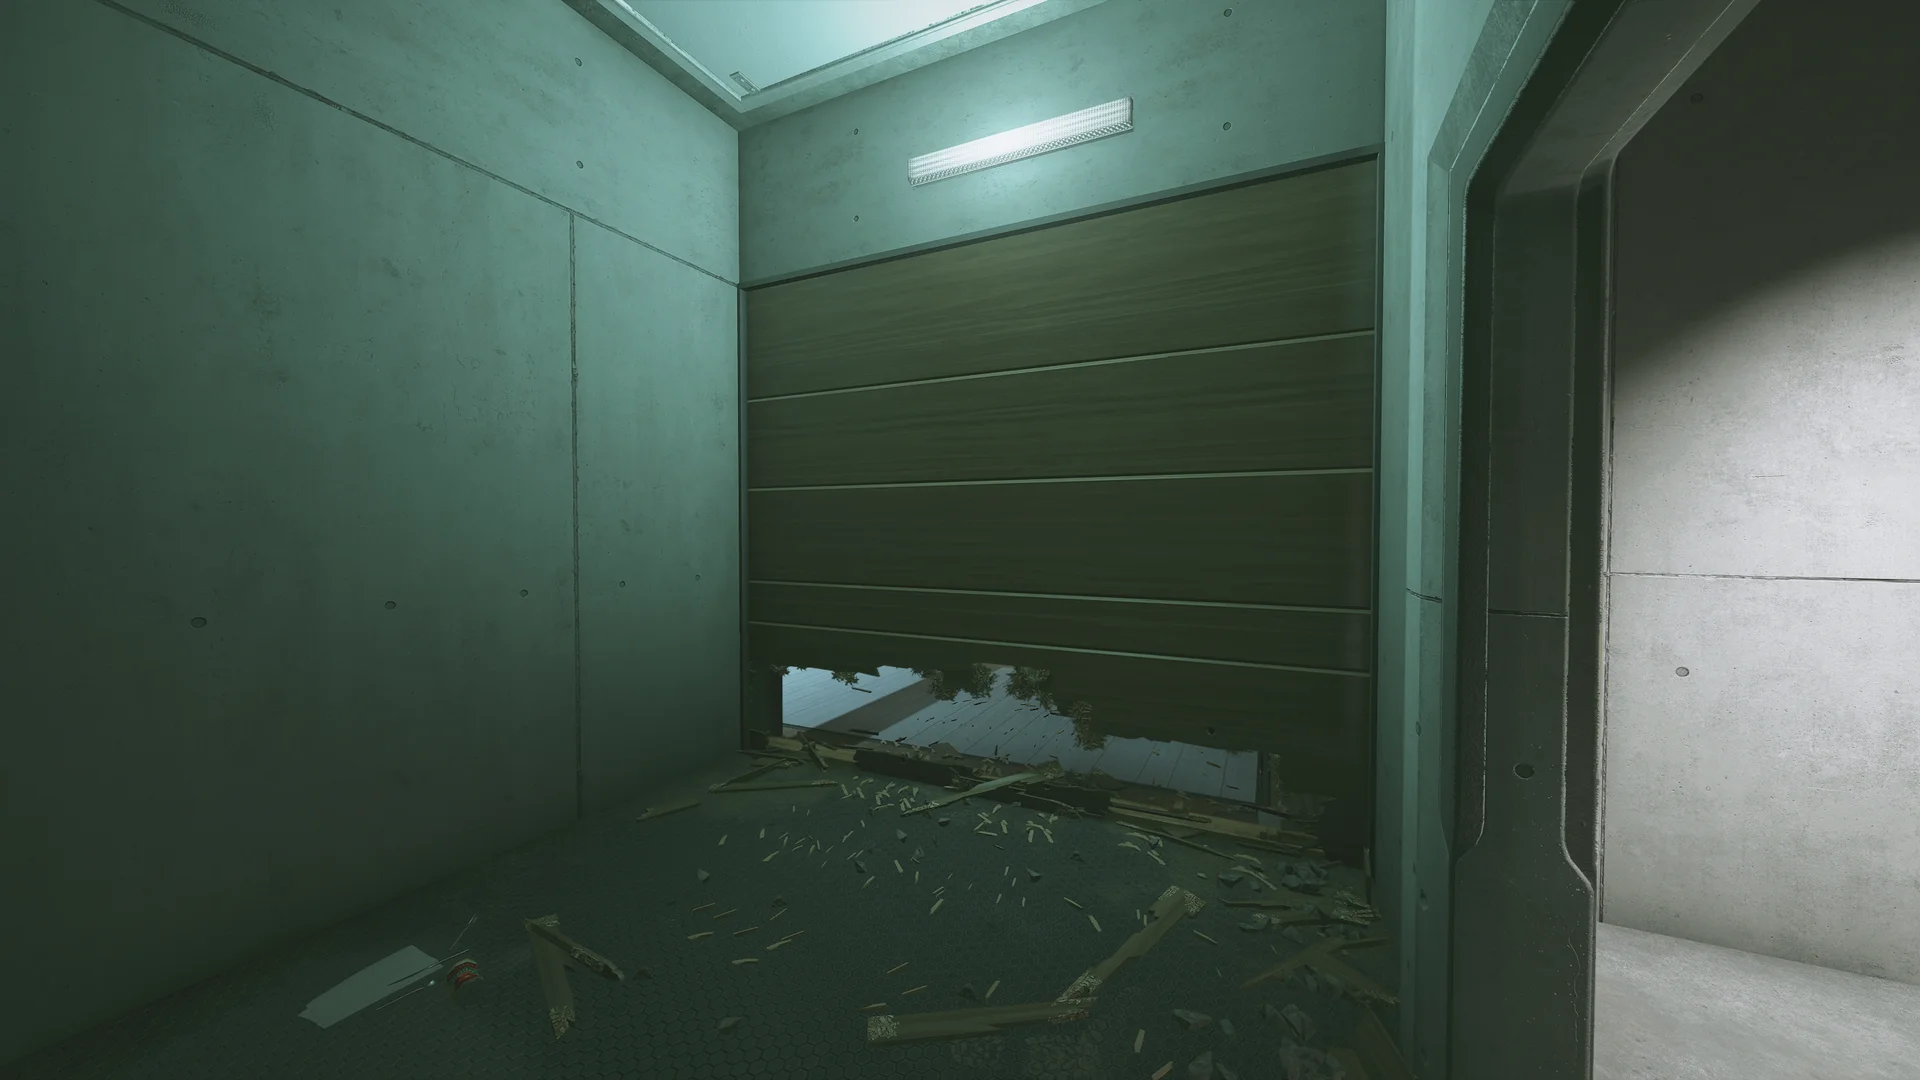
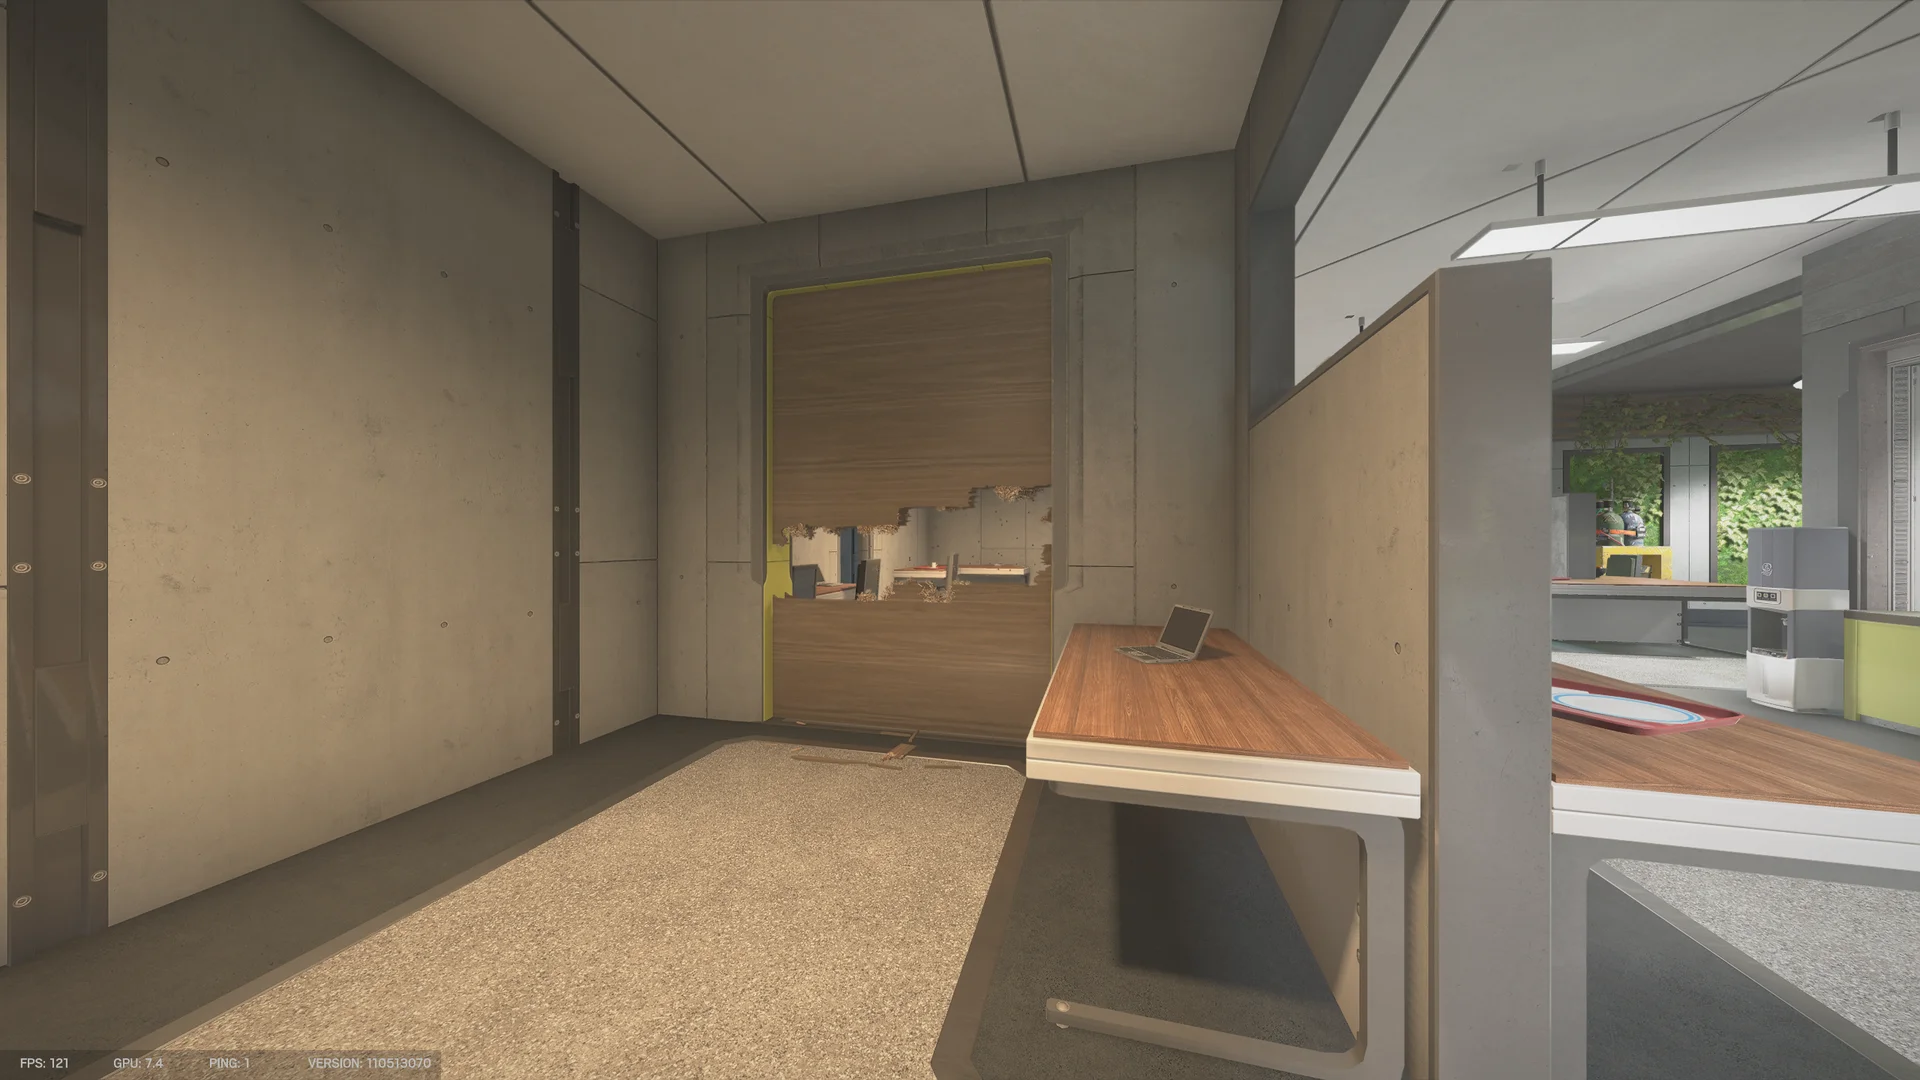
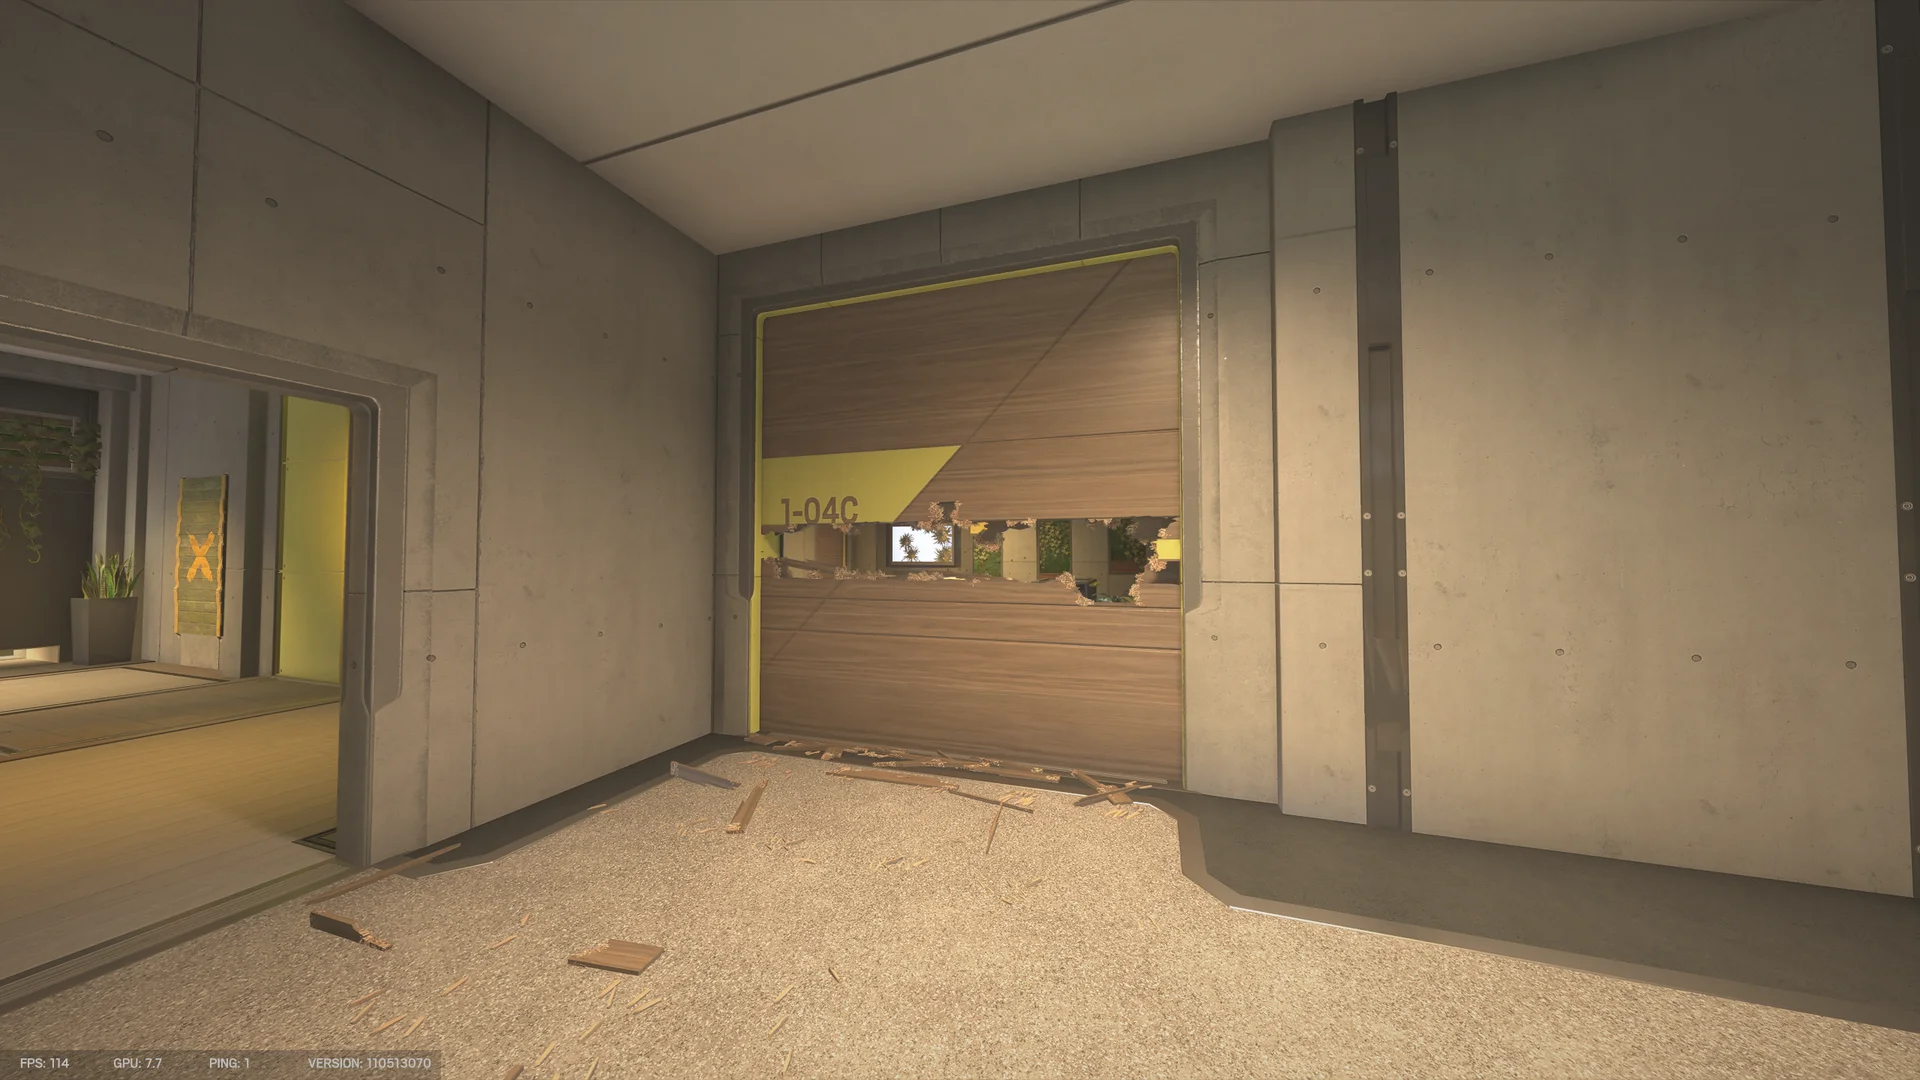
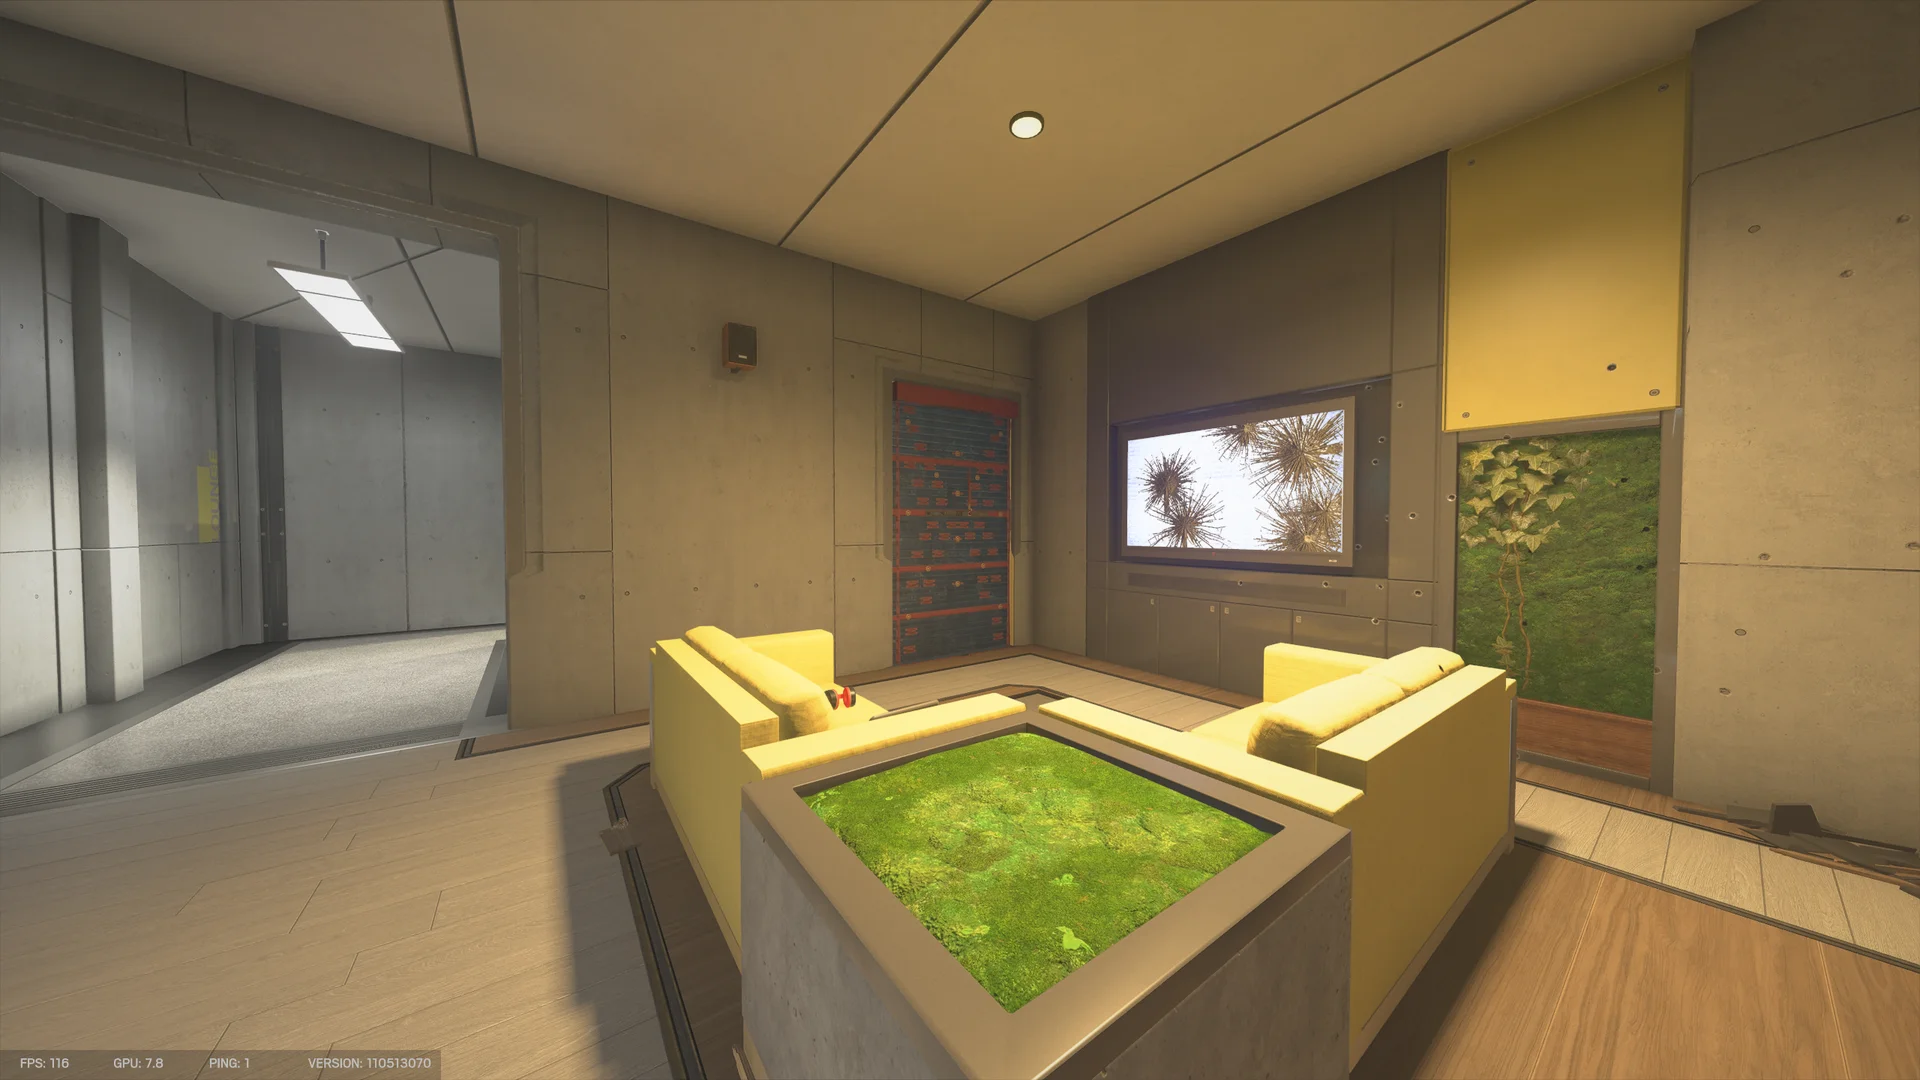
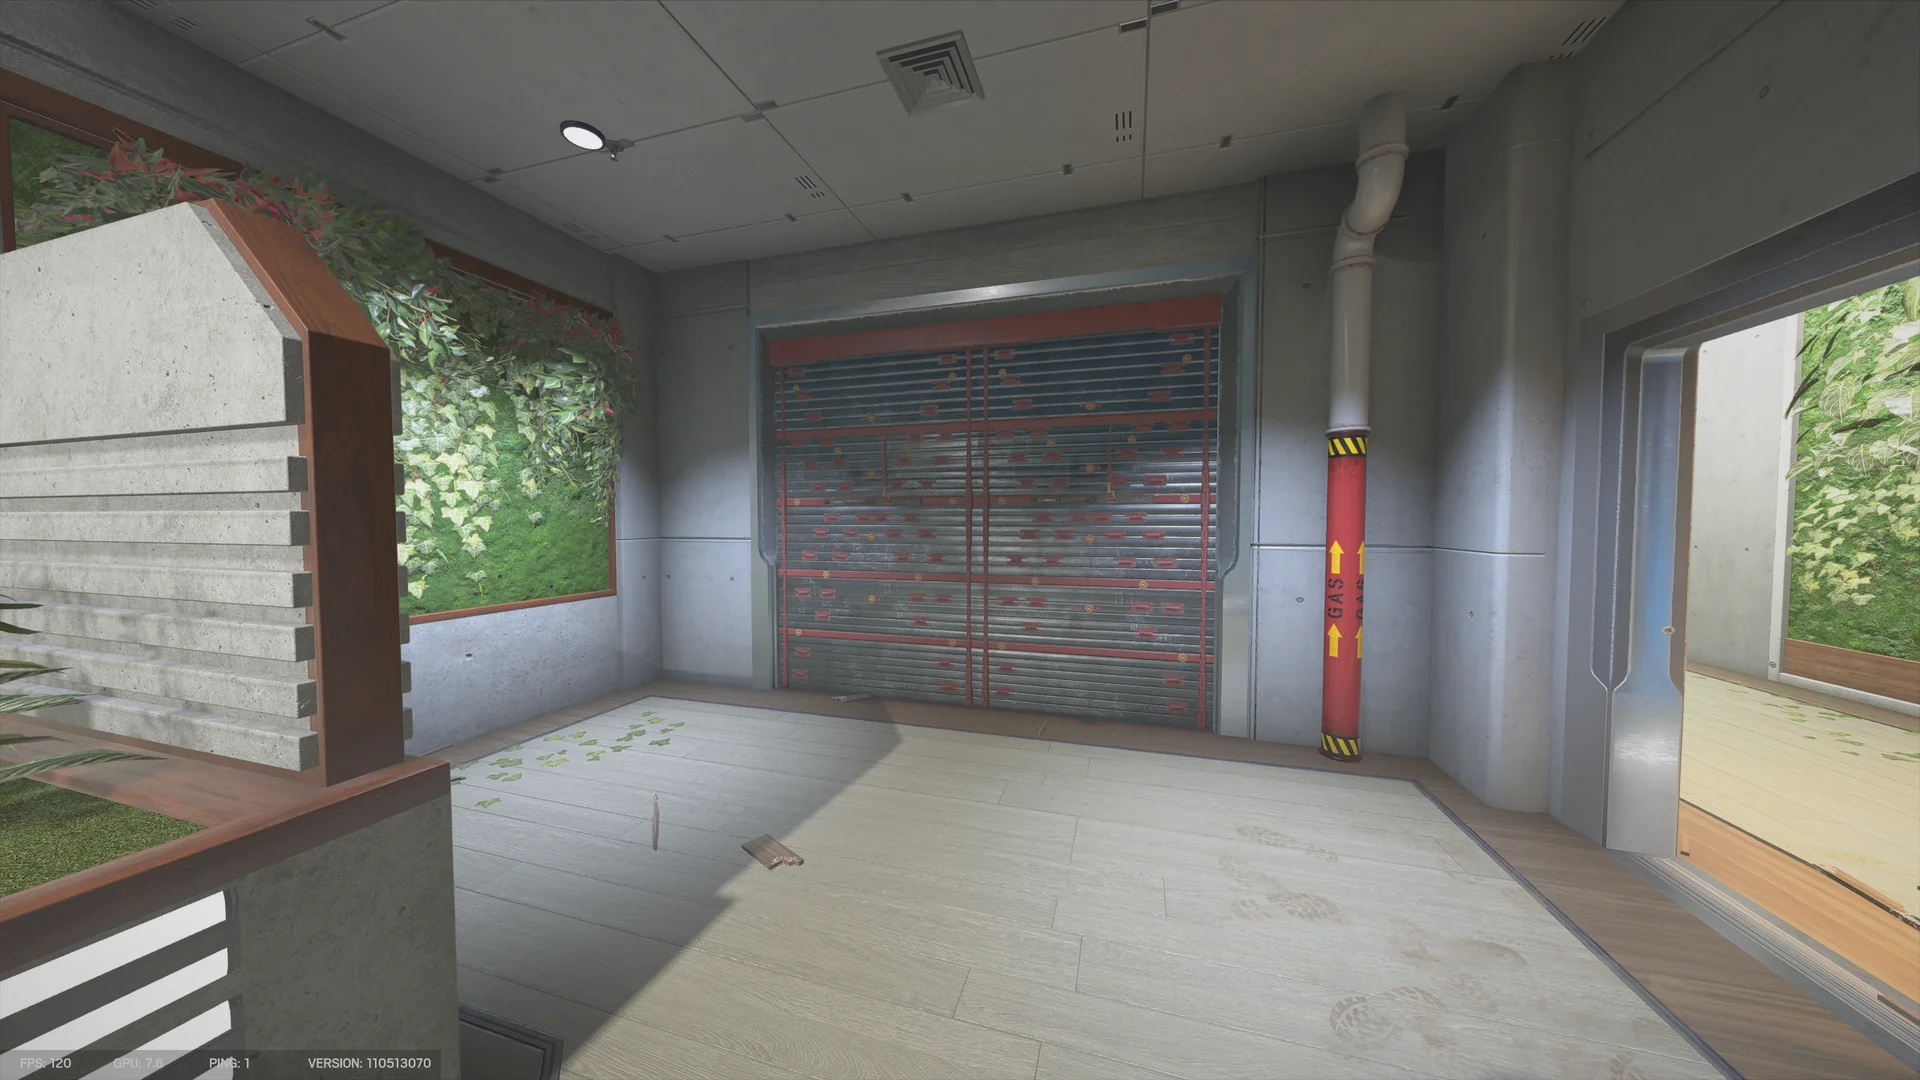
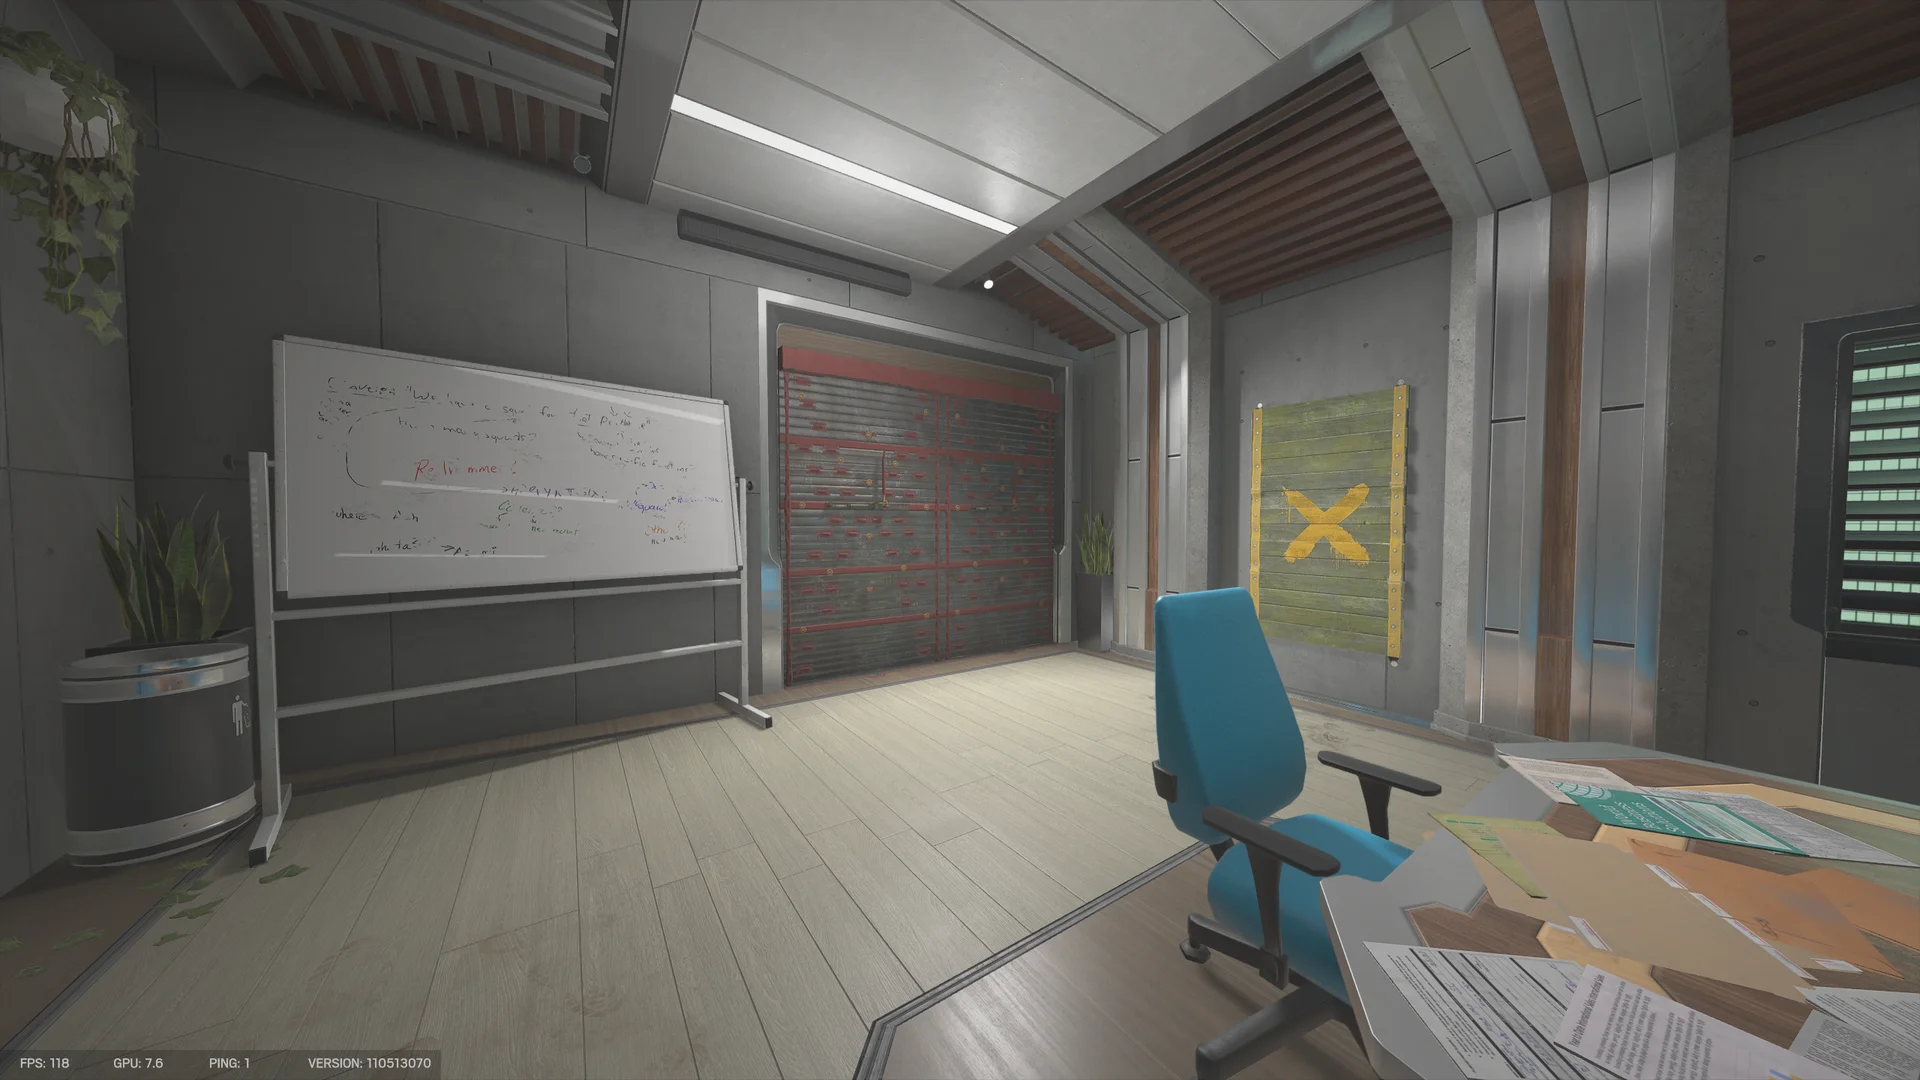
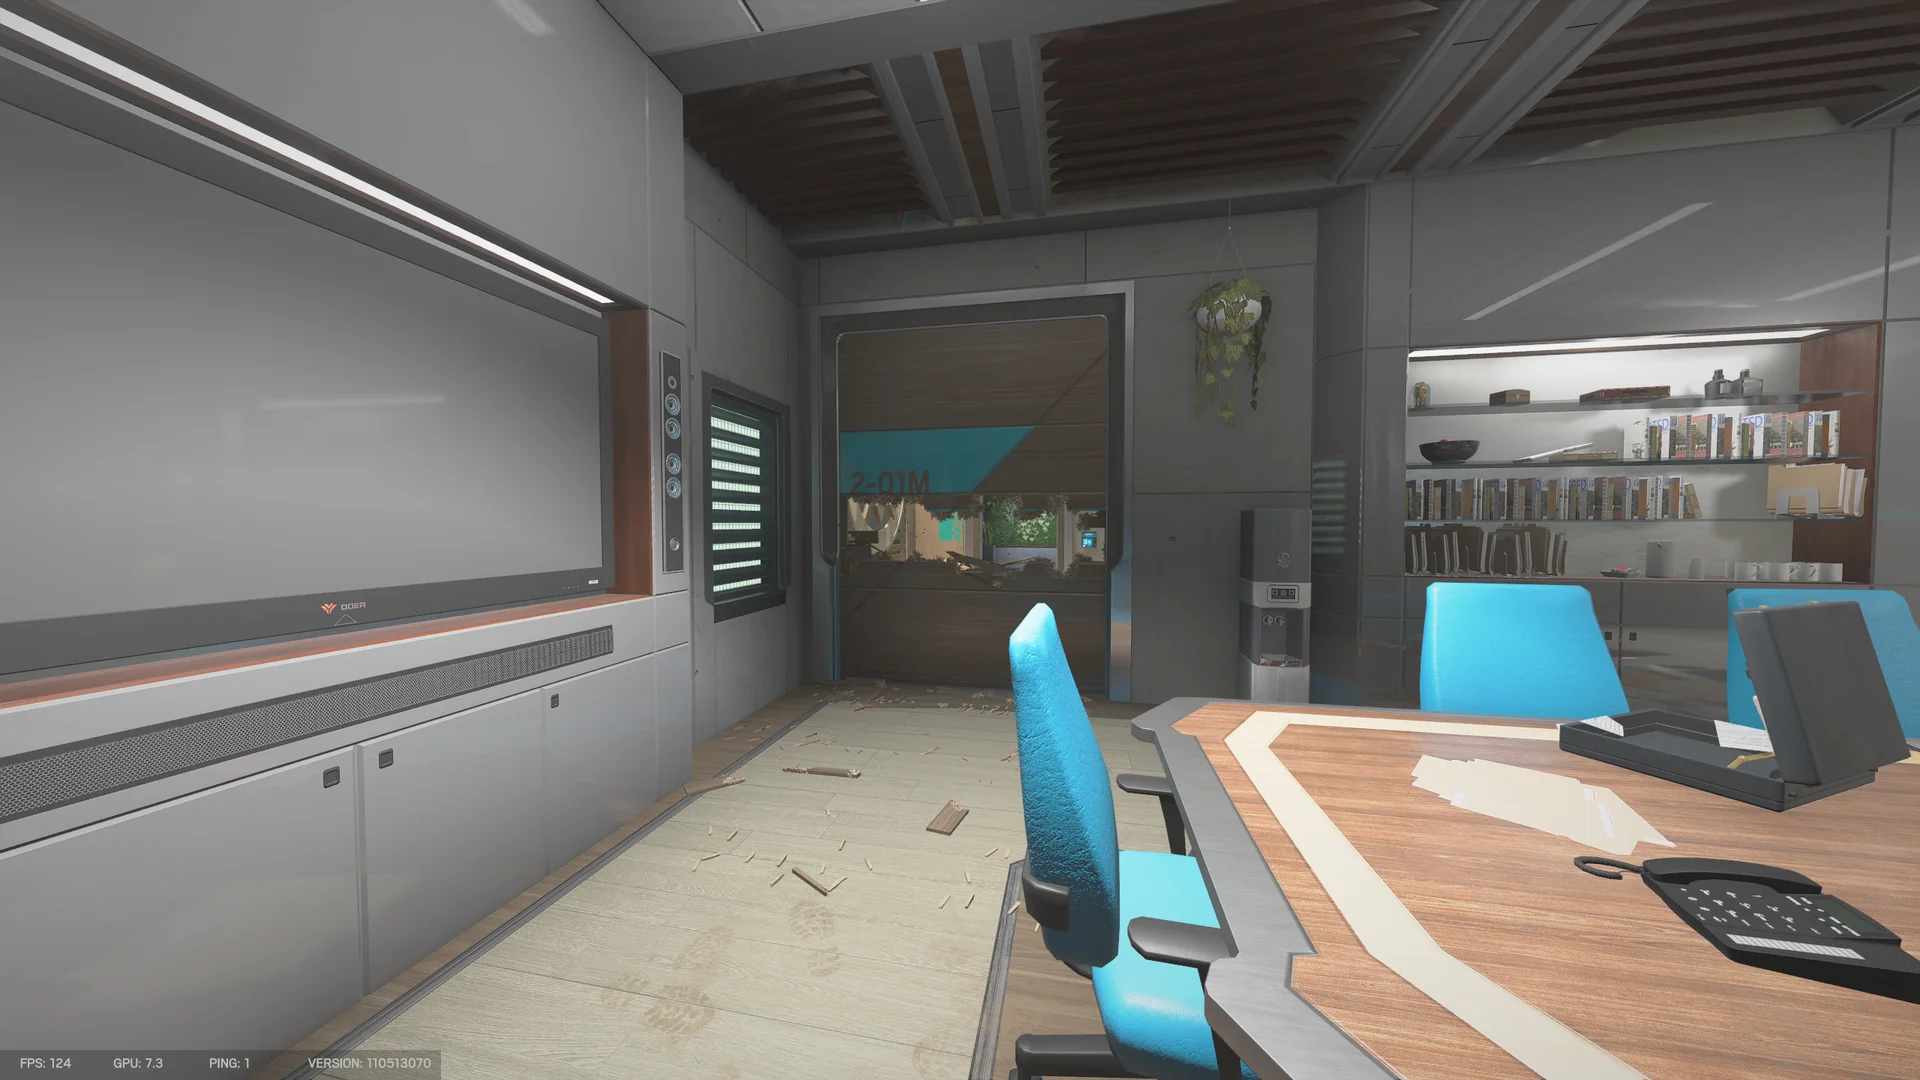
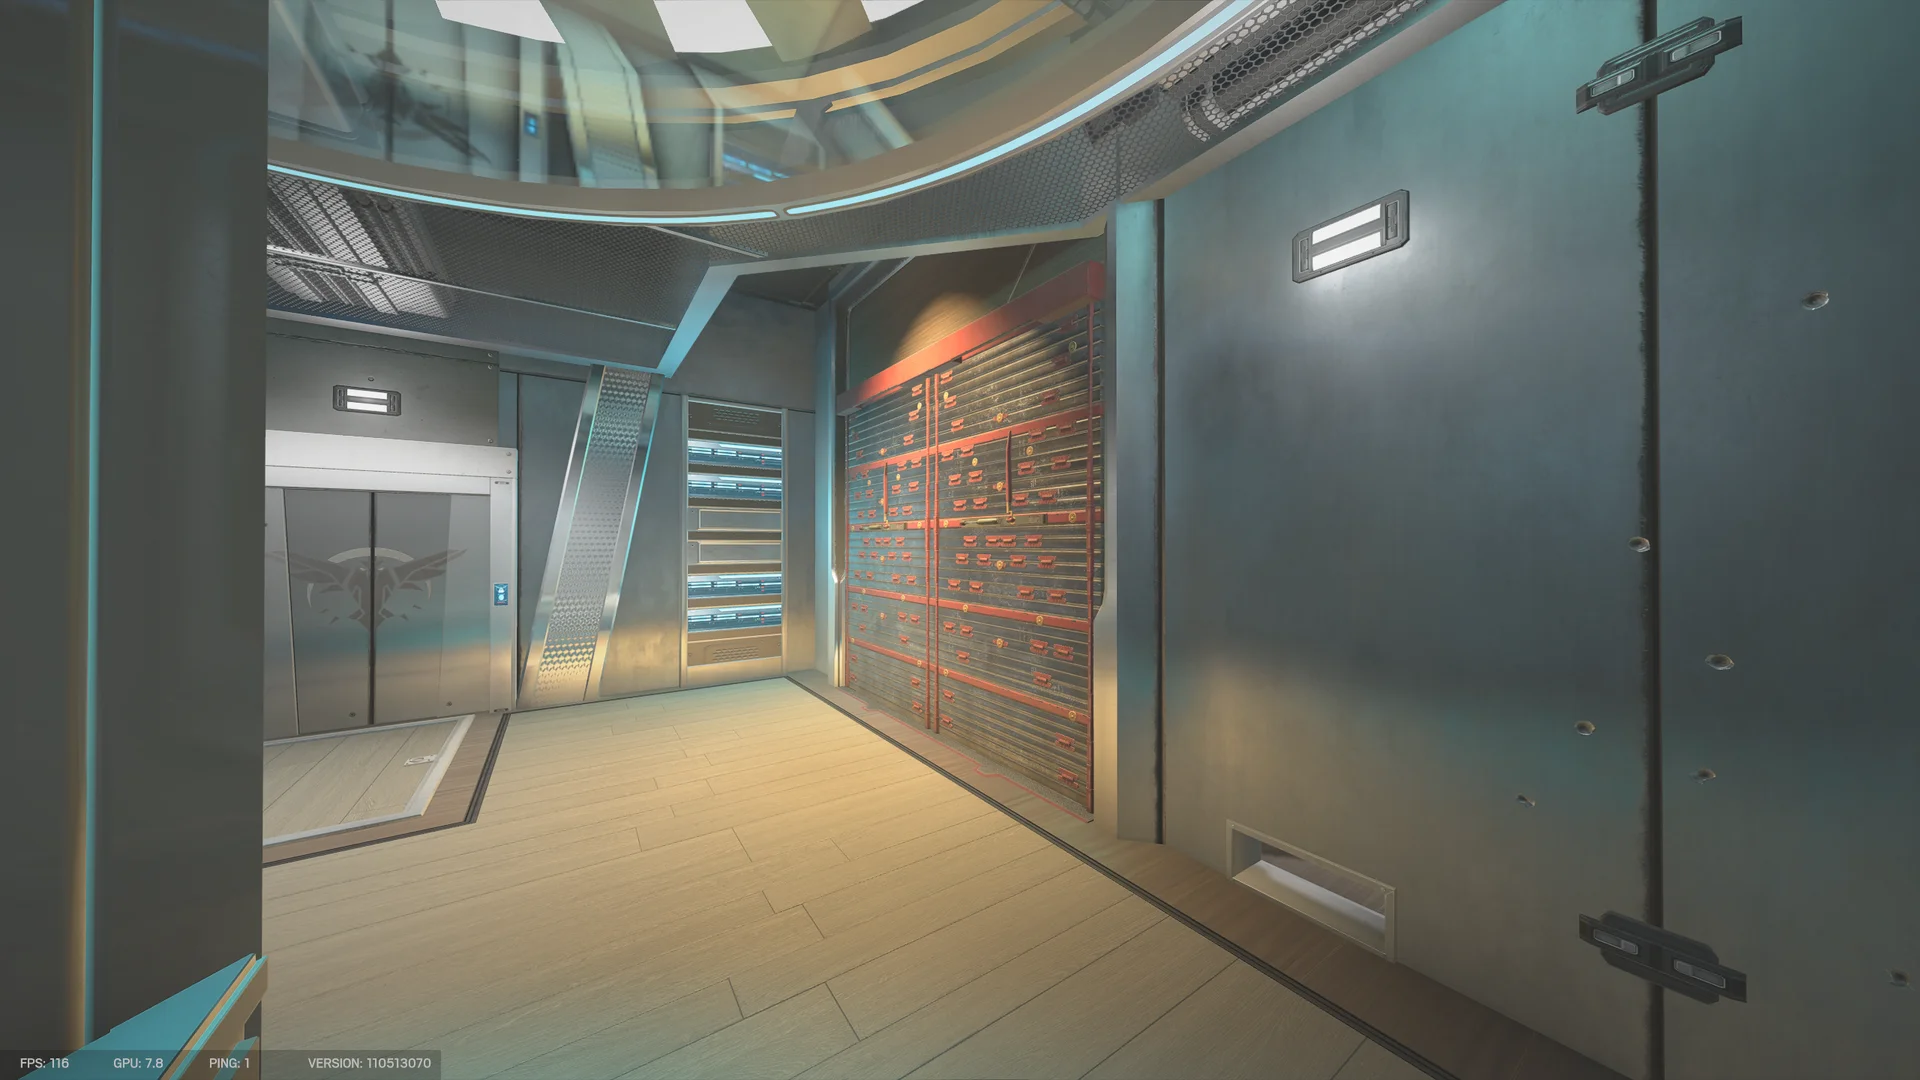
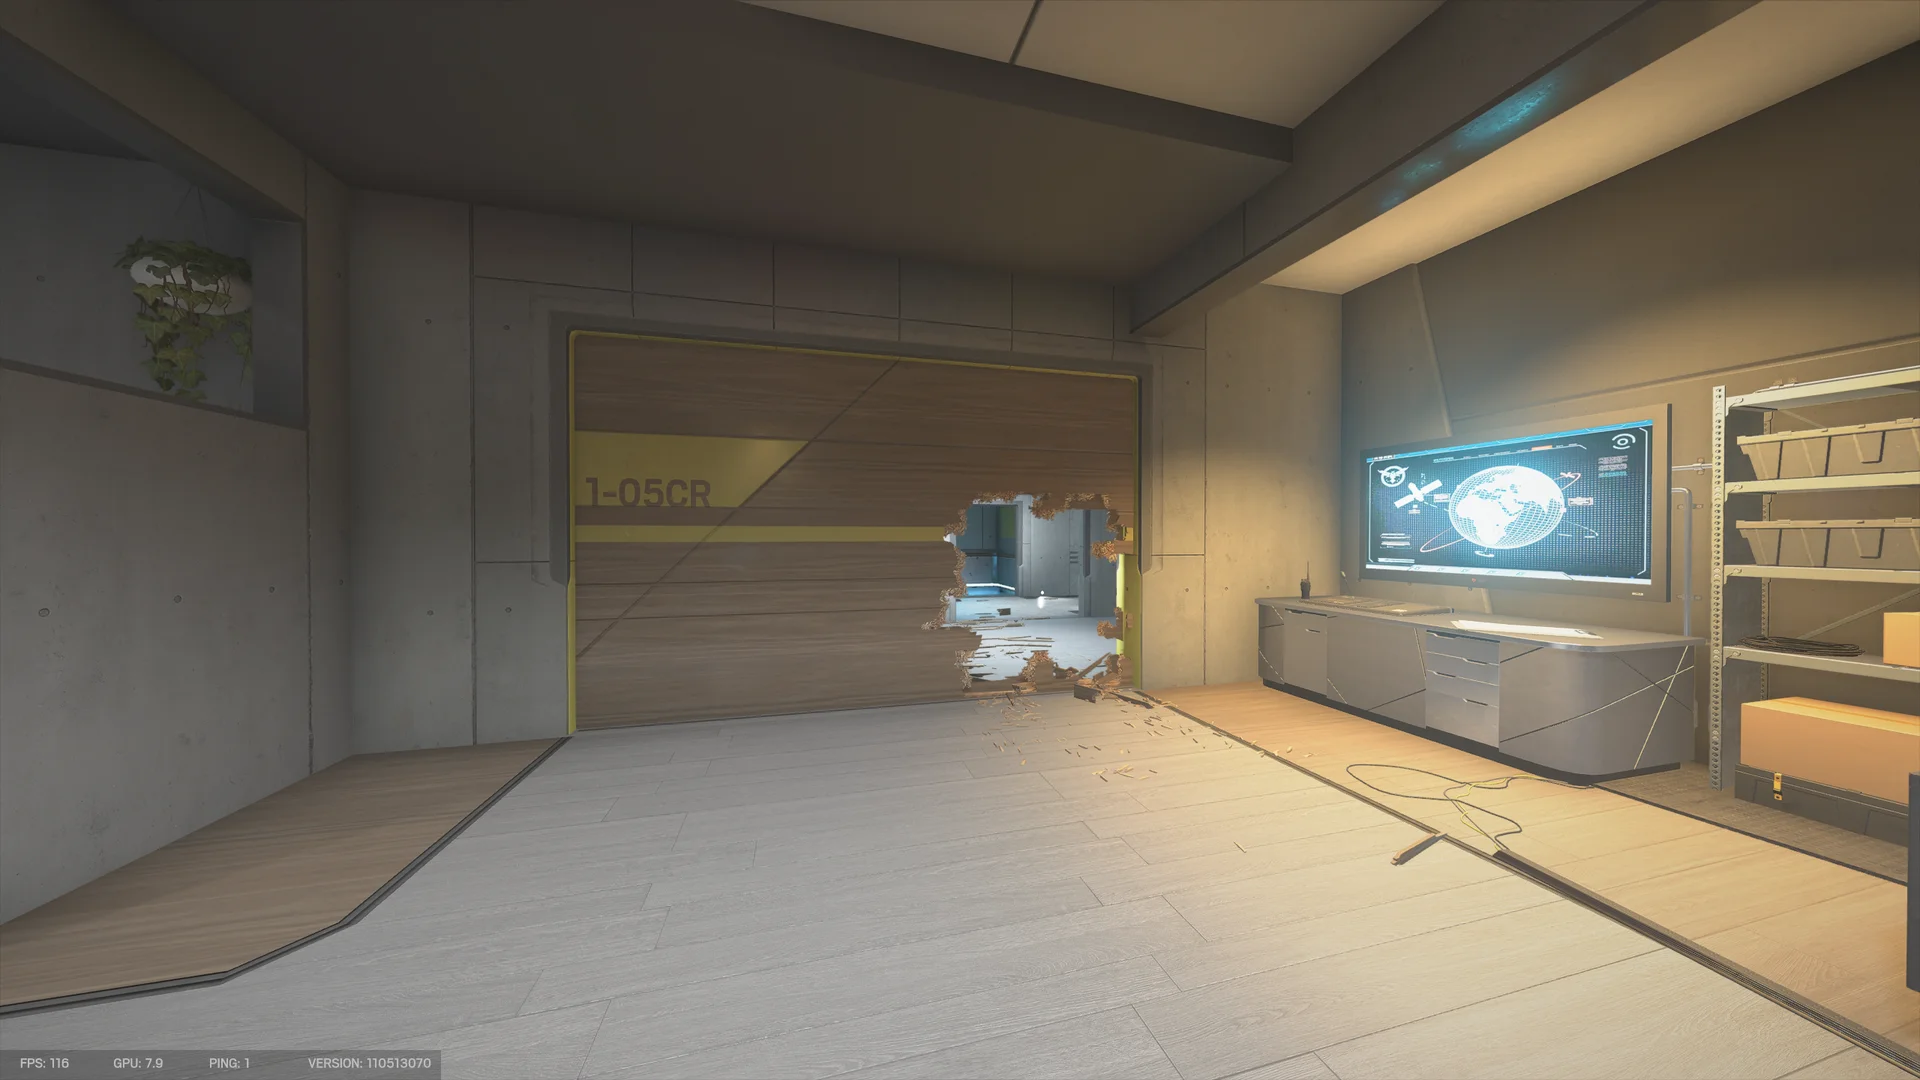
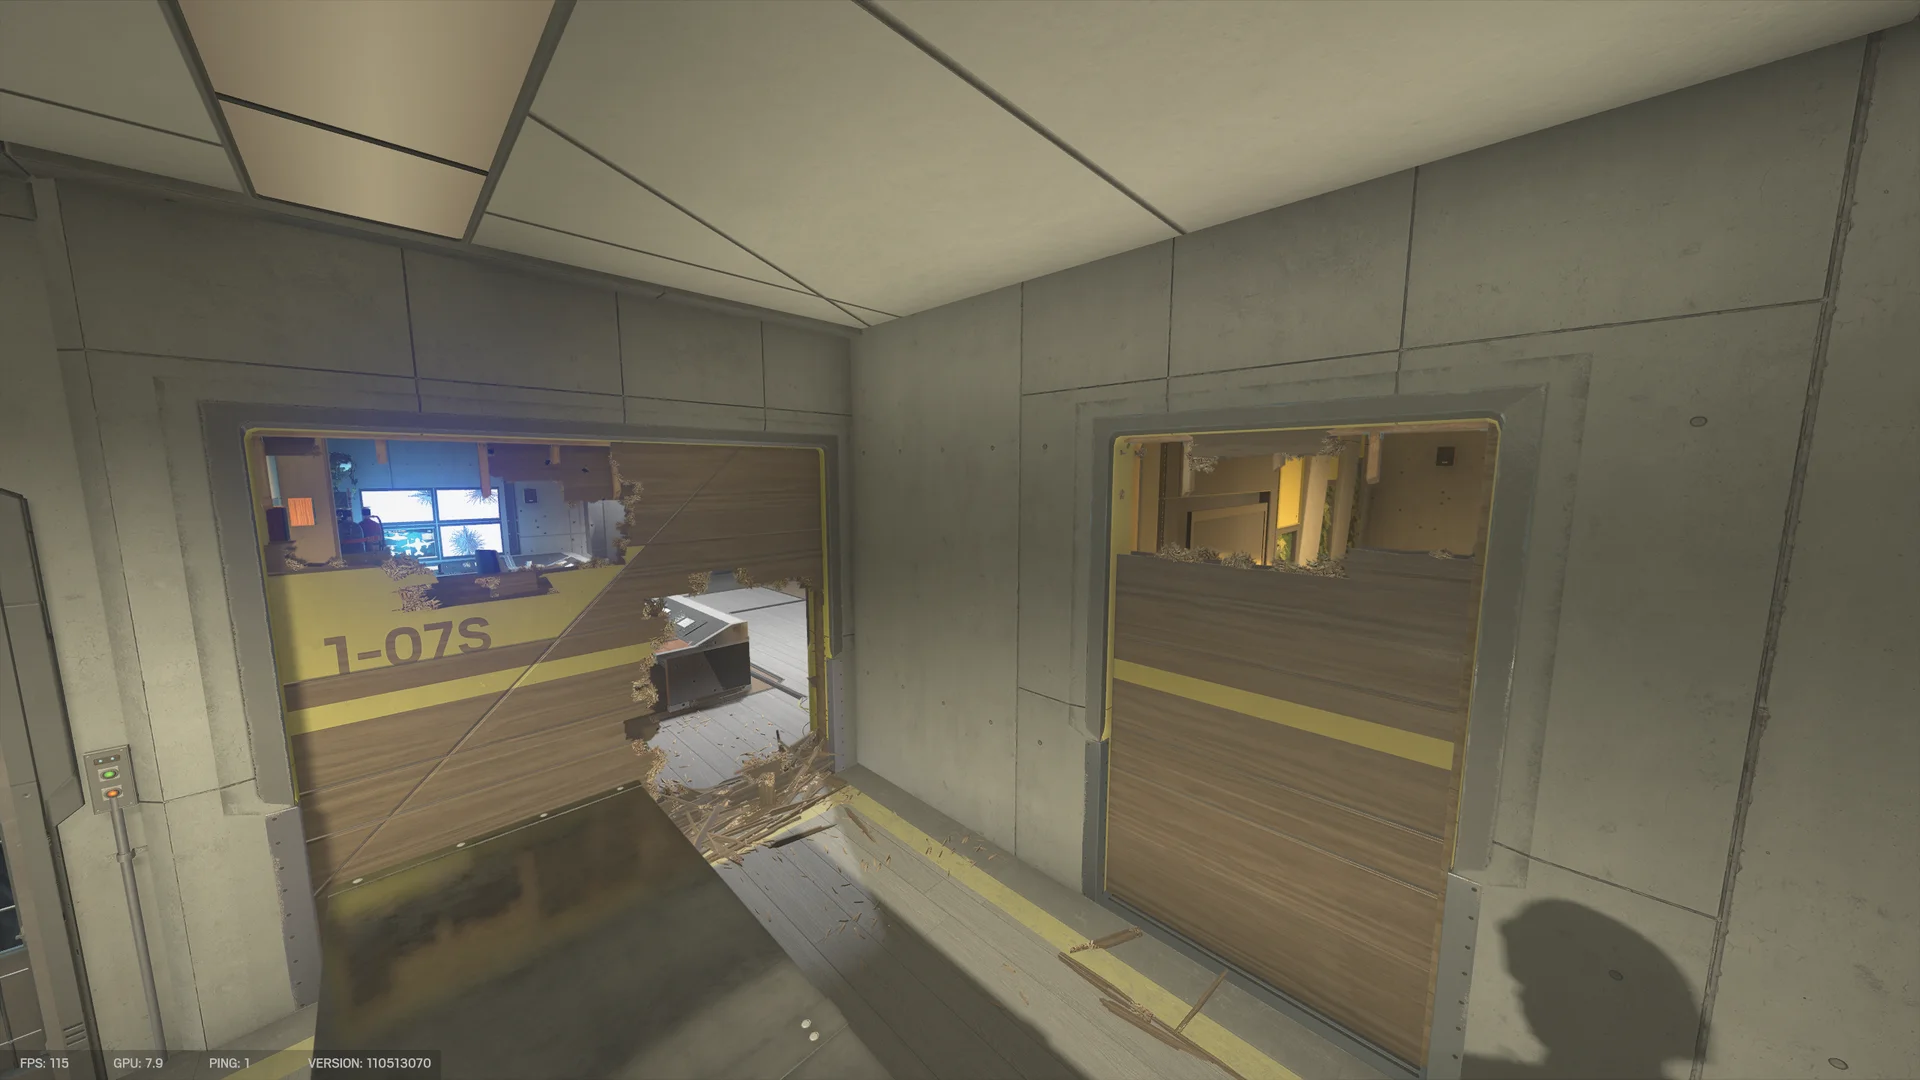
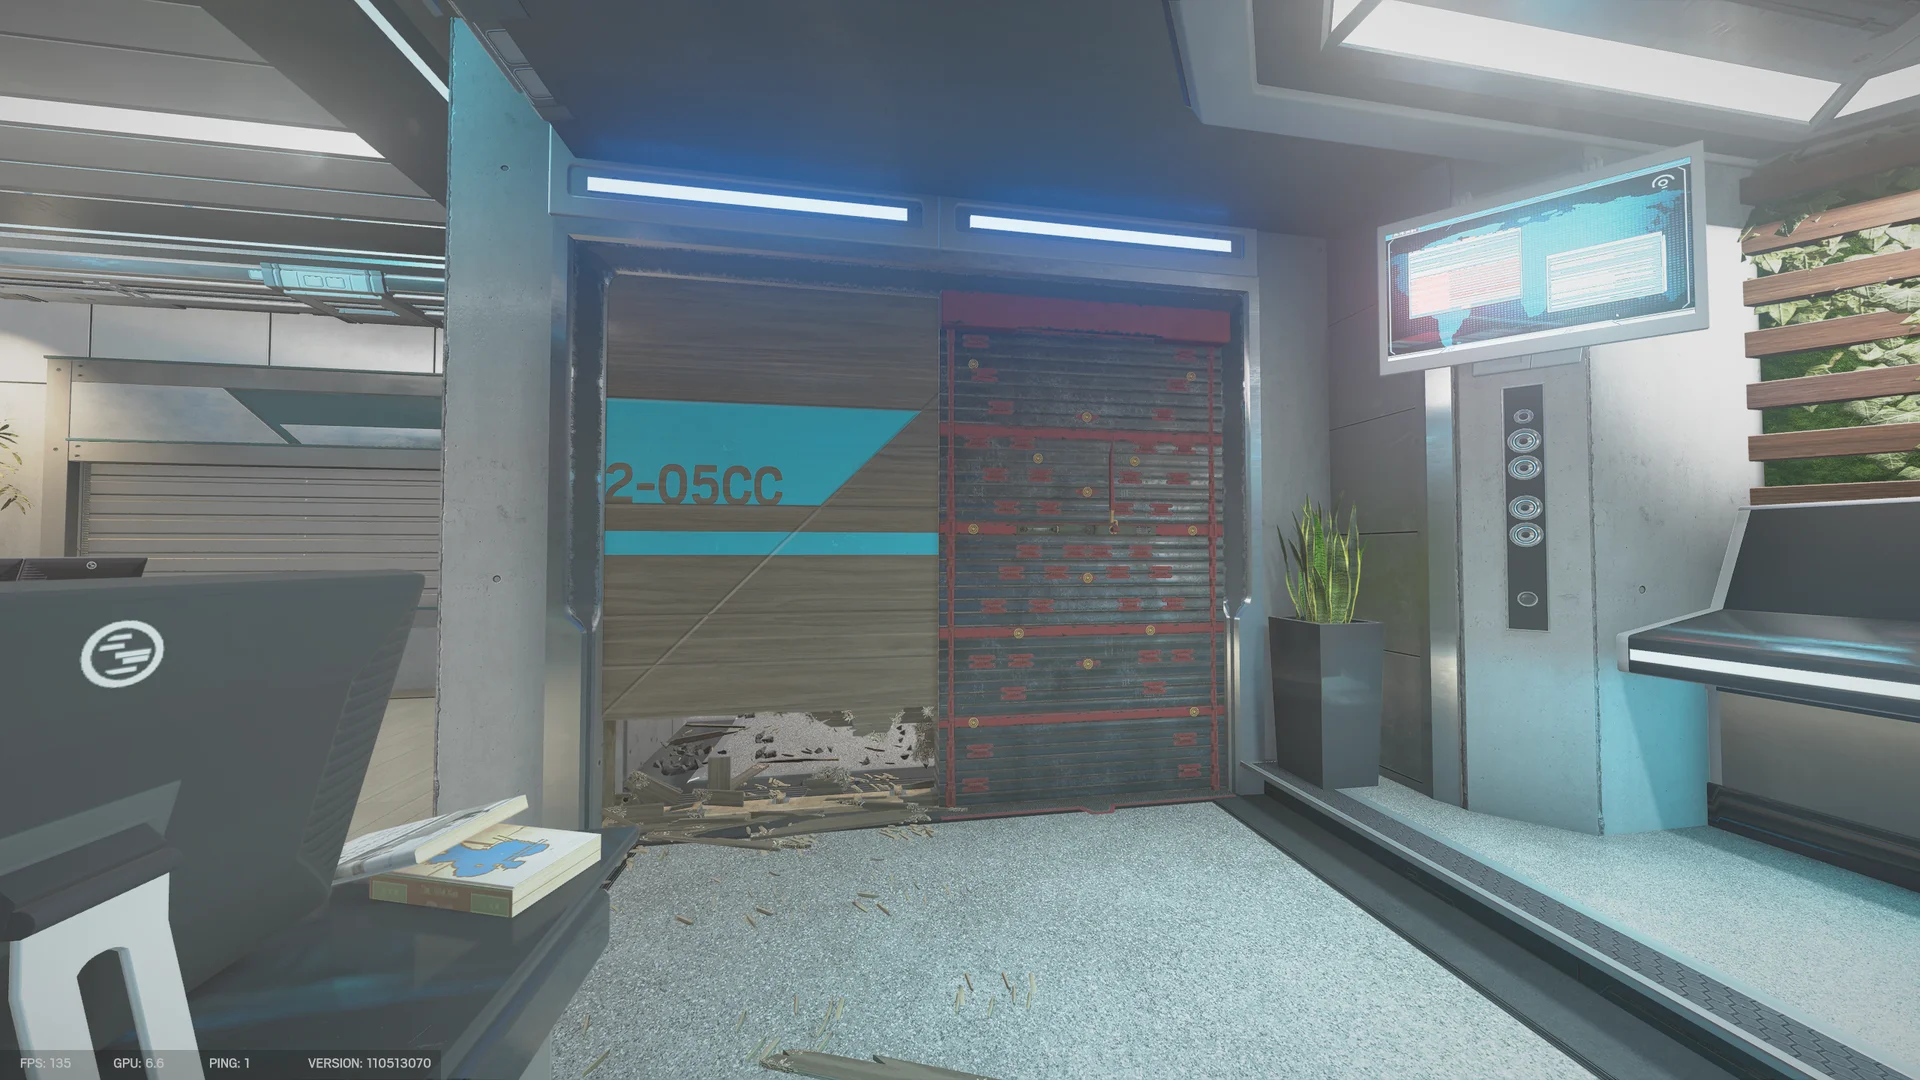
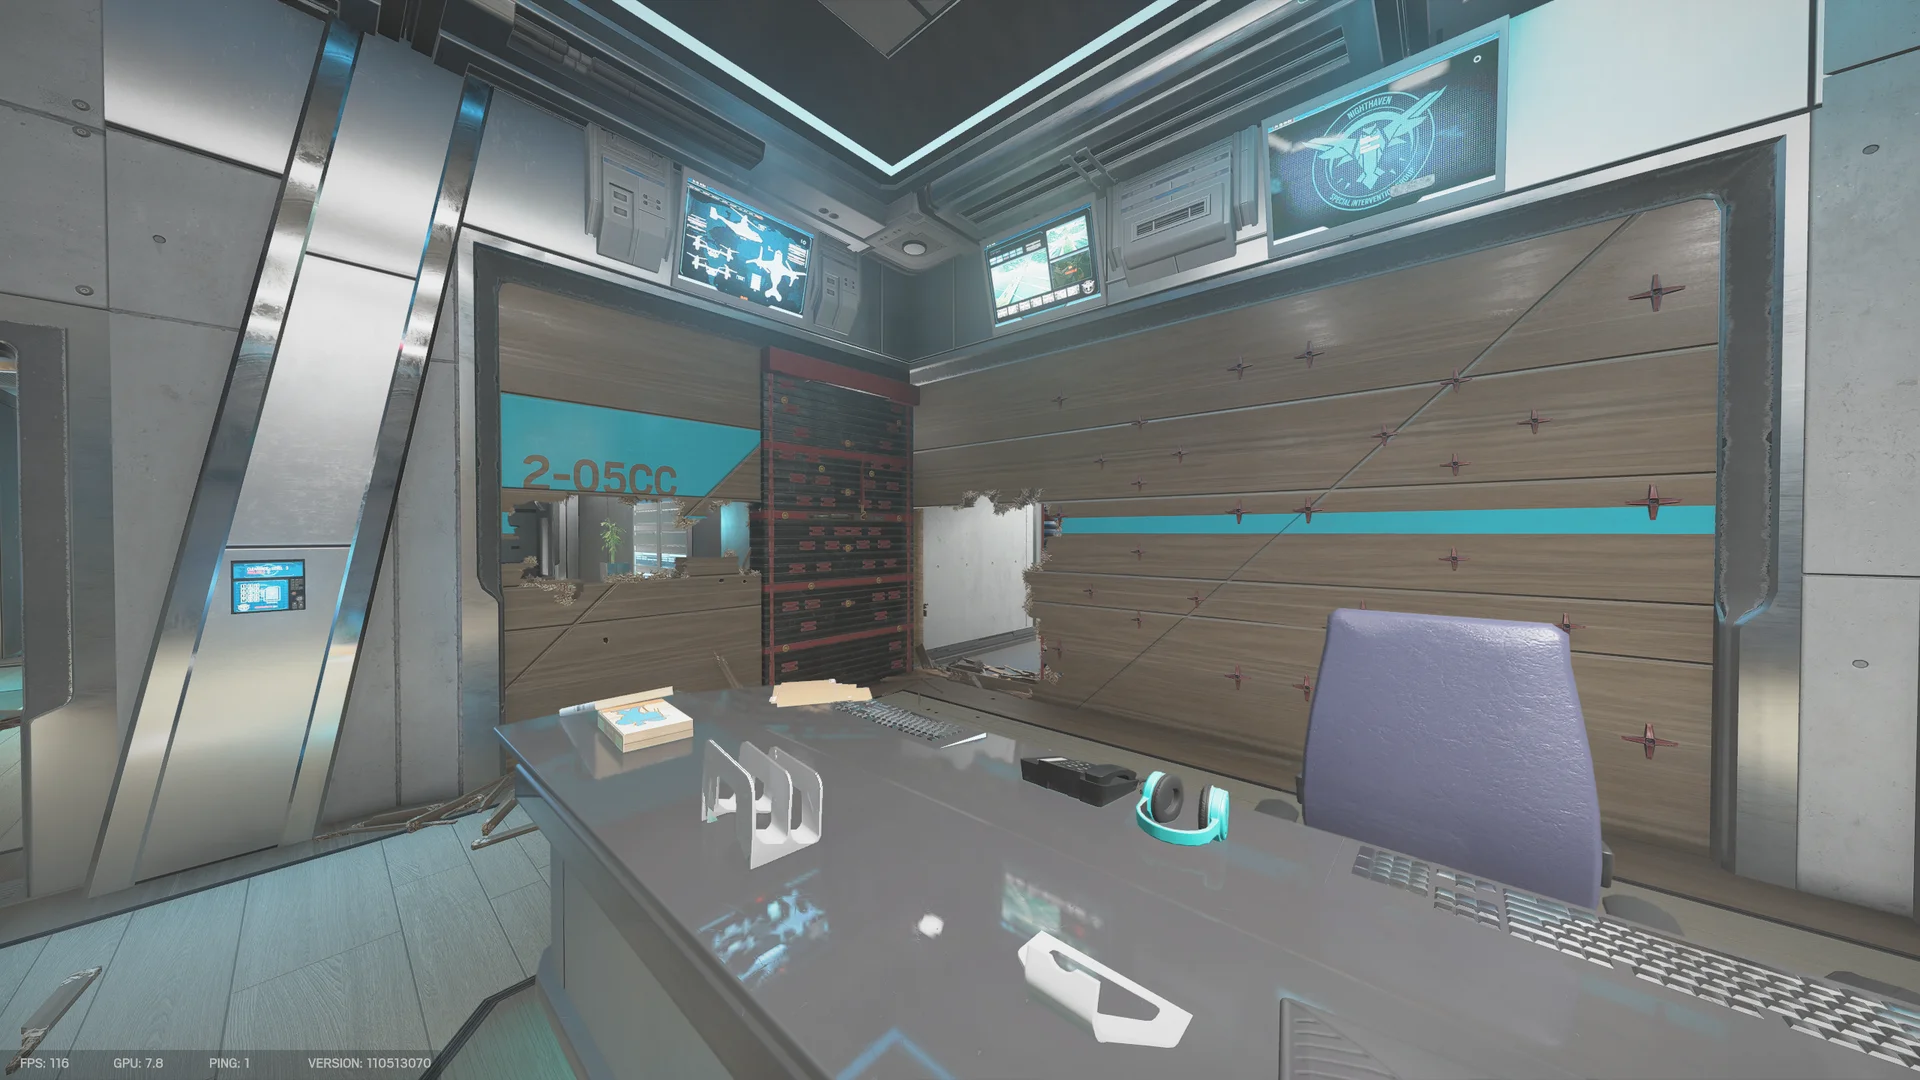
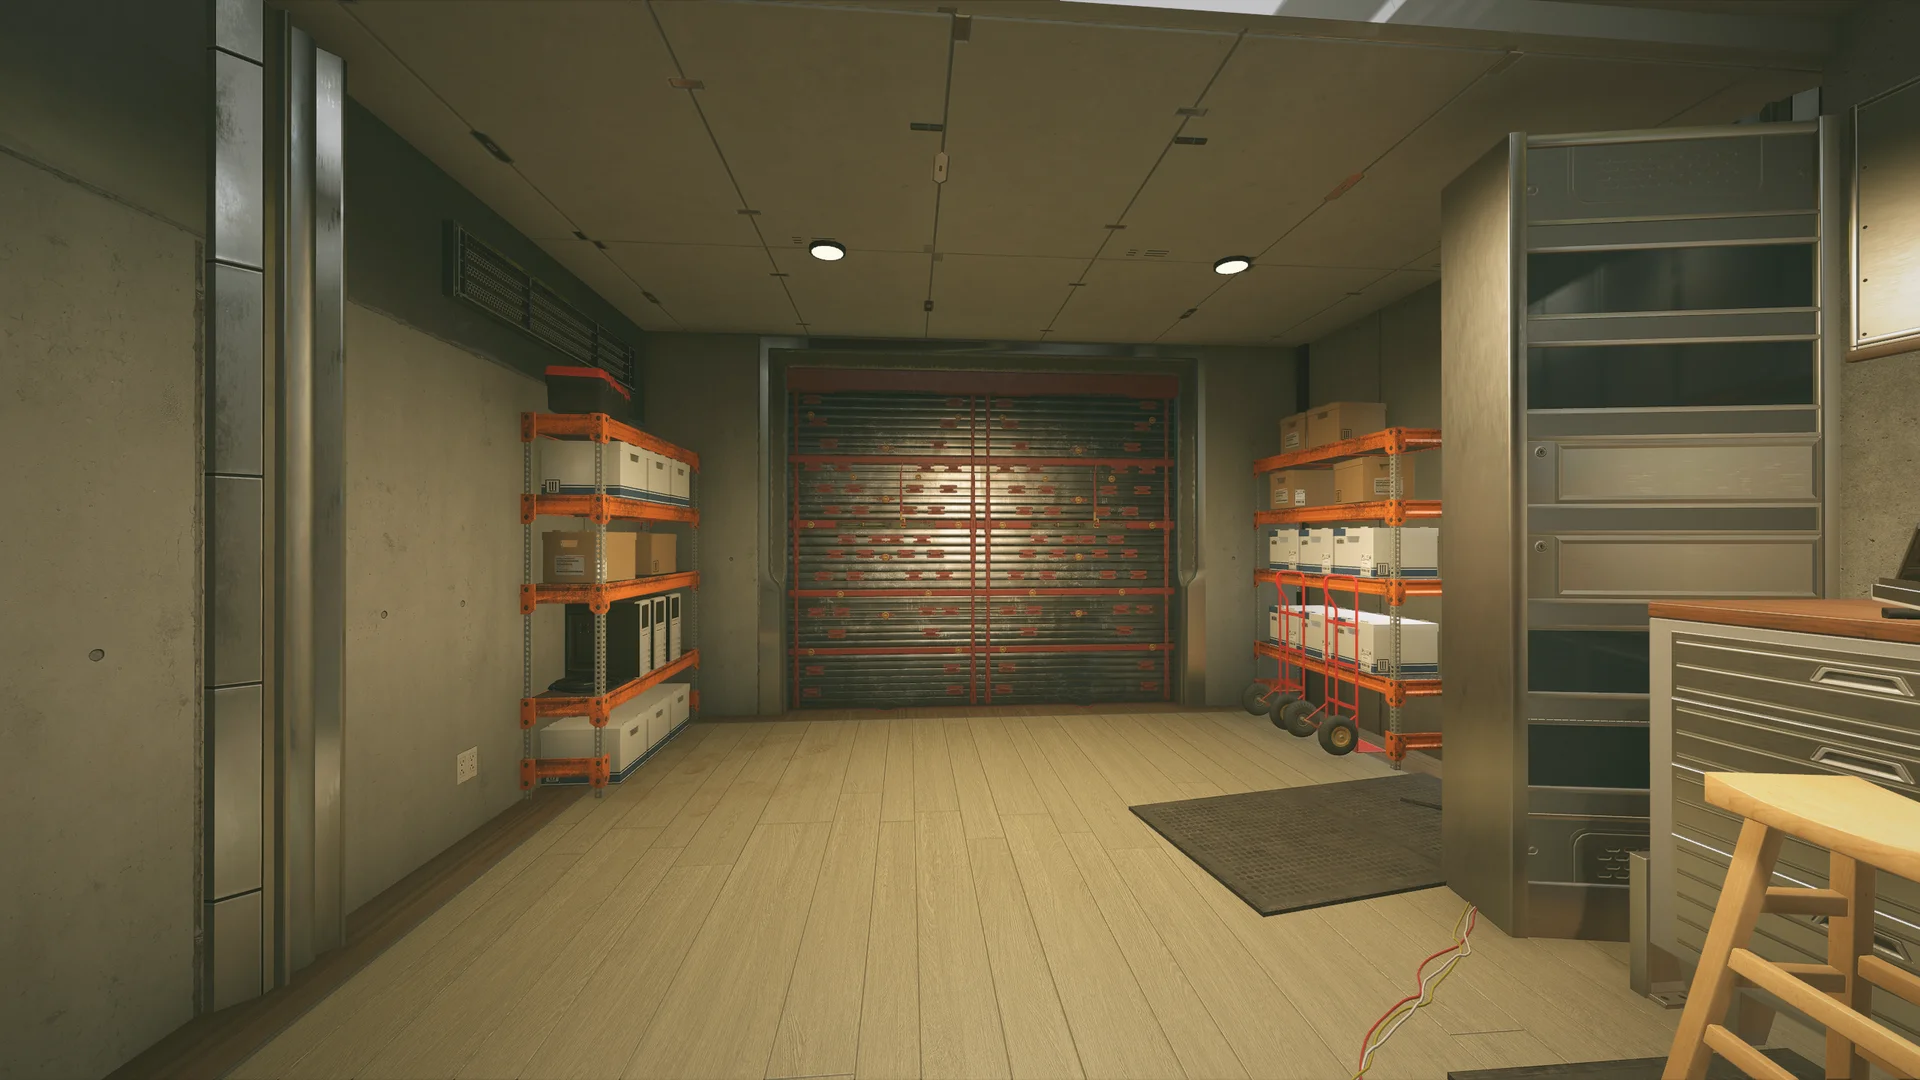
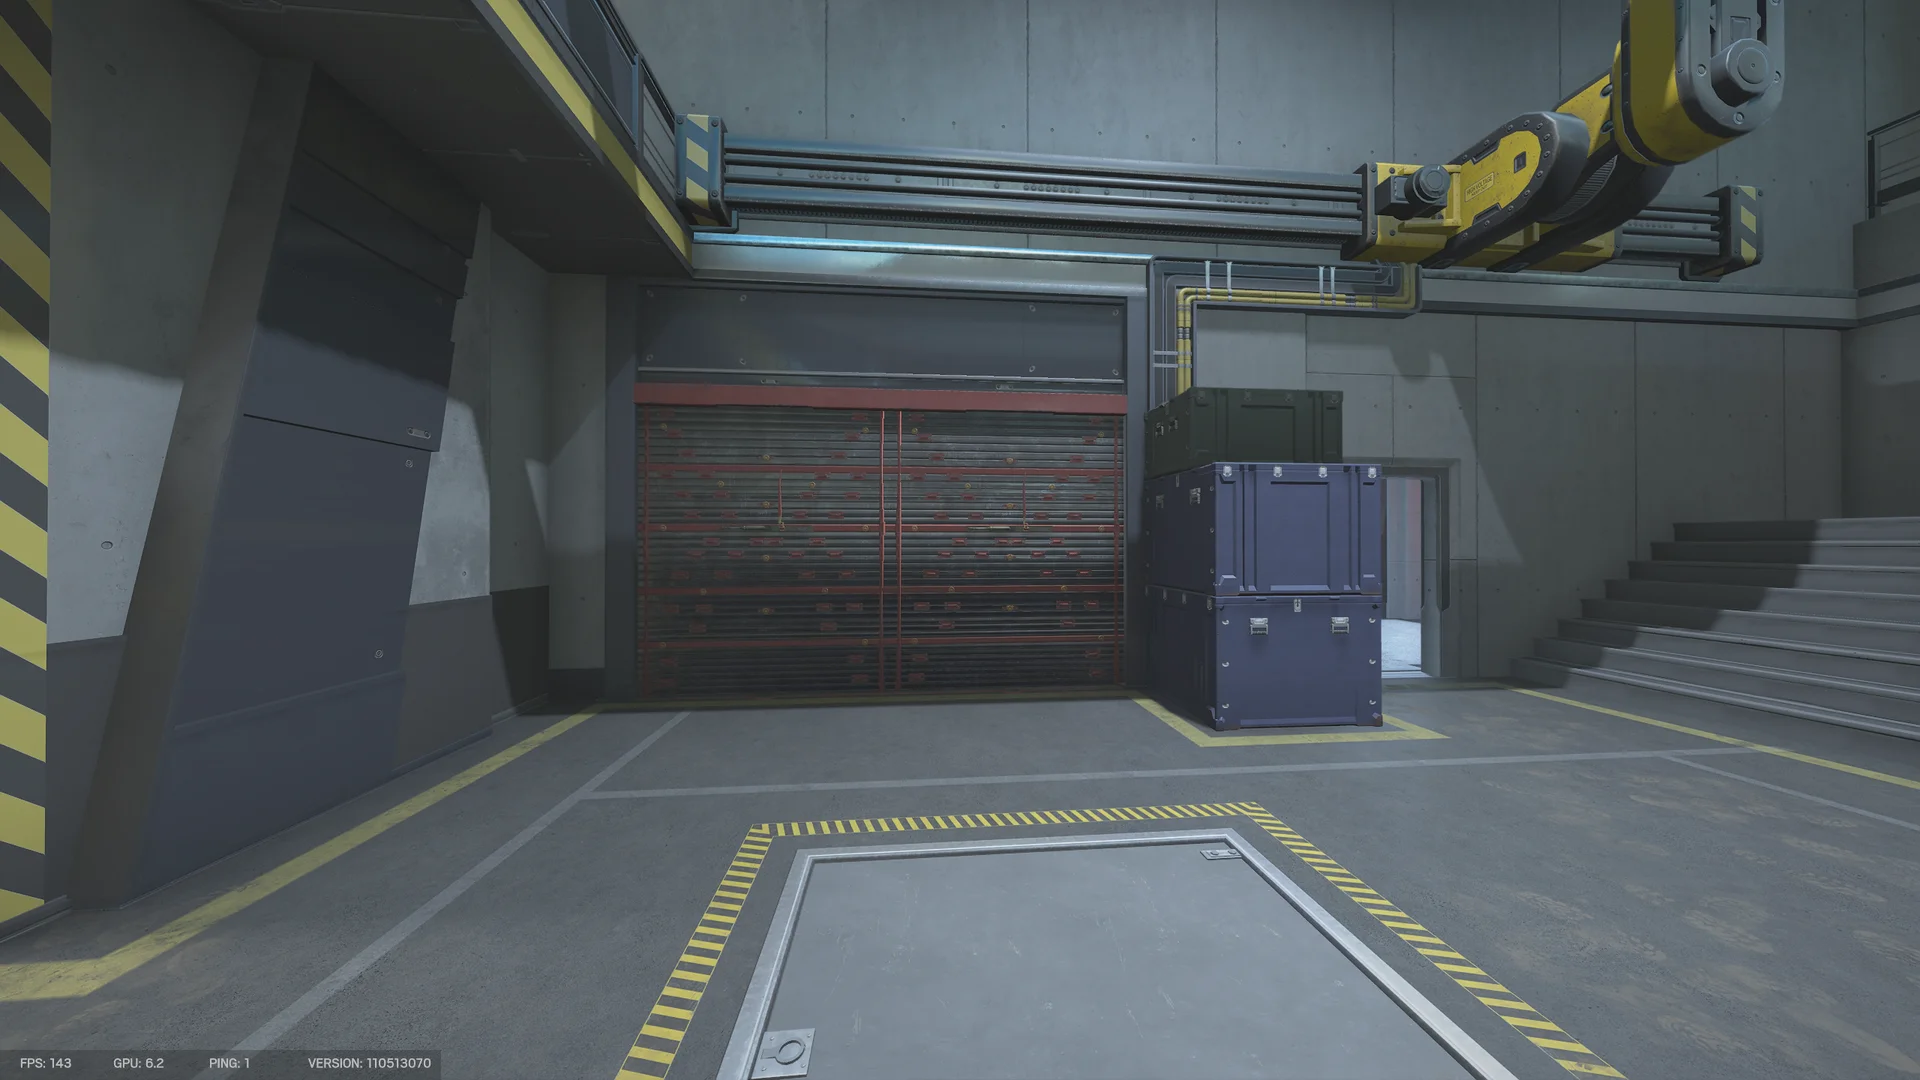
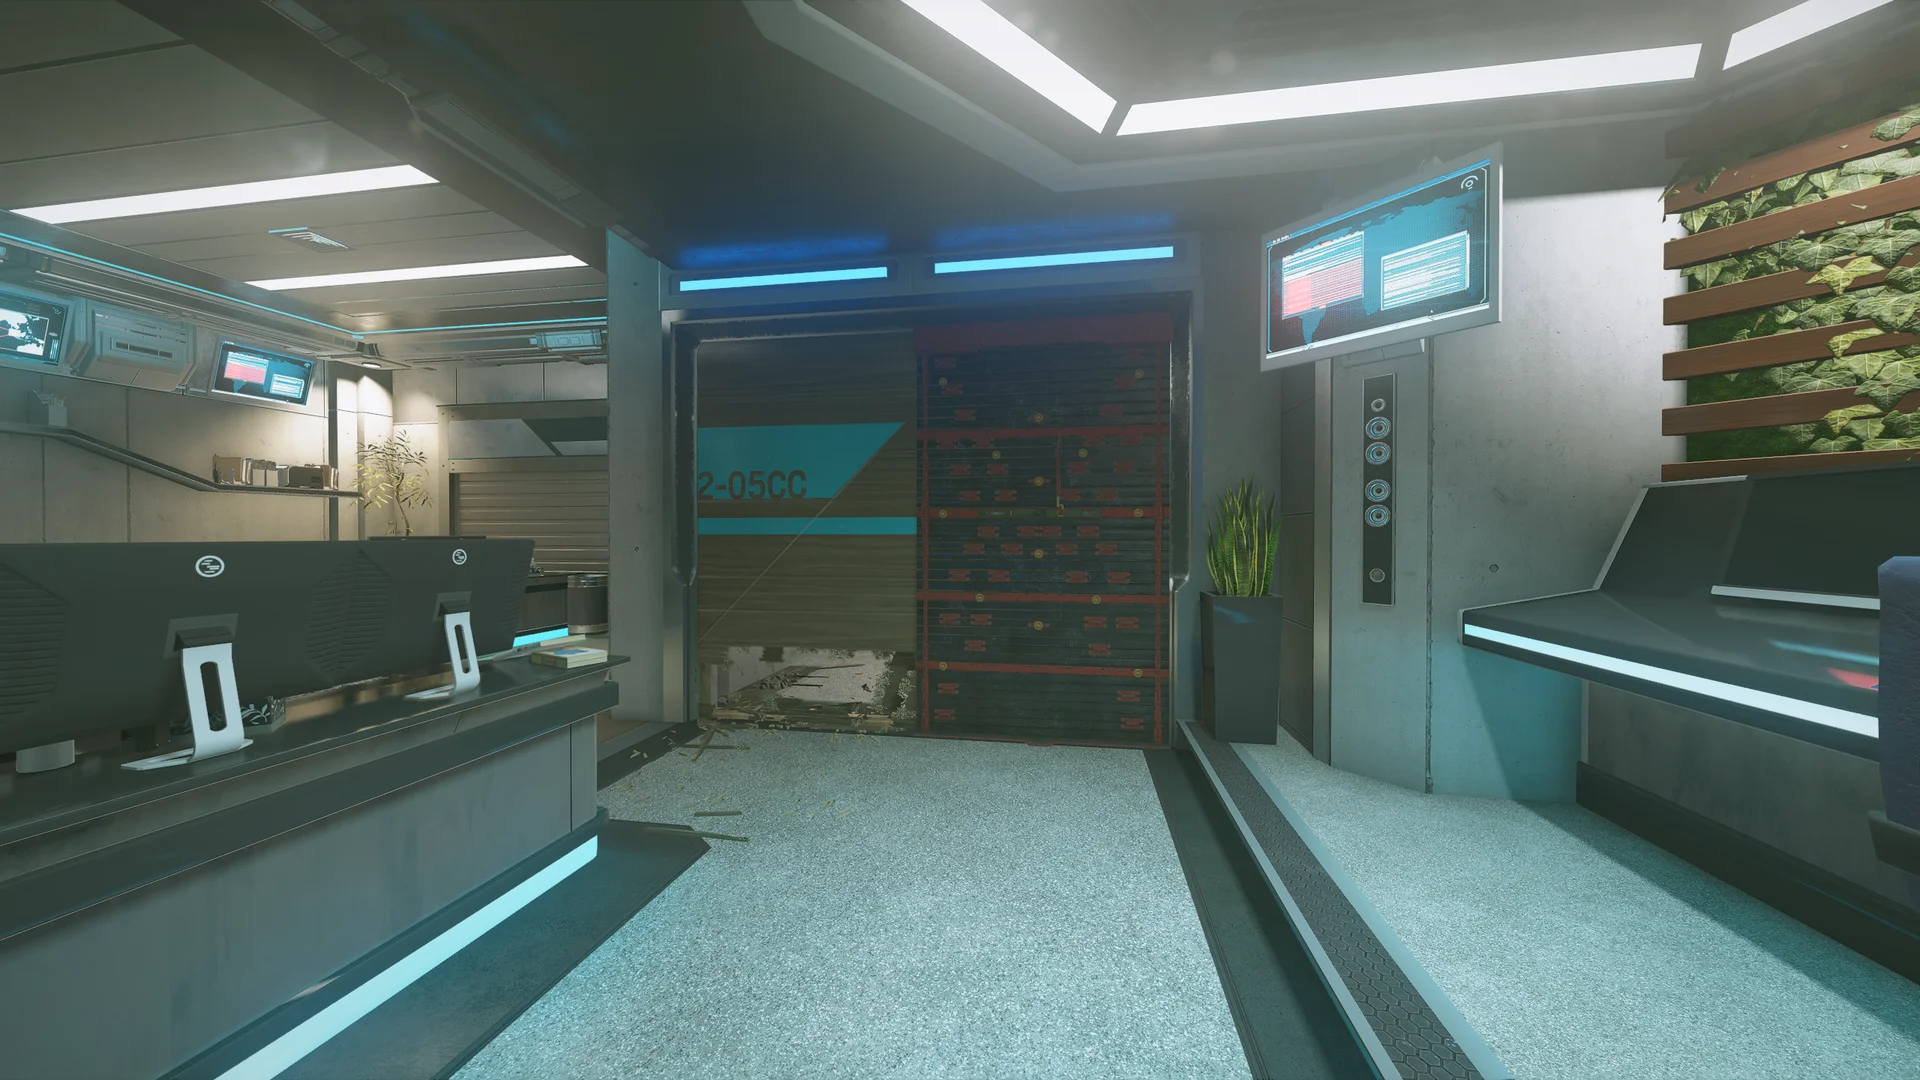
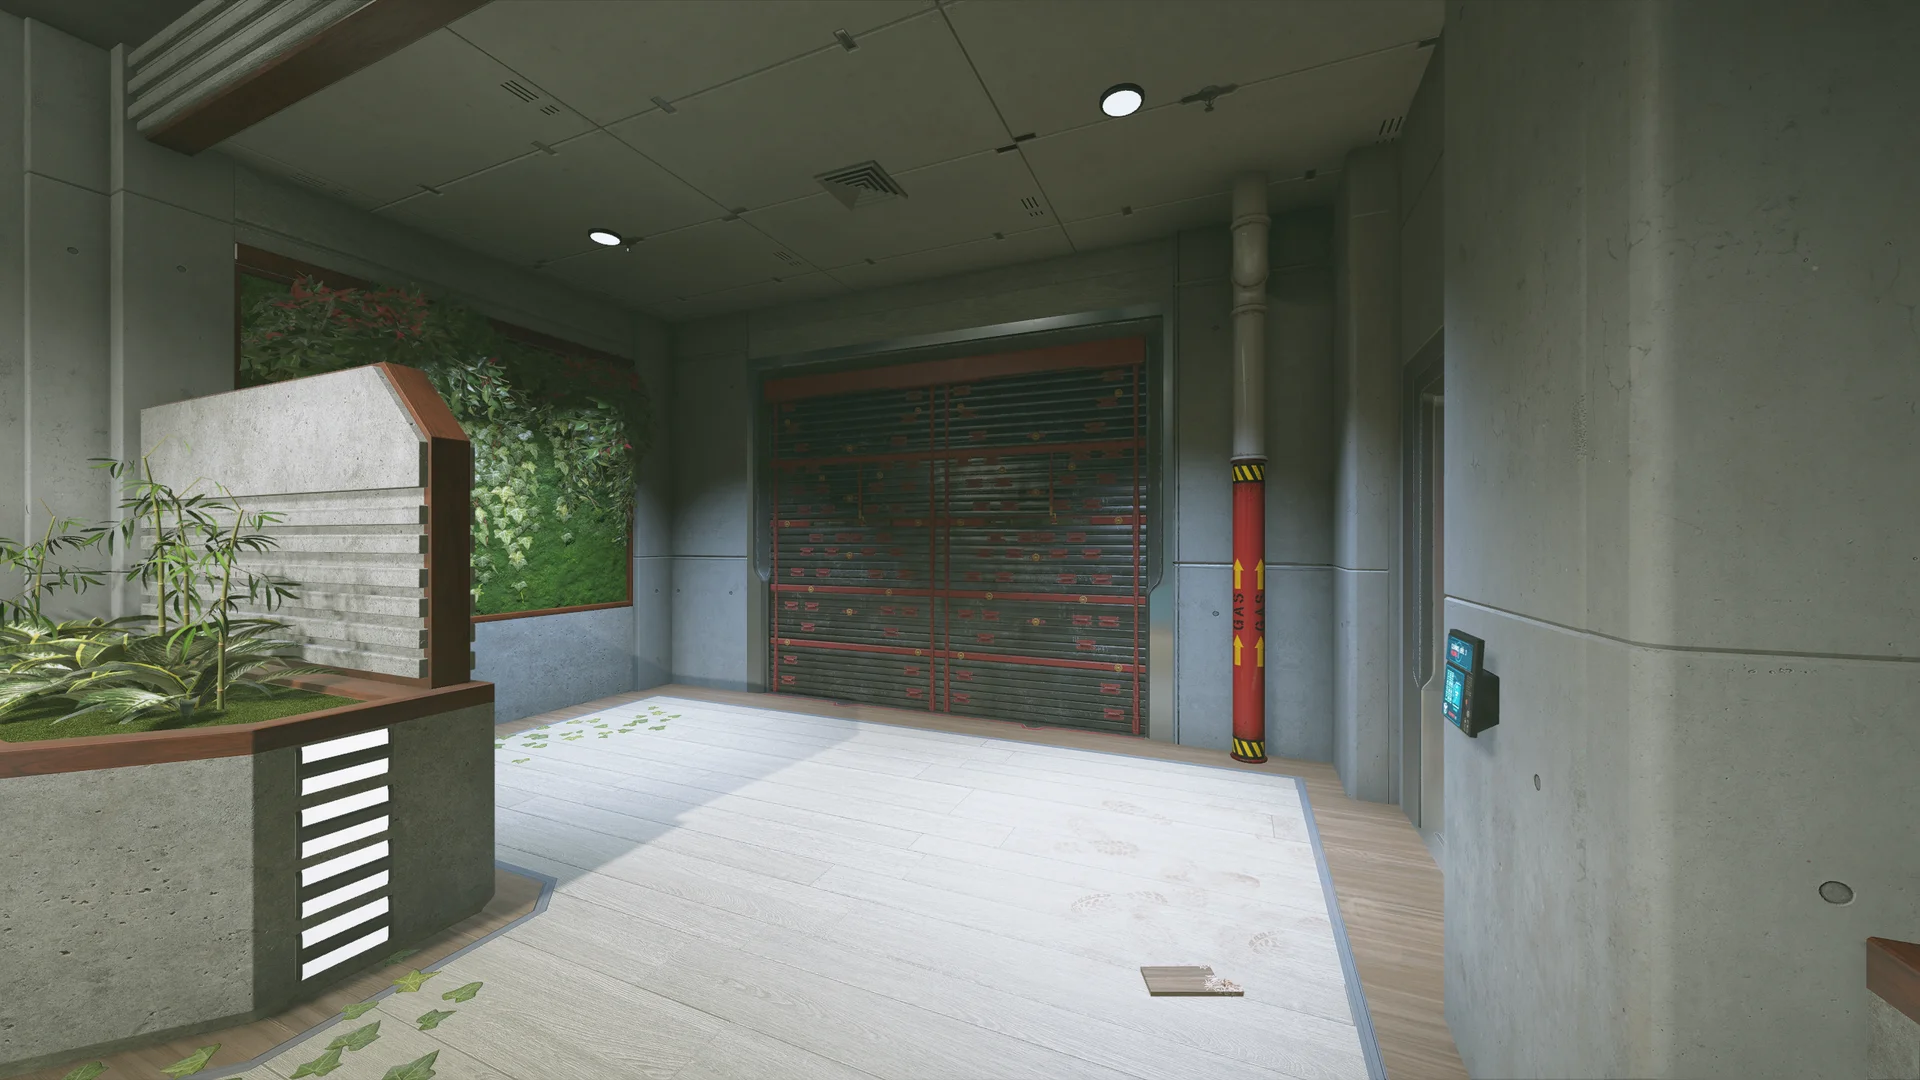
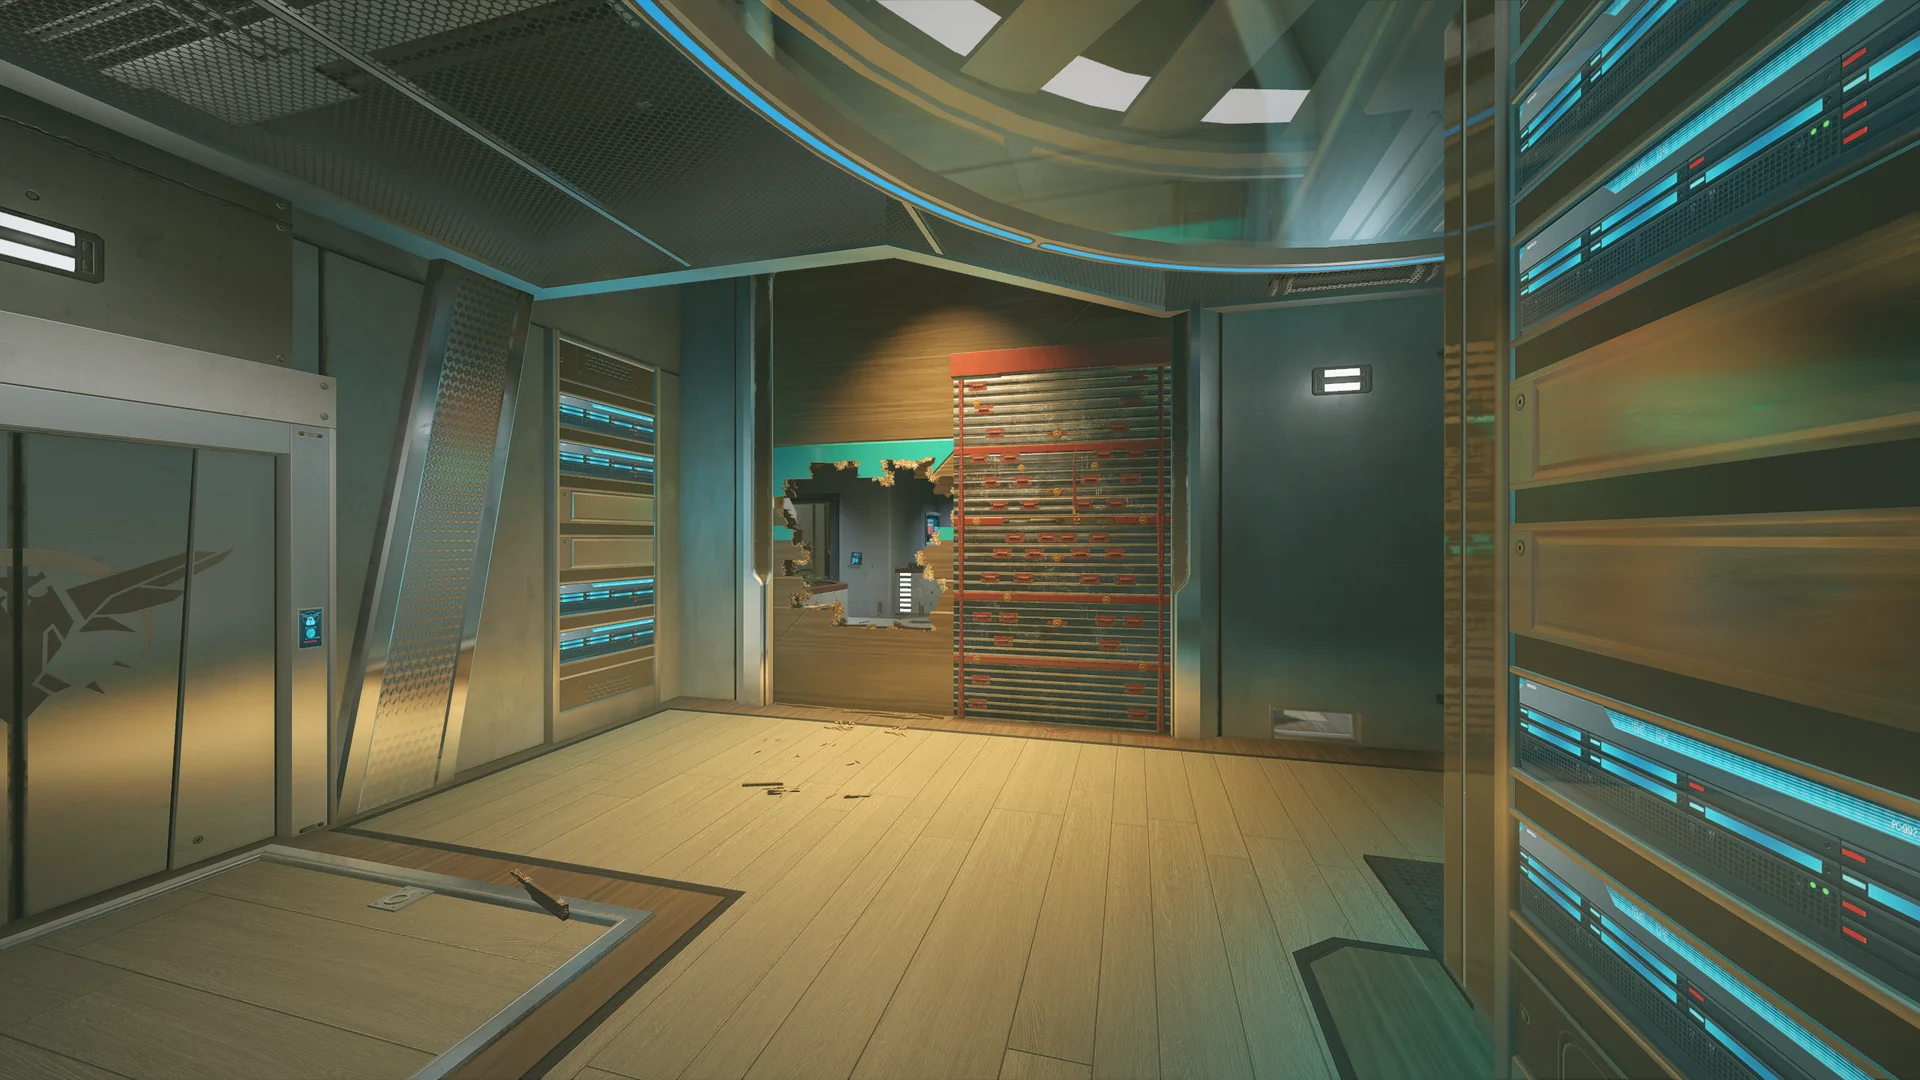
29 in-game reference screenshots from the Nighthaven Labs defender setups, covering B Assembly, B Tank; 1F Kitchen, 1F Cafeteria; 1F Storage, 1F Control Room; 2F Command Center, 2F Servers.
R6 Prep is built by three players in their free time. After each patch we walk every bombsite again in custom games so the setups still match the current build. If the site has saved you a round, a coffee keeps it going.
 Buy us a coffee


